
In this era of smartphones, most of our pictures are taken with smartphones. When we go out with a friend, spouse or family and decide to capture a moment; we instinctively go for our smartphone. It won’t make sense if we all walk about with Nikon round our necks to capture special moments.
Parents usually have hundreds if not thousands of pictures of their children while growing up – the first steps of a child, the first time the child learned to say Mom, or Dad, or a smile showing the baby’s first tooth, etc.
We always have pictures that are very dear to us. They help us recreate past moments whenever we see them. Now imagine all the hundreds of pictures – priceless pictures, lost because your phone was stolen on the bus while closing from work; or for some reason we ignore, the pictures get deleted from your phone. All the hard work is gone!
Contents
Cloud Storage
To remedy this situation, Google provides all its customers free online cloud storage for their pictures. With Google Photos, your pictures remain safe even if your phone is stolen or damaged beyond repair. Another good advantage of Google Photos is that your pictures are available on any device with a browser that can access Google cloud services. You simply log into your Google account on the device and view your photos.
Google Photos allows you to add a partner to your Photos Account, a person who will have access to view and also add photos to the account. It is super easy to add your pictures online. Simply open the Photos app and log in if you haven’t logged in already. Then go to settings and sync the app with your online storage (Google Account).
With Google Photos, the risk of losing your photos is considerably reduced, but not eliminated. What if you lose your Google Account? To further reduce the risk of losing your photos, you might want to have a copy of your photos on some hard drive, securely stored somewhere.
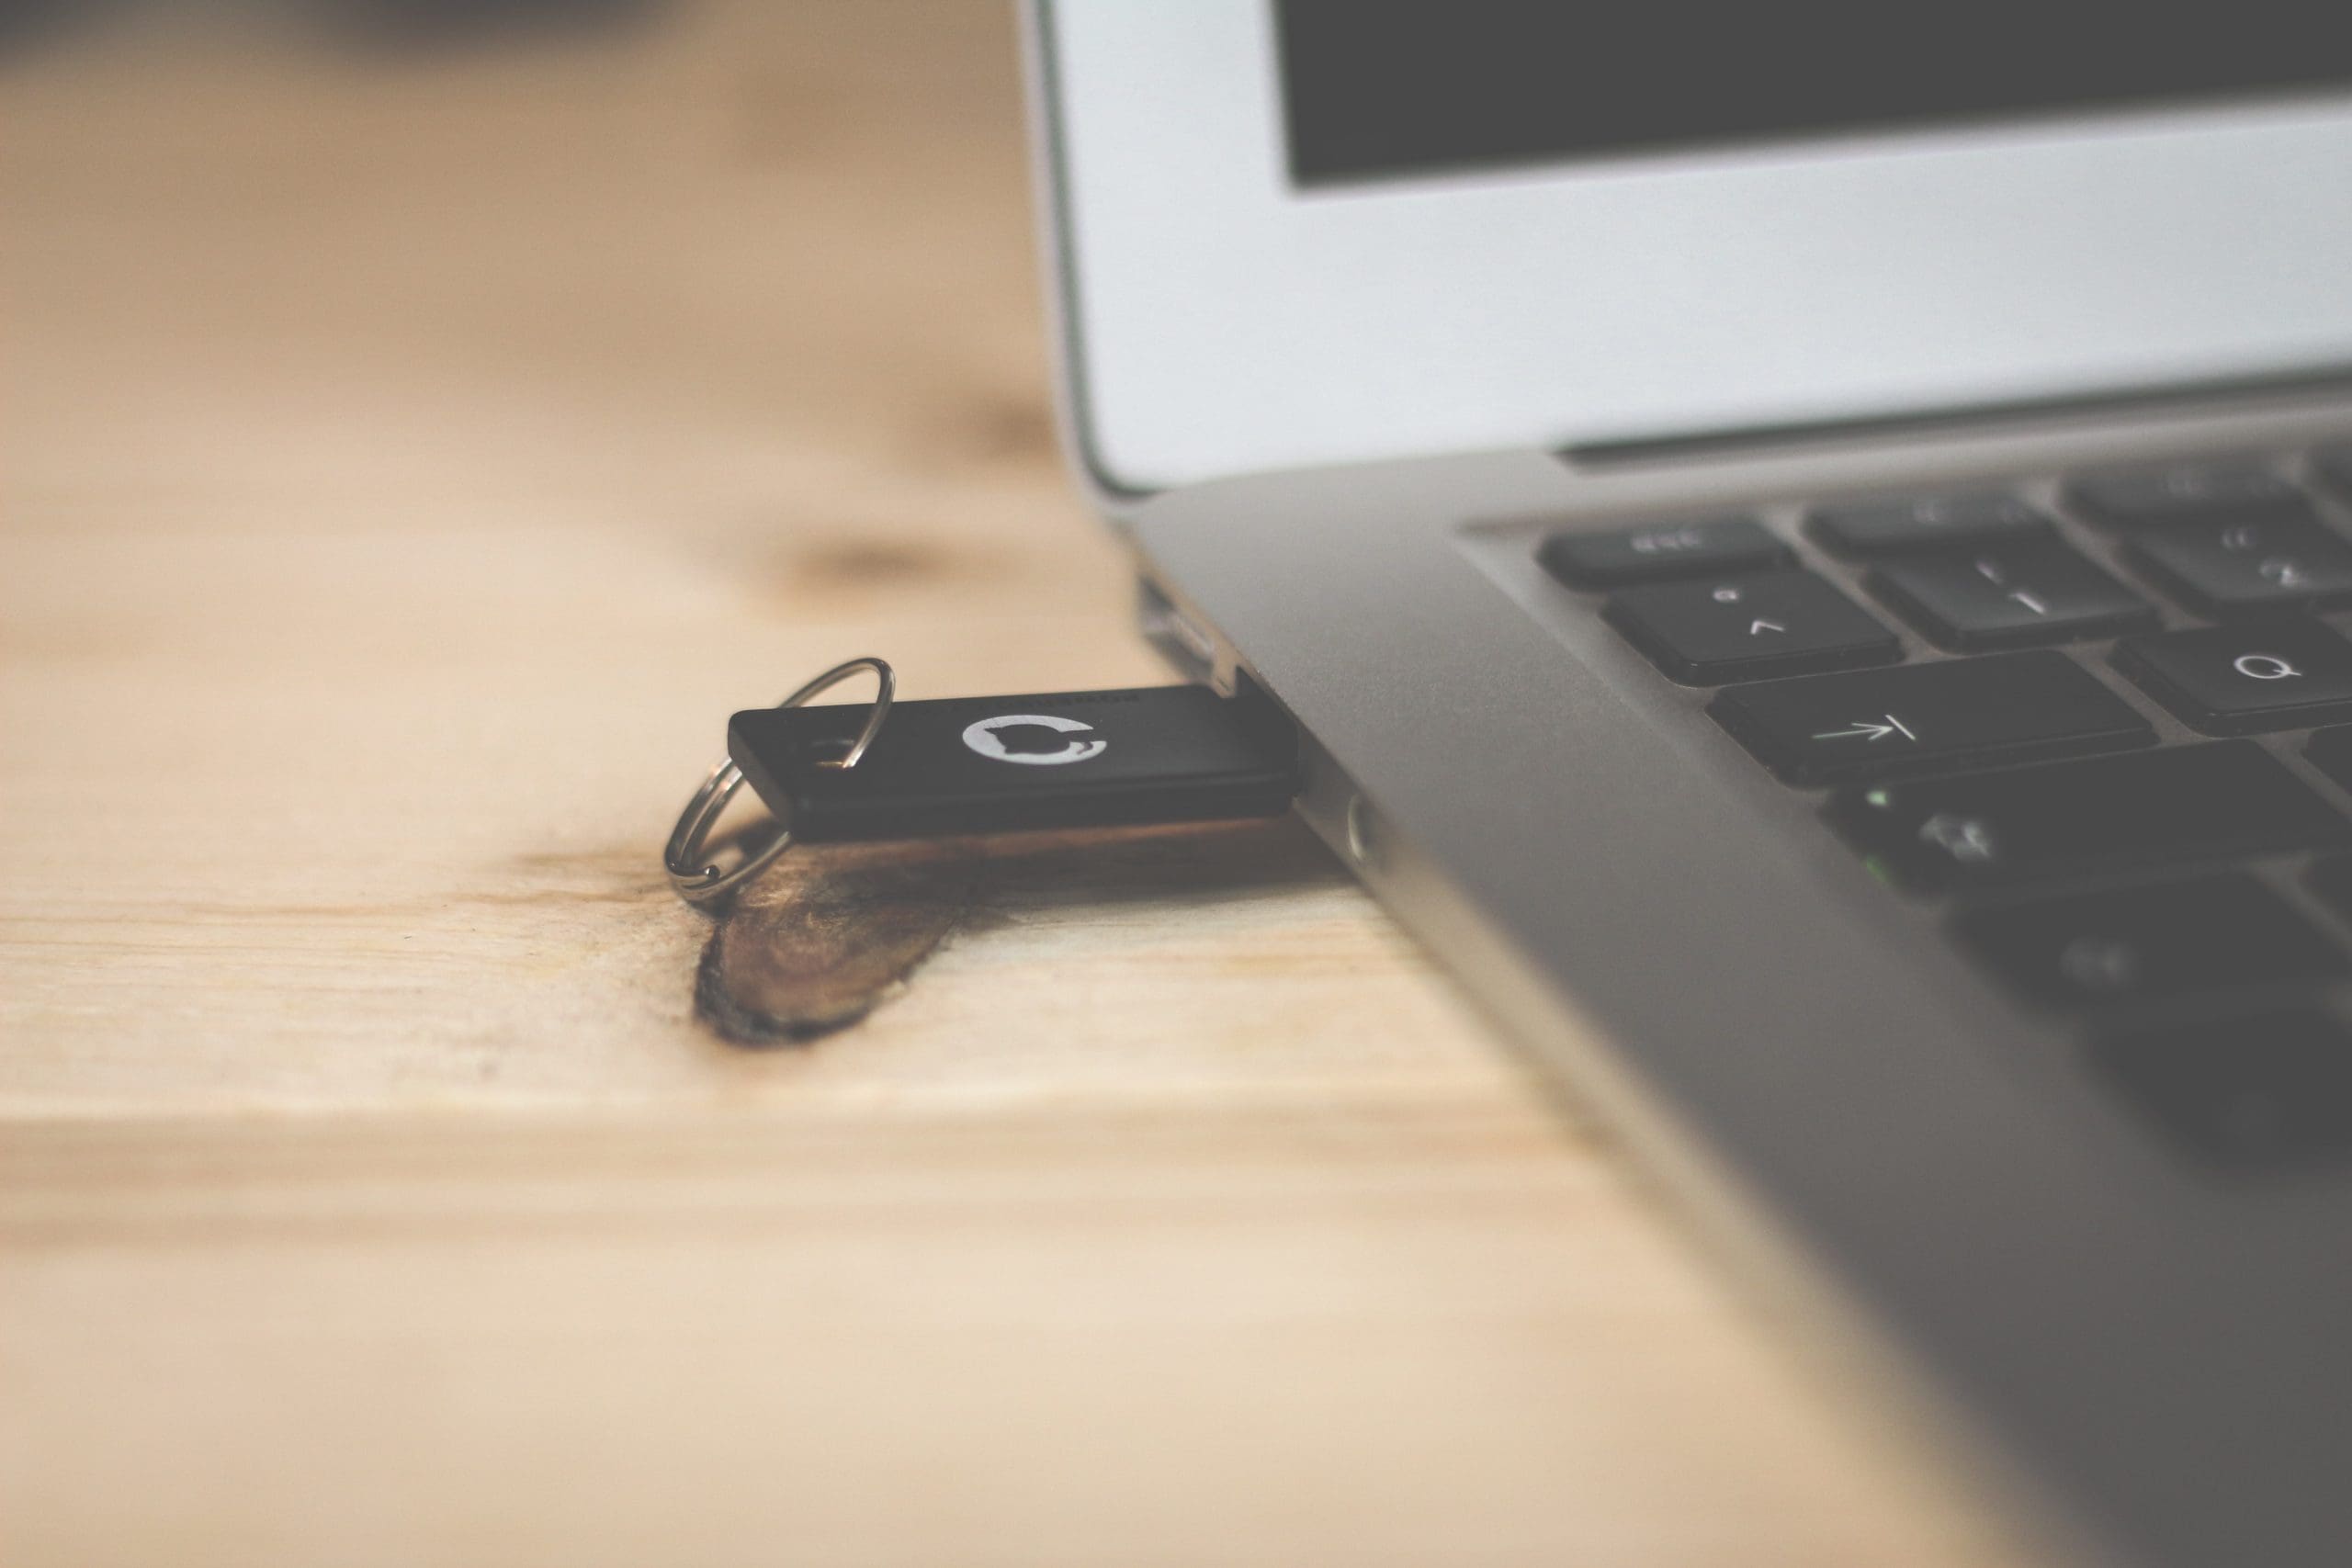
If something happens to your phone, you can fall back to your Google Photos, and if something happens to both your phone and Photos account, you fall back to your hard drive. Downloading all photos from Google Photos to a USB drive is easy, albeit not very straight forward. Follow the steps below to download your photos to your USB drive.
Step One:
On your computer, log in to your photos’ account if you are not already logged in. Visit Google Photos in a browser. Once logged in, you should see your photos. If you click on any of the photos, it will open in full view. Click on the three dots on the top right of the picture and from the pop-out menu, click download. The picture will be downloaded to your Download folder, from where you can view or copy to your hard drive.
That’s if you want to download a single or a few selected pictures. Supposing you want to download all your pictures, about a thousand or more? What do you do? It is boring to spend all day selecting and downloading pictures right? It is for me.
Step Two:
To download pictures in bulk, you need them in an album. On your Photos home page, click on Albums. If you already have your pictures in albums, then jump to step seven. But if not, you need to create one and move all the pictures you want to download to the new album.

Step Three:
At the bottom center of the Albums page, click Create album. On the next page that loads, enter the title of the album and click “Select Photos” at the bottom of the page. You will be directed to your pictures to select the ones you want to add to the album.

Step Four:
You can individually select the pictures you want, however, all pictures taken the same day are grouped, so it is faster to select the dates as they appear above each group of pictures. Select the dates from which you want to add the pictures.

Step Five:
Click Done at the top right-hand corner of the page.

Step Six:
All the pictures are now added to your new album. At the top left of the page, there is “√” symbol, click it. Your album is now successfully created.

Step Seven:
At the top right of the album, click on the three dots and select Download All from the pop-down menu. All the pictures in the album will be downloaded to a zip folder to your downloads. Unzip the folder and copy the pictures to your USB drive whenever you’re ready.

Now your photos should be loaded onto your USB drive. You can take your photos with you anywhere and enjoy them on even more devices.


So I have all the concerns as stated above! Where do we get an answer? I get the garbage from Google telling me I have to buy storage because mt gmail is full. I just spent a day emptying 14,000 emails I thought this was going to automatically give me space for my photos, but no. I wasted a day ousting all emails, including some I probably should have kept and I still cannot get the pics to my thumbdrivr without smashing them all zipped in folders? How do I see them again if it doesn’t unzip on my phone? This stinks! I’ll probably lose everything!
The laborious part is placing many thousands of photos into an album/albums.
I cant unzip the folder
you lose date take when you do it this way, I will am disappointed Google makes it so difficult to get your photos
All the solutions I have found say to get the photos from your computer. What if I don’t have a computer? I want get my photos directly from my Android phone to the flash drive that I have plugged into it.
When I tap the 3 dots, it doesn’t give me the option to download all.
I cant see the three dots.i can see upload is that the same?
I have s8 droid phone and a otg adapter that plugs into phone with flash stick, how do I transfer my Google photos/drive folders to USB flash drive
How do unzip files so I can put the photos onto a thumb drive?
What about when your pictures are saved to Google Drive, but Not found in google photos?
It certainly sounds easy enough but as a real beginner at this. If its sent to a zip drive..do I have to have something special to’unzip’ these pictures so I can move them to the usb. Do I move the actual pictures or the copies. I’d like to have the albums remain in Google Photo to be added to as time goes on.
Thanks