When Google announced that Google Photos wasn’t going to be free from June of this year, many were shocked. You probably thought that it was going to free for many more years to come. But that’s going to end as soon as June comes around. All the images and videos you upload before June won’t count towards the limit. Still, if you have all your content there, you might not have a choice but to choose from the plans Google Photos has to offer.
If you refuse to pay and want to punish Google by moving somewhere else with your videos and photos, you’re going to need to download your content. In this guide, you’ll see how easy it is to gather your pictures and videos and go with another alternative.
How to Download Your Google Photos Content
To download all your Google Photos content, you’re going to need to visit Google Takeout. You’ll need to sign in to your Google account, and once you’re in, look for the option that says Deselect All and click on it. It should be near the top.

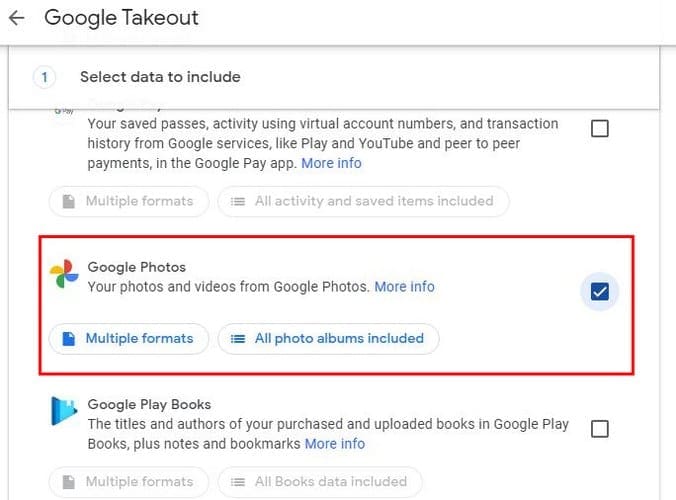
When all the selected items have been removed, scroll down and look for the Google Photos options and check the box to the right, so it’s selected. If you click on the Multiple Formats options, you’ll see the formats your content will be downloaded in. The All Photos Album included option gives you the option to choose what you want to download.
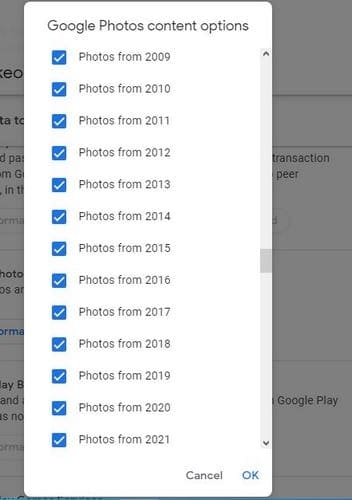
All the boxes will be checked when you access this option, so all your content is downloaded. If you see a year or folder you don’t want to include in the download, make sure to uncheck the box to the option’s right. Once all the right options have been selected, click on the OK option at the bottom right to continue. Then, scroll all the way down and click on the blue Next Step button.
Download Options
In the next step, you’ll need to make a few decisions. For example, you’ll need to choose how you want your content to be delivered. You can choose from:
- Dropbox
- Drive
- OneDrive
- Box
There’s also an option to how often you want to download your Google Photos content. You can choose from:
- Once
- Every two months to a year

The final two decisions have to do with the file size and type. You can choose from:
- .tgz
- .zip
- 1GB
- 2GB
- 4GB
- 10GB
- 50GB

When you click on the Create export button, you’ll see a message from Google informing you that the process will take quite some time. The processing time can go from a few hours to a few days. Don’t worry; you don’t have to sit there and wait for that amount of time since Google will let you know when your export is done.
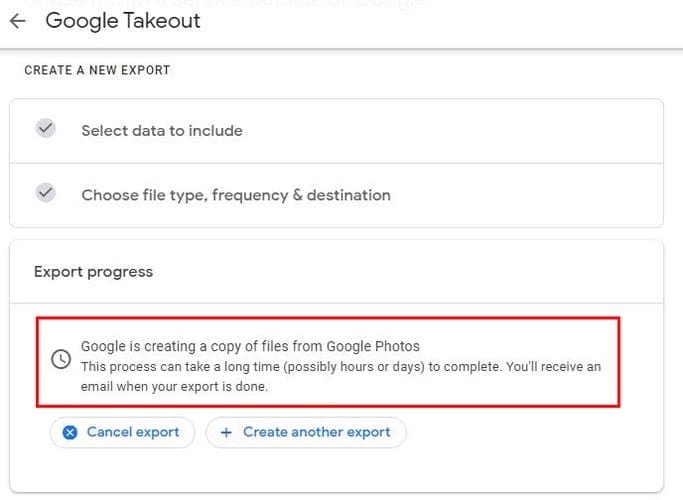
If you change your mind, you can click on the Cancel Export button. If you want to create another export, there’s an option for that too. When the necessary time has passed, Google will send you an email named Your Google data is ready to download with a blue Download your files button; you’ll need to click on it to be taken to the page where you can download your content. On the next page, your files should start to download automatically. If it doesn’t, you’ll see a download button to the side to start the process yourself.
If you want to make sure that the file you’ve just downloaded is really your Google Photos content, you can open the files from a custom web app or click on the Google Photos folder to look at them individually. From this point on, it’s up to you to add your newly downloaded files to the Google Photos alternative you’ve chosen.
Conclusion
It’s always a good idea to have a copy of all your files, just in case. Even if you’re not going to leave Google Photos, downloading your files to keep them elsewhere is not a bad idea. Either way, as you can see, the process to download all your Google Photos is easy to follow. Are you downloading because you’re moving from Google Photos or to keep your files as a backup elsewhere? Let me know in the comments below.