• Skip to main content
  • Skip to primary sidebar

Technipages

Tutorials and fixes for smartphone, gadget, and computer problems

  • Topics
    • Android
    • Gaming
    • Hardware
    • Internet
    • iOS
    • MacOS
    • Office
    • Software
    • Windows
    • Definitions
  • Product Reviews
  • Downloads
  • About Technipages
Google Photos: How to Create a Collage

Google Photos: How to Create a Collage

By Mel Hawthorne Leave a Comment

High-quality pictures are one of the great achievements of modern technology. No matter the moment, we can save a near-perfect copy for all eternity if we want to – and we’ve moved past plain old photos. There are all sorts of things you can do with your pictures, but collages are certainly one of the most popular ones.

Unlike traditional versions that required paper, scissors, glue and a lot of patience, virtual collages can be created with just a few clicks, right in your browser.

If you want to create a collage in Google Photos, you first need to go to photos.google.com.

Tip: While this site is available on your phone and other mobile devices too, you’re better off using the Pictures app for it, rather than the website.

Sign in to your Google account and make sure the pictures you want to use are actually stored there – if they are not, upload them before proceeding. On the left, you’ll find an option labelled ‘For you’.

The For you and Collage options

Click on it, and then, at the top, select Collage. Next, you’ll have to pick the pictures you want to have in your collage. Choose between 2 and 9 images and, when you are ready, click on the Create link in the top right corner.

The Create button

Google Photos will auto-create a collage for you and save it into your photo storage folder as well. You can add filters, share your collage and more by using the controls in the top right corner.
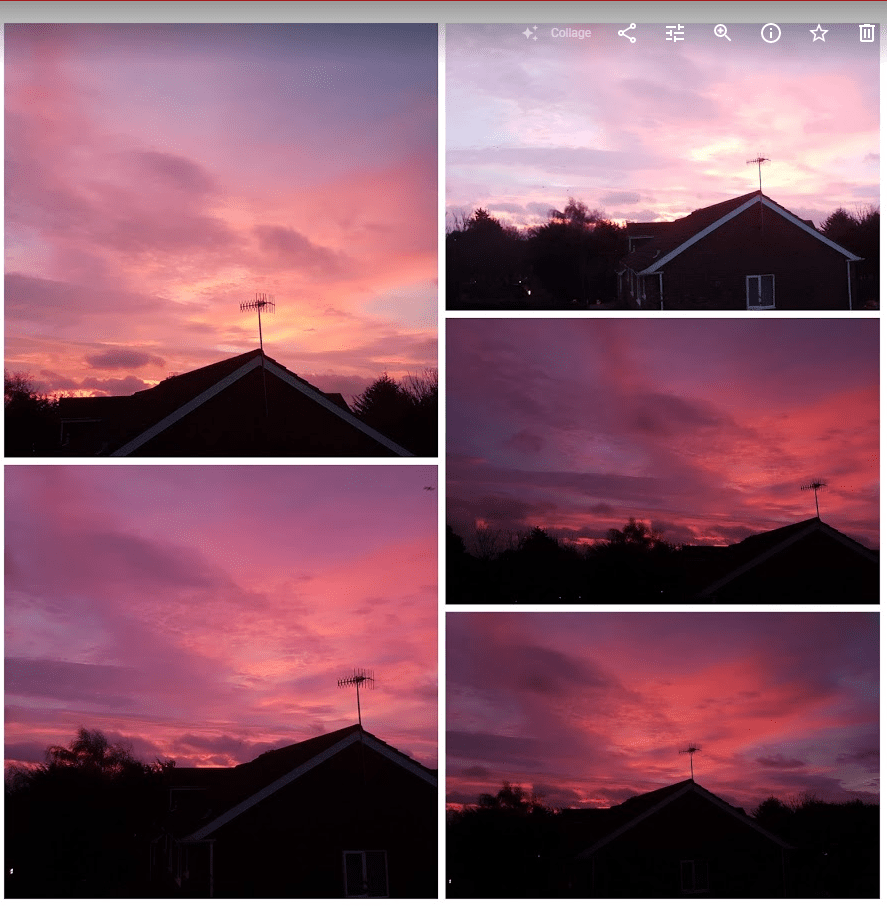
Example collage

Tip: It will arrange the photos automatically, regardless of the order that you selected them in. Google auto-picks what it thinks will be the best arrangement for your pictures!


You Might Also Like

  • How to Easily Create a Locked Folder in Google Photos
    How to Easily Create a Locked Folder in Google Photos
  • How to Create and Share an Auto-Updating Album on Google Photos
    How to Create and Share an Auto-Updating Album on Google…
  • Can I Delete My Photos After Backing Them up to Google Photos?
    Can I Delete My Photos After Backing Them up to Google…
  • How to Save Your Facebook Photos to Google Photos
    How to Save Your Facebook Photos to Google Photos
  • How to Create Cartoon Avatars From Photos
    How to Create Cartoon Avatars From Photos
  • Google Photos: How to Take out the Trash
    Google Photos: How to Take out the Trash
  • How to See Your Google Photos Pics in a Heat Map
    How to See Your Google Photos Pics in a Heat Map
  • Importing Google Photos Onto a USB Drive
    Importing Google Photos Onto a USB Drive
  • Google Photos: How to Manage Comments
    Google Photos: How to Manage Comments

Filed Under: Software

Reader Interactions

Did this help? Let us know!

Your email address will not be published. Required fields are marked *

This site uses Akismet to reduce spam. Learn how your comment data is processed.

Primary Sidebar

Recent Posts

  • How To Install Google Assistant on Galaxy Watch 4
  • How to Build the Best Themed PC for Your Budget
  • Windows 11: How to Change the System Sounds
  • Windows 11: How to Get the Battery Report
  • How to Fix Mic Not Working on Android
  • Google Maps: How to Use Coordinates
  • How to Turn Yourself into WhatsApp Stickers
  • What to Do When WhatsApp Web Doesn’t Work

Who’s Behind Technipages?

Baby and Daddy My name is Mitch Bartlett. I've been working in technology for over 20 years in a wide range of tech jobs from Tech Support to Software Testing. I started this site as a technical guide for myself and it has grown into what I hope is a useful reference for all.

You May Also Like

  • Top 10 Google Chrome Alternatives to Surf Better

© Copyright 2022 Technipages · All Rights Reserved · Privacy