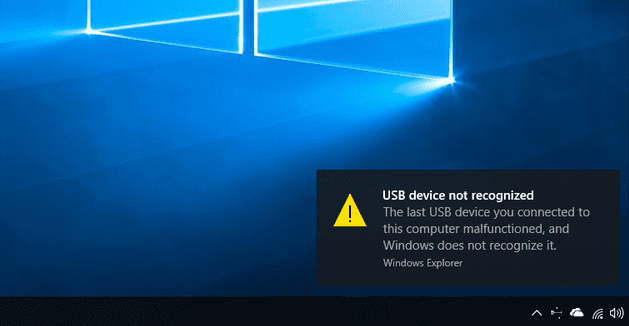
When you connect a USB device to your computer, Windows may sometimes throw up a bizarre alert that says the device malfunctioned. More specifically, the message reads as follows: “The last device you connected to this computer malfunctioned, and Windows does not recognize it.” Let’s explore what you can do to solve this problem.
Contents
Fix: USB Device Malfunctioned and Windows Won’t Recognize It
Check your USB cable and make sure it’s not damaged or frayed. Use a different cable and check if the error persists. Switch to a different USB port as well.
Uninstall USB Host Controller and Clean Boot Your PC
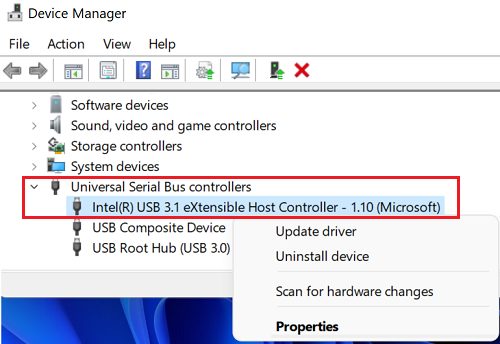
- Launch the Device Manager.
- Expand the Universal Bus Controller section.
- Locate the USB 3.0 Extensible Host Controller.
- Right-click on the controller and hit Uninstall device.

- Perform a clean boot and restart your computer.
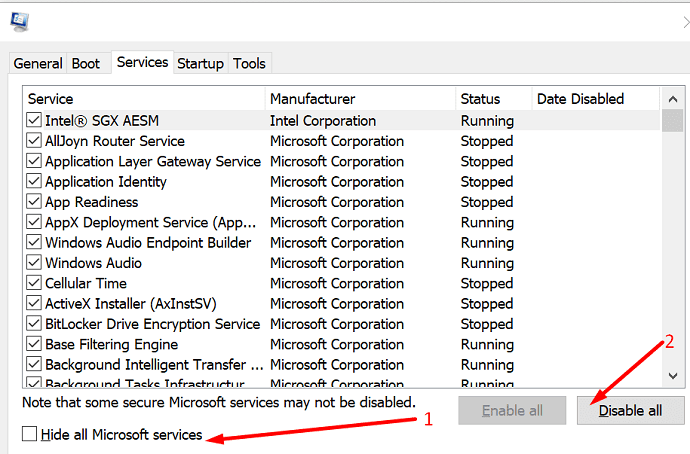
- Press the Windows and R keys and type msconfig.
- Click on the Services tab and select Hide All Microsoft Services.
- Then click on Disable All.

- Click on the Startup tab and open the Task Manager.
- Disable all the unnecessary apps and processes.
- Save the new settings and restart your computer.
Run the Hardware Troubleshooter
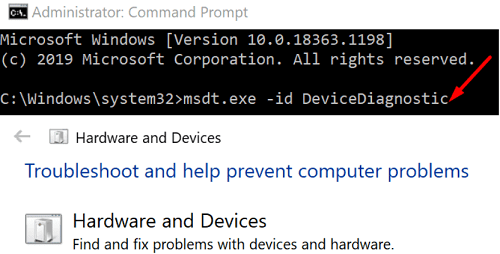
- Press the Windows and X keys and select Command Prompt (Admin).
- Enter the msdt.exe -id DeviceDiagnostic command and hit Enter.

- Run the Hardware and Devices troubleshooter.
- Wait until the tool scans and fixes your USB issues.
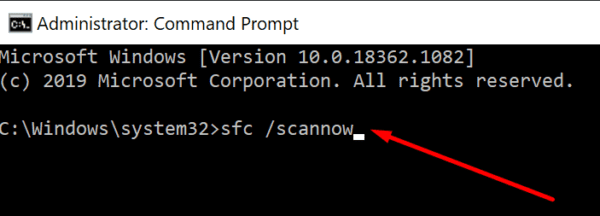
Additionally, run the sfc /scannow command to repair corrupted system files.
Unplug all USB devices, restart your computer, and check the results.
Check for OS Updates
Install the latest Windows updates, and check if you notice any improvements. If this USB issue is caused by software bugs, Microsoft may have patched them in the latest Windows version. Go to Settings, select Windows Update, and hit the Check for updates button.

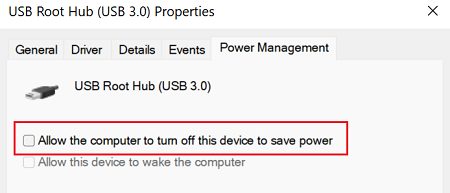
Tweak Your Power Management Settings
Change your Power Management settings and prevent Windows from turning off your USB devices to save power. Launch the Device Manager, right-click on your USB Root Hub and select Properties. Then click on the Power Management tab and untick the checkbox that says Allow the computer to turn off this device to save power.
Conclusion
If Windows says that your USB device malfunctioned, use a different USB cable and switch to a different port. Then uninstall the USB Host Controller and clean boot your computer. Additionally, run the Hardware troubleshooter, and install the latest Windows updates. Tweak your Power Management settings and prevent Windows from turning off USB devices.
Did these solutions help you fix the problem? Let us know in the comments below.