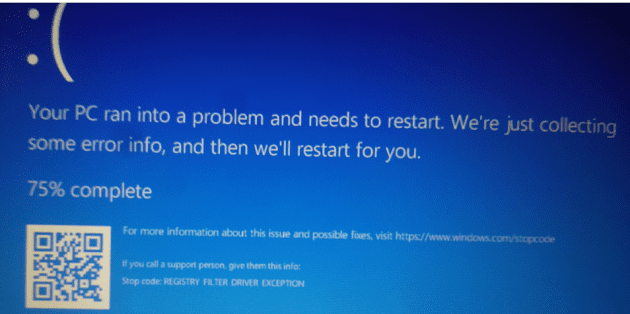
There was a time when it seemed like you were constantly being asked to install some version of DirectX with every other program. These days, Windows takes care of everything. But if you suddenly find yourself with the error message, “The program can’t start because d3dx9_43.dll is missing from your computer,” you might be wondering what to do.
This article will be your guide to getting DirectX fixed on your machine and fix d3dx file missing error.
Contents
The Meaning Behind the Message
DirectX is the magic API that interfaces with various graphics-intensive programs and processes, handling multimedia tasks. If a part of it is missing (like a “.dll” file), then Windows won’t be able to launch these programs.
The “d3dx9_43.dll” file in question might be corrupted, misplaced, or accidentally deleted from the runtime library. Let’s look at how to remedy this.
How to Fix the d3dx Missing Error
There are a few possible solutions that can fix this error:
Download the DirectX End-user Runtime Web Installer
The best and easiest way to fix the missing file problem is by letting DirectX reinstall it for you. This software can be found quite easily on the Microsoft site. Here’s how to install it.
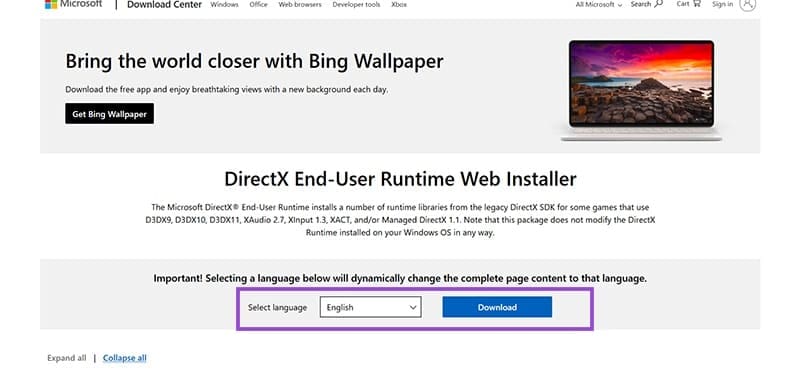
Step 1. Visit the Microsoft page (in the link above).
Step 2. Choose the language of the page, and then click the “Download” button.
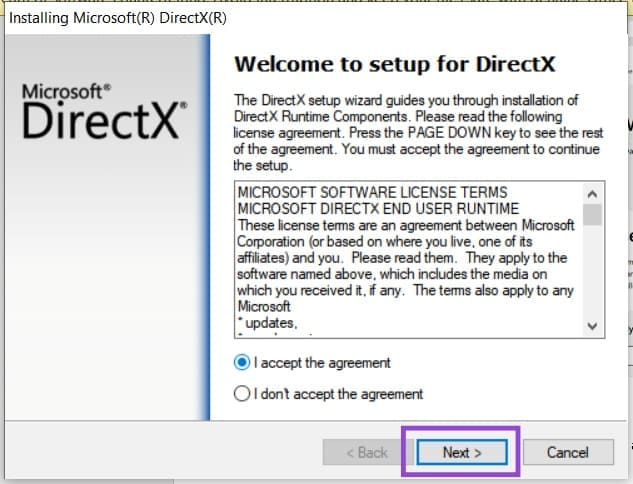
Step 3. Open the downloaded executable file and accept the license agreement.
Step 4. Let the program run, and click the “Finish” to Exit.
Step 5. Try to run the problematic program again, and see if things are fixed.
Reinstall the Problem Program
If just one app is giving you grief with this error message, then perhaps the problem lies with the app itself. The files that interface with the “.dll” file might be to blame. Simply uninstall and reinstall the app and see if this solves the problem.
Update your Graphics Driver
Seeing as DirectX is related to graphical matters, ensuring that your graphics card drivers are updated to their latest version is important too. You can download and install updates via your graphics client (AMD and Nvidia both have one) or do so manually through Device Manager. Simply locate your display adapter, right-click it, and choose “Update driver.”
Copy and Paste
If you have another PC or laptop, then odds are this machine has the missing “.dll” file in question. All you have to do is copy it over. Here’s how to find the file:
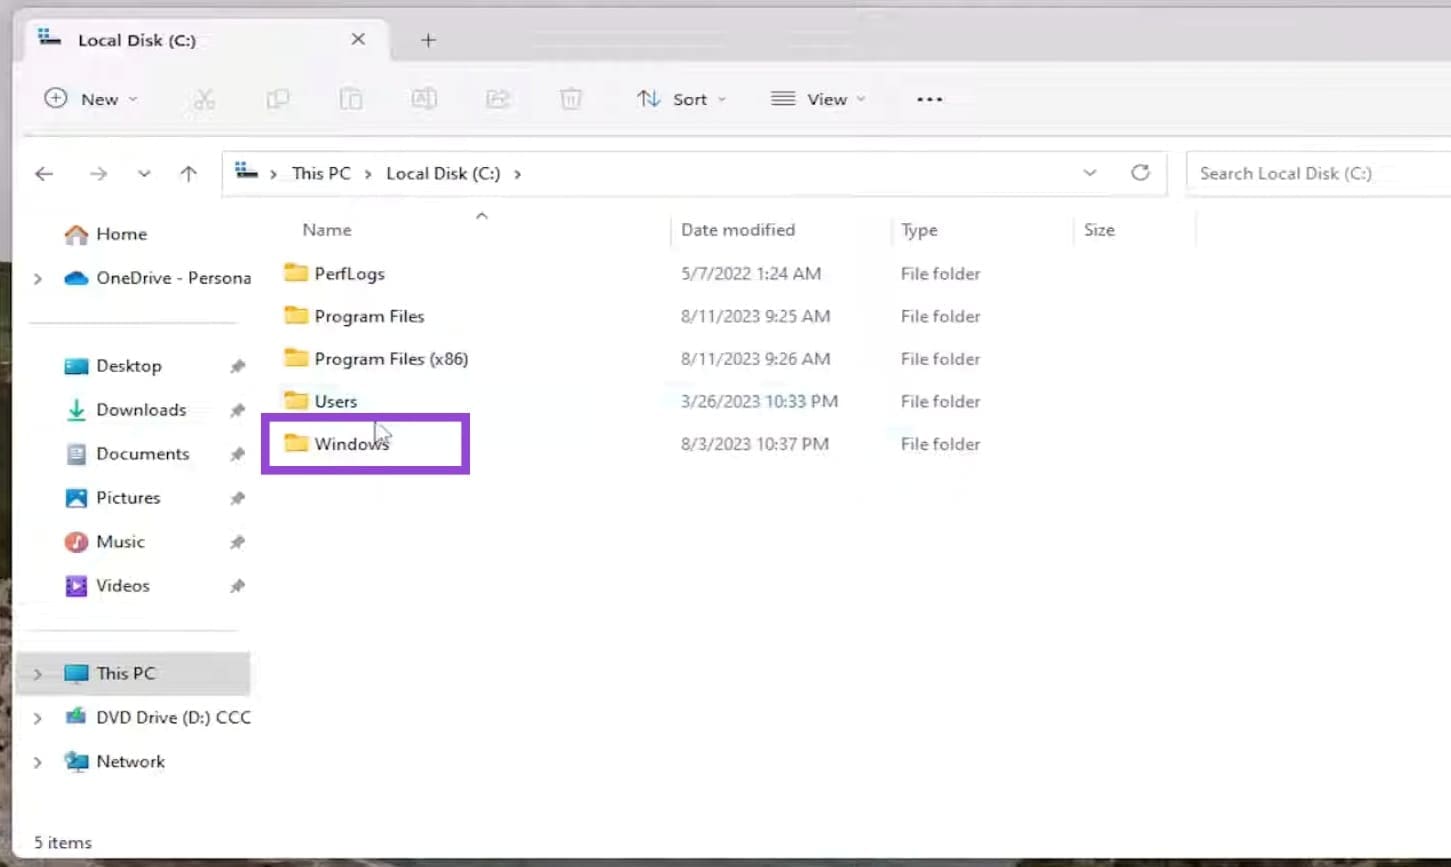
Step 1. Open up a new File Explorer window (Win + E) and choose “This PC” from the sidebar menu.
Step 2. Double-click your Local Disk (“C:” in most cases) and navigate to the “Windows” folder.
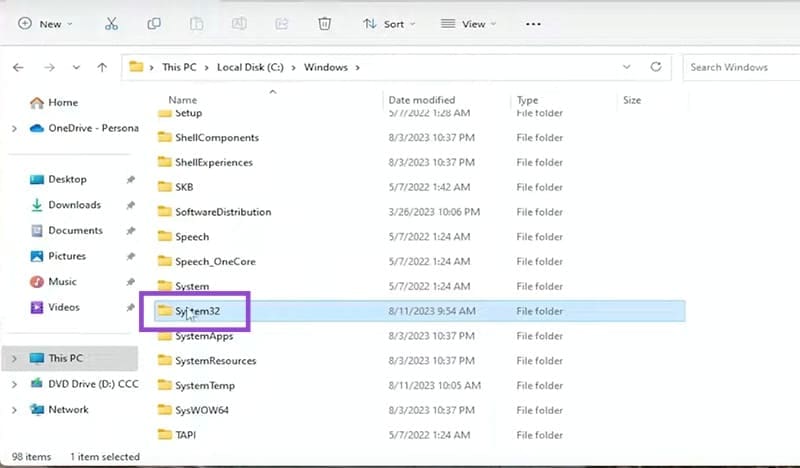
Step 3. Scroll down to the “System32” folder and double-click it too.
Step 4. Once in the folder, type “d3dx9_43.dll” into your search bar and wait for the file to pop up.
Step 5. Copy this folder onto an external device and paste it in the same location on your problem machine.
Note that for ideal results, your two machines should share the same version of Windows 11.