Taking screenshots on Chromebook is a fairly simple process. All you need to do is press the Ctrl and Show windows keys simultaneously. Unfortunately, your Chromebook may sometimes fail to save your screenshots. When this issue occurs, an alert pops on the screen, saying, “An error occurred, failed to save screenshot.” Restarting your laptop may help you fix the issue. If the error persists, follow the steps below to get rid of it.
Contents
Why Won’t My Screenshots save on Chromebook?
Change the Download Location
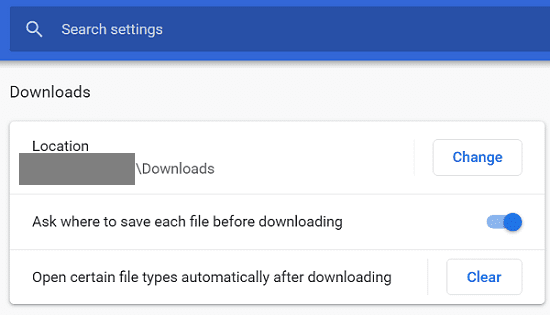
This error usually indicates ChromeOS could not find your download location. To fix it, try changing the download location.
Navigate to Chrome Settings, go to Advanced and select Downloads. Check if your current download location settings are correct. Hit the Change button to select a different download location.
Try saving your screenshots to a different folder and check if the issue persists. Ideally, don’t use the default “My Files” folder to save your downloads and screenshots. If you need to powerwash your device, you may lose your files.
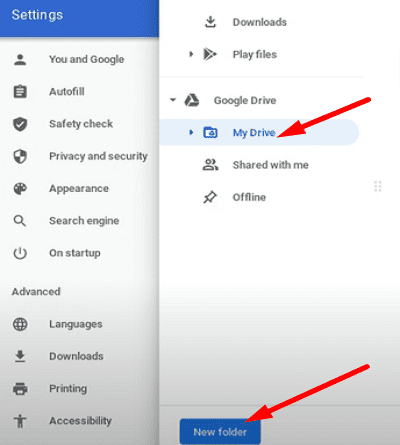
If the issue persists, have the screenshots automatically go to Google Drive.
- Go back to Downloads, and click the Change button.
- Select Google Drive and hit the New Folder button.

- Create a new folder for your screenshots. Name it “My Screenshots.”
- Then hit the Open button to set “My Screenshots” as your new screenshot download location.
Free up Some Space
If your download location is filled, and there’s not enough space left for your screenshot, Chromebook won’t be able to save the image. Make sure you’re not running low on storage space. Delete unnecessary files from local storage, restart your laptop, and check the results.
Clear Your Cache
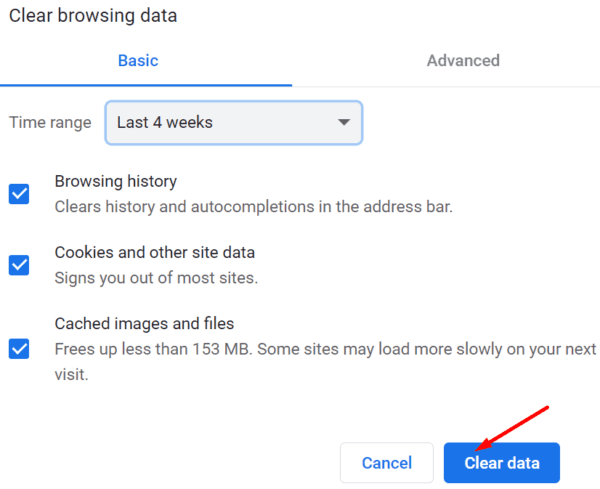
Try clearing your cache and check if this quick solution works for you.
- Launch Chrome, and navigate to More options.
- Select Clear browsing data from All time.
- Select Cookies and other site data and Cached images and files.
- Hit the Clear data button.

- Take a new screenshot and check if your laptop can save it.
Contact Your Admin
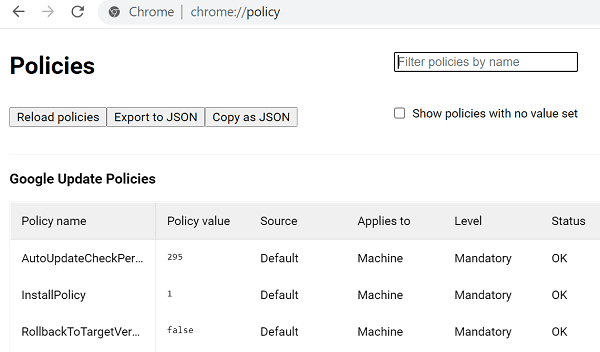
If your Chromebook is managed by an organization, contact your IT admin for further help. Maybe they recently updated the settings to prevent users from taking screenshots. For more information about the current policy, type chrome://policy in a new browser tab.
If you can’t contact your IT admin directly, ask a teacher to request help on your behalf.
Conclusion
If your Chromebook cannot save your screenshots, change the download location and have the screenshots automatically go to Google Drive. Additionally, delete unnecessary files from local storage to free up some space and clear your cache. If the issue persists, contact your IT admin for further help. Did you find other ways to fix this issue and save your screenshots? Share your ideas in the comments below.