If a stable internet connection is something that’s been eluding you, then Windows 11 allows you to tether a device via USB to your PC or laptop, giving you a connection similar to Ethernet. It’s very useful in a pinch and in general. If you want to know how to make the most of Windows 11 USB tethering, then this article has you covered.
Contents
What Tethering Entails
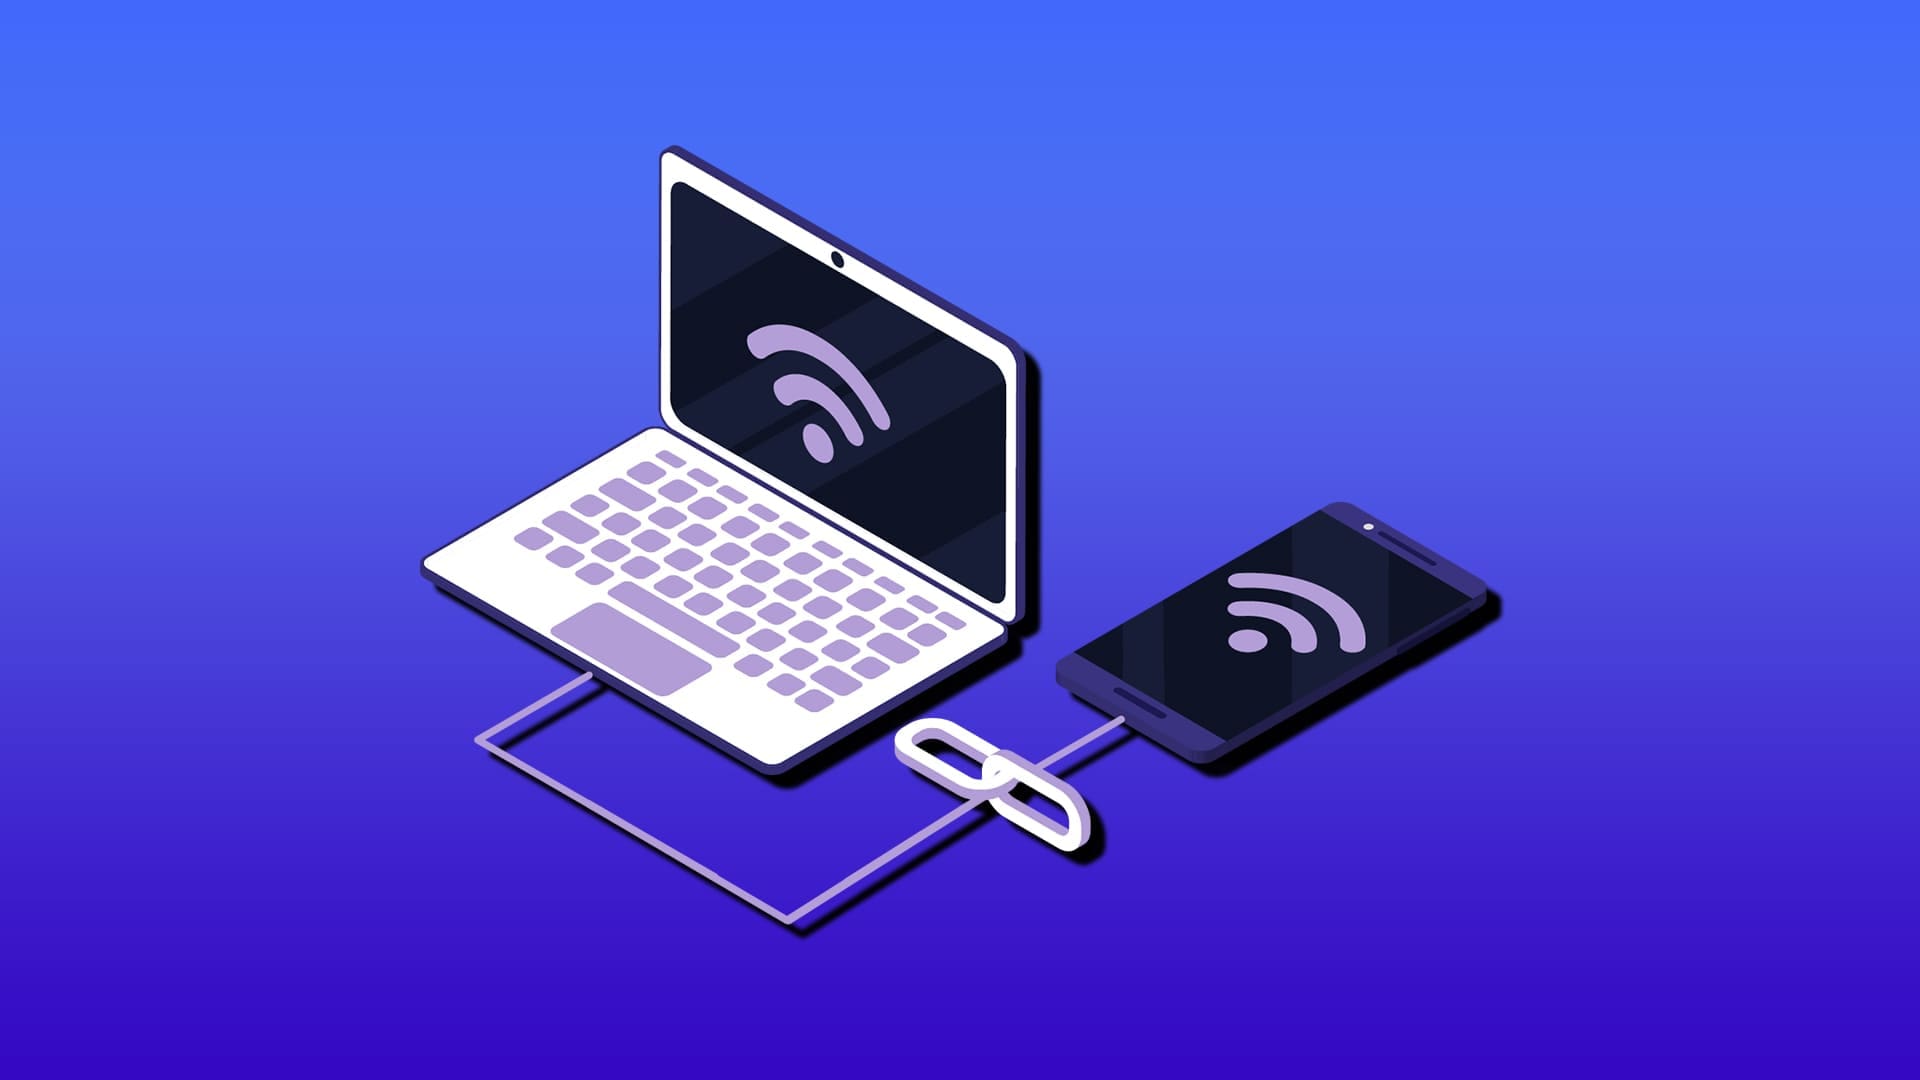
“Tethering” via USB is using another device’s internet connection (be it a smartphone, tablet, or similar) to use on a computer. The device essentially works like an Ethernet cable, offering faster speeds than Wi-Fi and a more stable connection in some cases. The smart device essentially becomes a personal hotspot while tethered.
Enabling Windows 11 USB Tethering
Before attaching any phone or tablet via USB cable, you should first ensure that your computer is ready to handle tethering and properly set up. Here’s what you need to do:
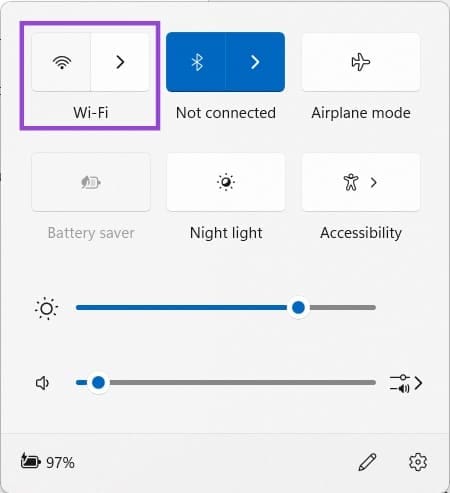
Step 1. Your PC shouldn’t be connected to any Wi-Fi network to ensure tethering will work. Open the System Tray and turn off the Wi-Fi.
Step 2. Open iTunes. If you have an iPhone as the tethered device, this might help the process.
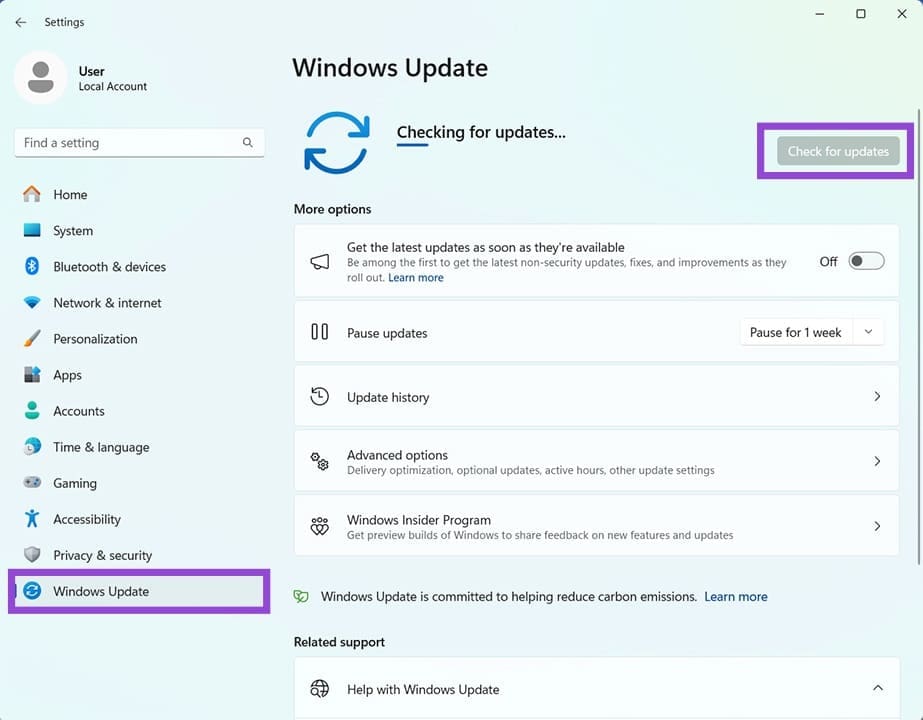
Step 3. Ensure that your PC is fully up to date.
Tethering Your Device
Now comes the device tethering. With a smart device, you’ll probably be dealing with Android or iOS. We’ve split these into their own sections. Before you begin with tethering, it’s a good idea to ensure that all software is up to date first.
Android Devices
For Android, here’s how to tether to your PC:
Step 1. Attach a USB cable to your Android device and connect it to your PC.
Step 2. Confirm that your PC recognizes the device. A haptic or notification sound will indicate that it is.
Step 3. On your device, head to “Settings” and click “Connections.”
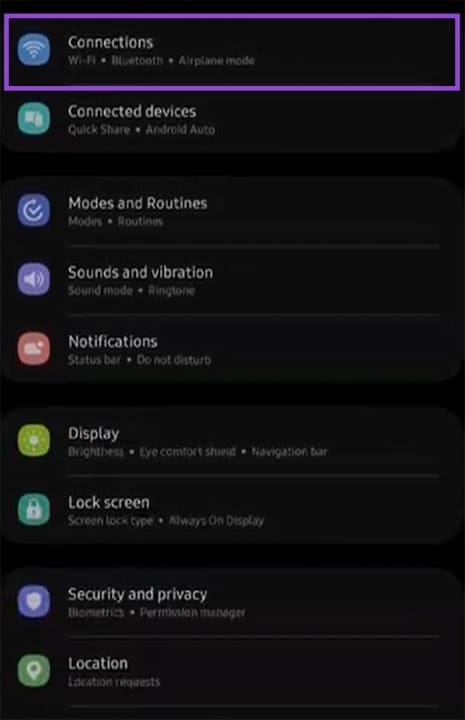
Step 4. In the next screen, scroll down and tap “Mobile Hotspot and Tethering.”

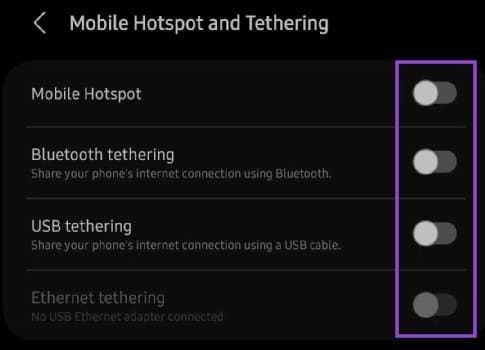
Step 5. In the next screen, ensure all other sliders are set to “Off” and drag “USB tethering” to “On.” If it’s grayed out, then try disconnecting and reconnecting the device.
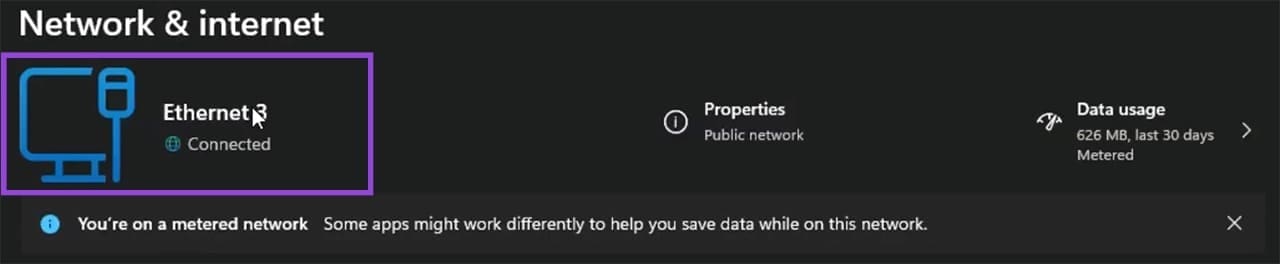
Step 6. In place of a Wi-Fi icon in the System Tray, you should now see an Ethernet icon instead. If you want to double-check the connection, open Settings (Win + I) and head to “Network & internet” in the sidebar.
iOS
iOS devices can be tethered in this way.
Step 1. Connect your PC and Apple device via USB cable. If prompted by a pop-up, be sure to select “Trust this Device.”
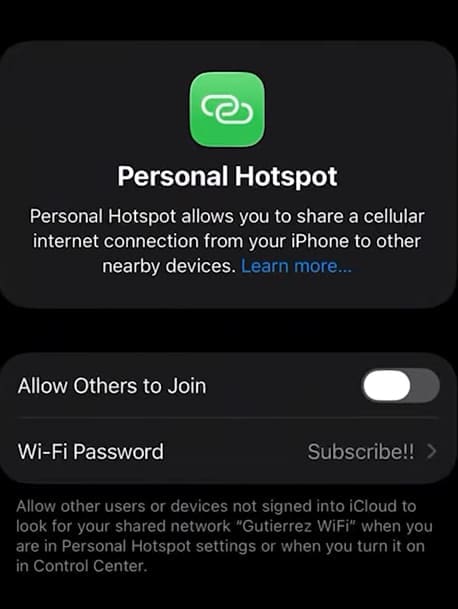
Step 2. Head to Settings and navigate down to “Personal Hotspot.”
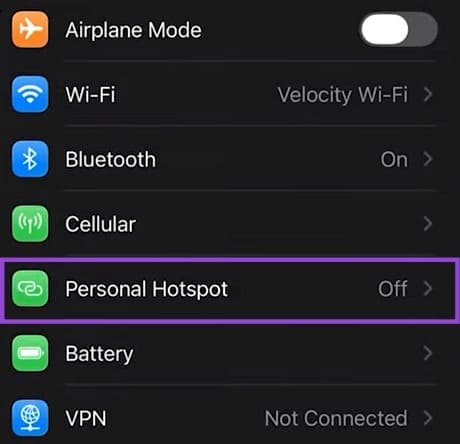
Step 3. In the next window, toggle “Allow Others to Join” to “On.”
Step 4. The Wi-Fi icon in your System Tray should now be replaced with an Ethernet one. To confirm the connection, head to Settings (Win + I) and select “Network & internet” from the sidebar.