Installing Windows 10 generally requires a removable device to be configured to be a bootable media. The best device to use for this is a USB memory stick.
Tip: This process requires a USB memory stick with at least 8GB of space.
The best software to use to create a bootable Windows USB is the official Microsoft Media Creation Tool. This tool can run without any installation, you just need to accept the standard licensing agreements.
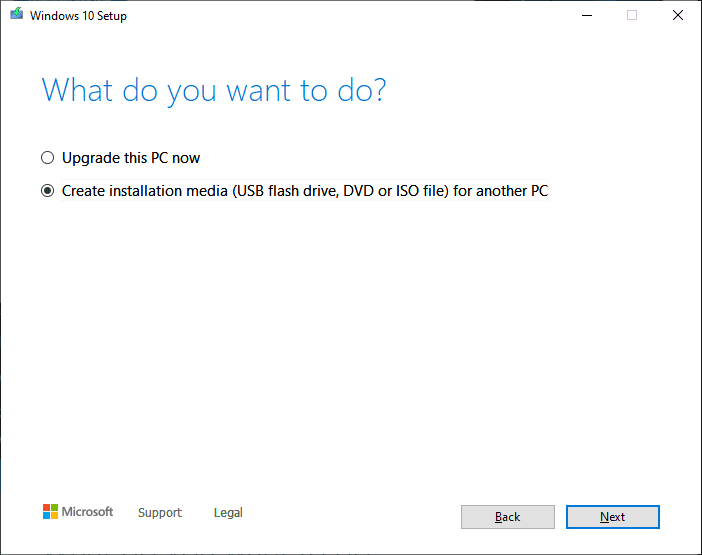
The first real option is selecting which process you want to complete. The Media Creation Tool can be used to upgrade existing installations of Windows or to make bootable removable devices. You want to select “Create installation media”, before clicking next.
Next, you need to select what language pack, edition, and architecture of Windows you want to install. The “recommended options for this PC” will match the version of Windows that you have installed. The architecture should be set to 64-bit unless you know you specifically need a 32-bit version of Windows.

Next, you’ll be asked if you want to download an ISO file (a disk image format) to install later, or if you want to install windows to the USB device now. Select USB flash drive and click next.

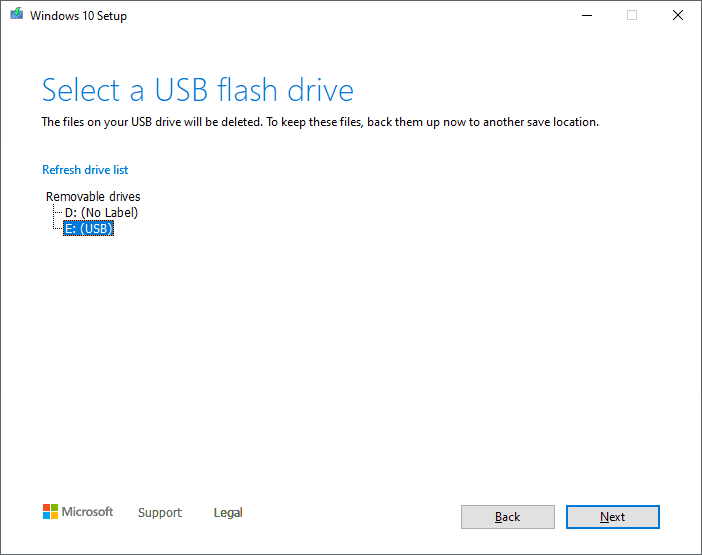
The next stage is to select which USB drive to use. If the device you select does not have the required 8GB of space, a warning will popup.
Tip: This process can wipe the contents of the USB stick, make sure to back up any documents before starting the installation.
Once you’ve chosen which device to install Windows to, the Media Creation Tool will download and install everything automatically. Once the process is complete, you’ll get a screen saying, “Your USB flash drive is ready”.
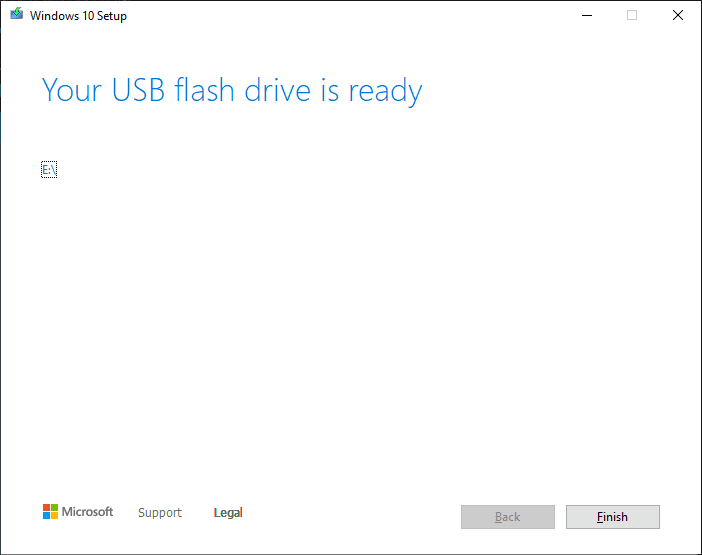
Once you click “Finish” the Media Creation Tool will perform a few cleanup tasks before closing. Your Windows bootable USB installation media is now ready to go.
Tip: Be sure to remove the USB device before booting your computer next time, or your computer may try to reinstall Windows.