
Remember that tried and tested Murphy’s law that says “Anything that can go wrong will go wrong“? Did you notice that some unexpected error always pops up on your computer’s screen right when you need it the most?
If you’re in a hurry and you need to join an important Skype meeting, the last thing you want to do is troubleshoot your camera. Don’t panic, this is where TechniPages steps in. Let’s see how you can quickly get Skype to recognize your camera.
Contents
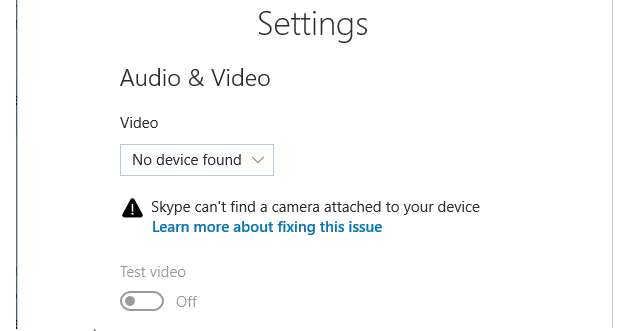
Fix Skype Doesn’t Detect Camera on Windows 10
⇒ Quick Fix: If you’re using an external camera, make sure the device is properly connected to your computer. Gently press the camera edges and cable to ensure it’s properly plugged in. Needless to say, ensure the camera is turned on.
Also, don’t forget to check the Skype service status. Maybe the camera issue you’re experiencing is due to a general problem Microsoft is aware of.
Let Skype Use Your Camera
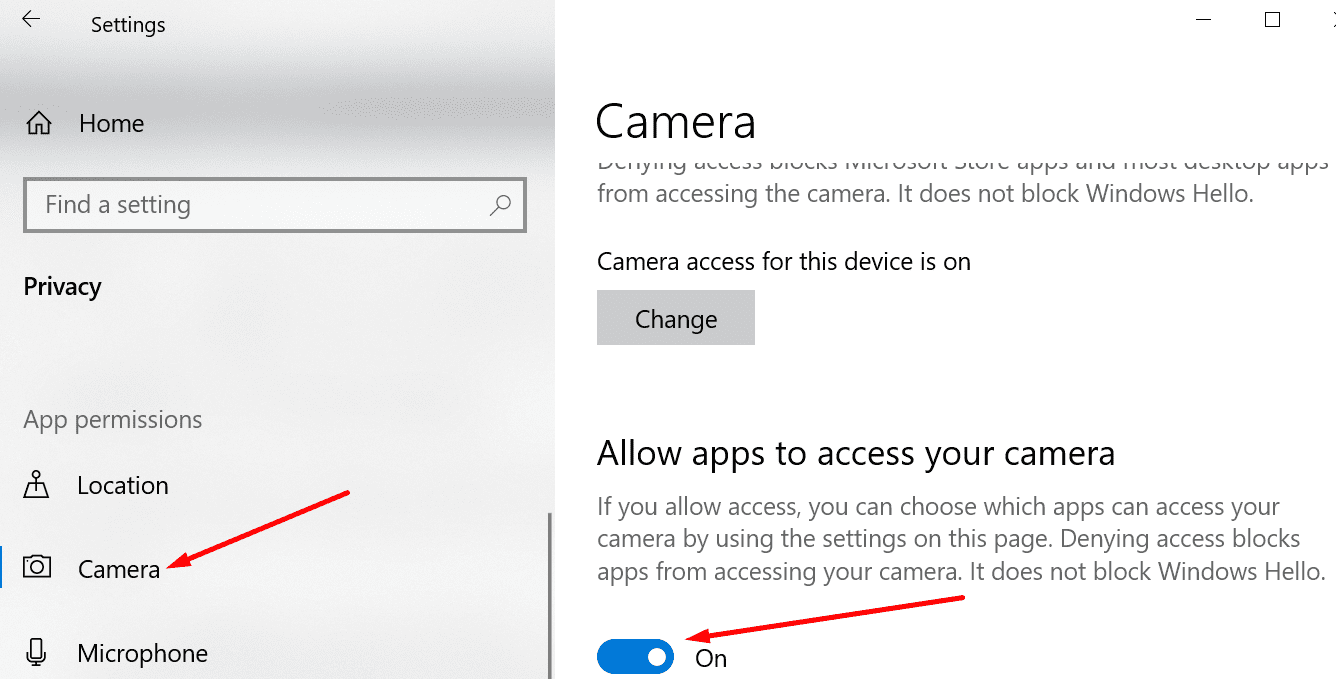
Skype adapts to your computer settings. If you tweaked your privacy settings so as to prevent apps from using your camera, Skype won’t be able to access it.
- Go to Settings and select Privacy.
- Under App permissions (left pane), click on Camera.
- Enable the option that says Allow apps to access your camera.

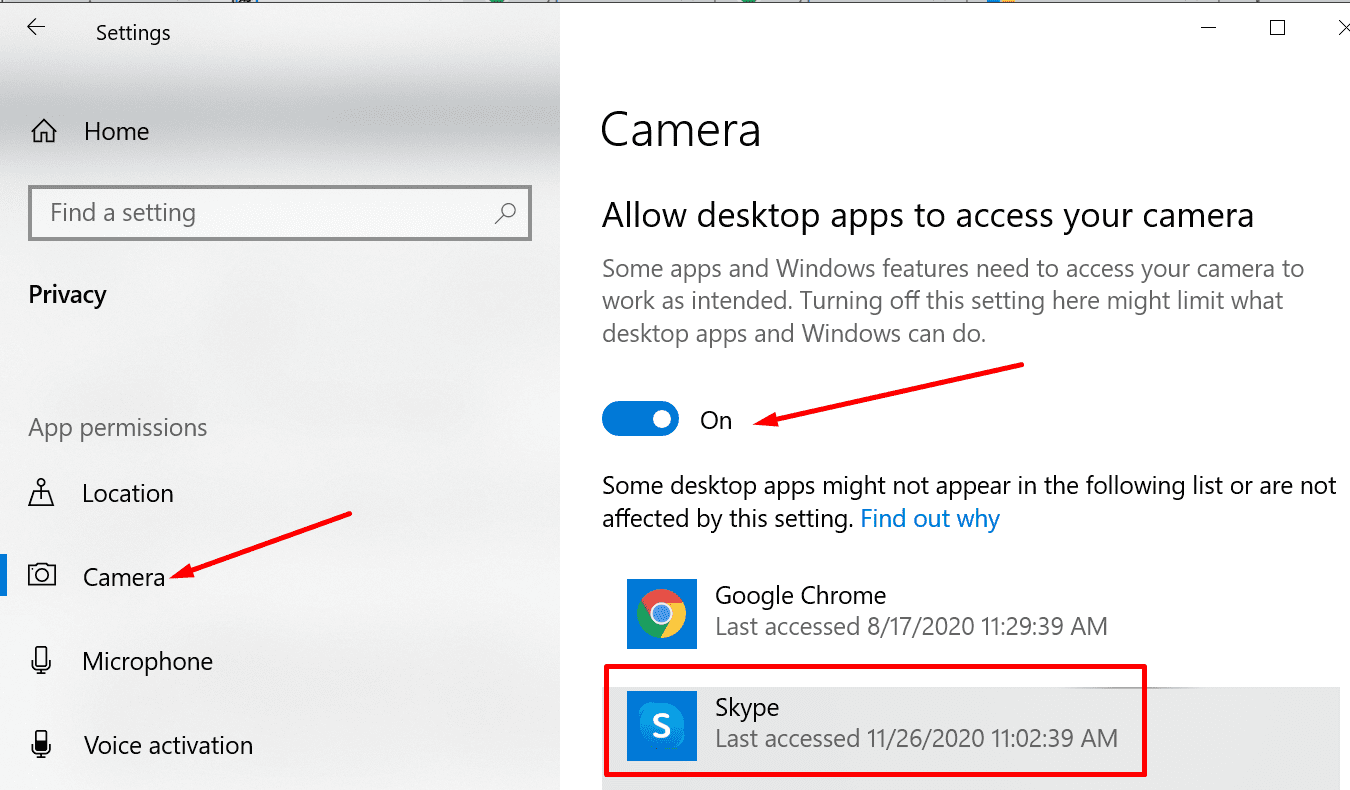
- Make sure Skype is allowed to access your camera.
Update Your Camera Drivers
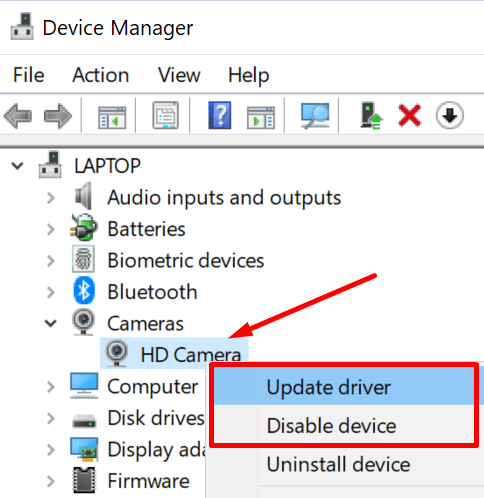
Skype may fail to detect your camera if you’re running outdated or corrupted camera drivers. Update or reinstall your drivers to solve the problem.
- Launch the Device Manager and click on Cameras.
- Then right-click on your camera driver and select Update Driver. Check if the error is gone.

- If it’s not, reinstall your camera driver. Right-click on your camera again and select Uninstall device this time.
- Follow the on-screen instructions and then restart your computer to automatically install the latest camera drivers.
Run the Hardware and Device Troubleshooter
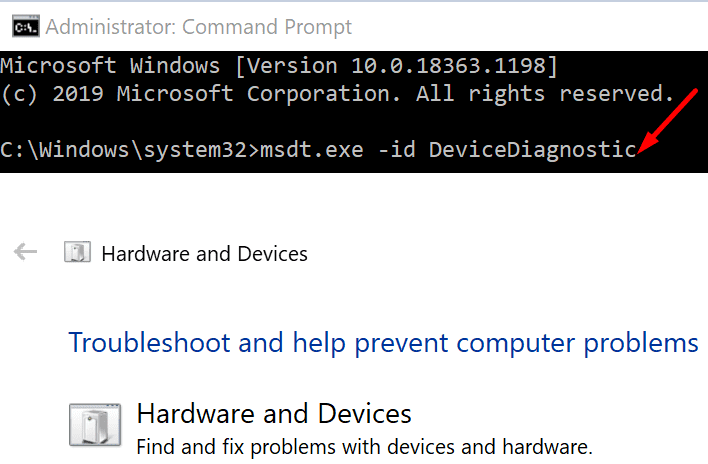
- Type cmd in the Windows Search bar, right-click on Command Prompt and launch it as an admin.
- Then enter and run the msdt.exe -id DeviceDiagnostic command.
- Select and launch the Hardware and Devices troubleshooter.

- Restart your machine. Check if Skype can detect your camera now.
Close Other Apps Using Your Camera
Make sure to close all the other apps and programs that could be using your webcam. Maybe other apps accessed your camera and are exploiting it fully preventing Skype from stepping on the scene.
For example, if Teams or Zoom are running in the background, close them and check if this solved the problem.
To close background programs, launch the Task Manager and click on the Processes tab. Then right-click on the programs you want to end and select End task.

Update Skype and Windows 10
If it’s been a while since you last updated your Skype and Windows 10 version, do check for updates. Installing the latest updates can quickly fix many glitches, including your Skype camera issues.
To update Skype, click on More options, select Settings, and go to Help and Feedback. The app will tell you if you’re running an outdated version.
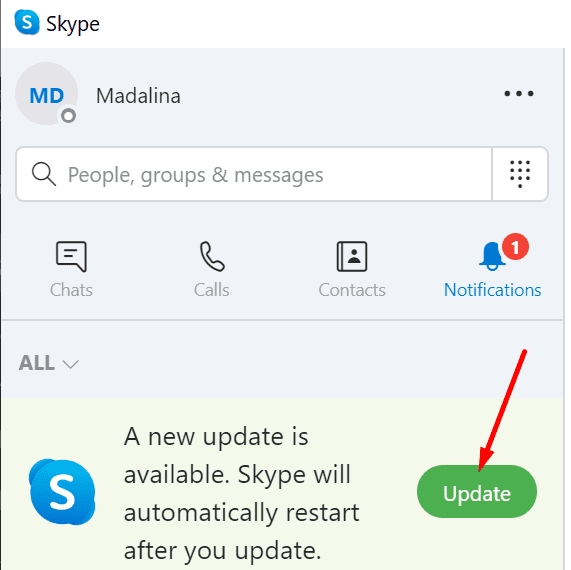
Anyway, Skype will notify you whenever there’s a new app version available. Just hit the Update button.
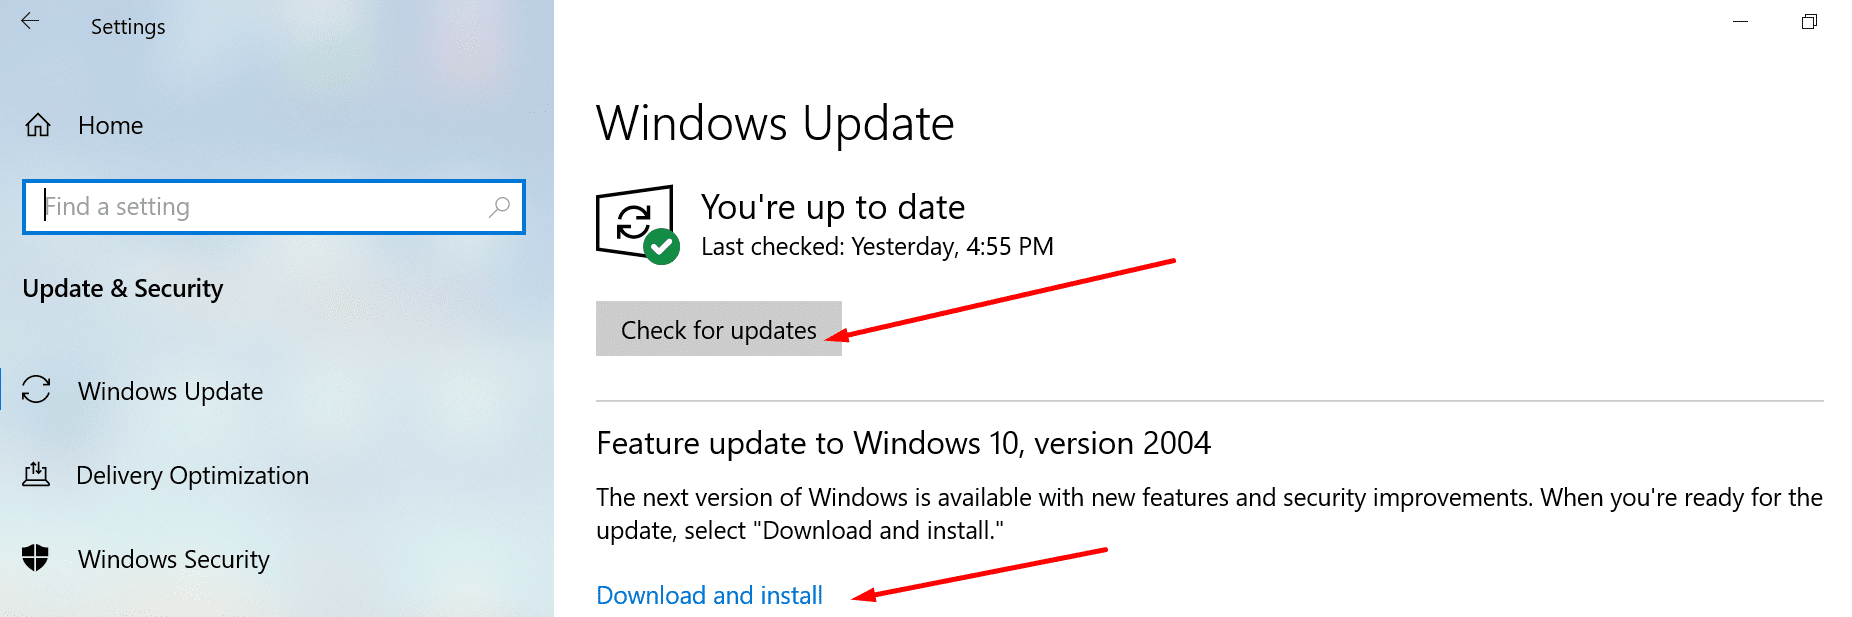
To update your OS version, go to Settings → Update & Security → Windows Update and click on the Check for updates button.
If nothing worked, launch your browser and temporarily switch to Skype Web. Meanwhile, you can uninstall and reinstall the stand-alone Skype app. Installing a fresh copy of the app should fix your Skype camera problem.
Conclusion
Strict privacy settings and outdated camera drivers often prevent Skype from detecting your webcam. Tweaking your privacy options and updating your drivers should fix the problem.
We hope this guide helped you to troubleshoot your Skype camera problem. Hit the comments below and tell us which solution worked for you.


My laptop camera works in other apps. Skype cannot find it.