Screenshots are one of the most useful ways to share information from your computer. They’re great for capturing issues with your computer, saving information (like conversations), and making tutorials. In this tutorial, we’ll walk you through all the different ways to take screenshots, starting with the simplest.
Contents
Method 1: Take A Screenshot
The simplest and most direct way to take a screenshot is to simply press Command + Shift + 3. This immediately takes a screenshot of your entire screen, which you’ll see appear as a thumbnail in the lower-right corner of your screen.

Method 2: Take A Partial Screenshot
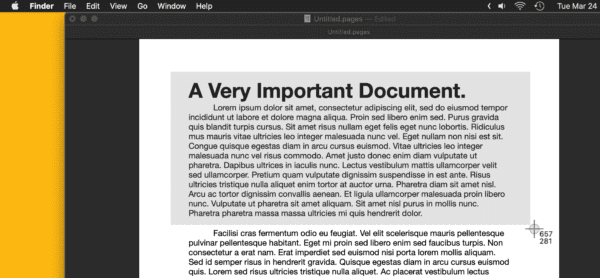
If you only want to take a screenshot of a portion of your screen rather than the entire screen, you can press Command + Shift + 4. This will turn your mouse cursor into a small target, like so:

You can click and drag this cursor to select a portion of the screen to take a screenshot of. When you’re ready to take your screenshot, just let go of the mouse button.
Method 3: Take A Fine-Tuned Screenshot
If you want to take a more precise or controlled screenshot, you can press Command + Shift + 5. This will bring up the Screenshot app, pausing whatever you were just working on.
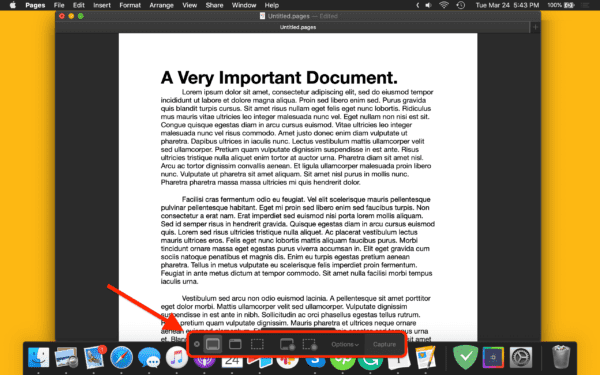
On this app’s menu (located at the bottom of your screen) there are different screenshot modes that you can choose from. The leftmost one, right next to the small “x”, takes a screenshot of the entire screen when you click anywhere.
The mode directly to the right of that allows you to take a screenshot of a specific window, which you can do by hovering your mouse over your desired window and clicking it.
The third mode, which looks like a rectangle made of dotted lines, allows you to choose a portion of the screen to take a screenshot of. Unlike the previously mentioned method of taking a partial screenshot, you can drag this box around and be much more precise with the screenshot you’re trying to take. To take a screenshot in this mode, you’ll press Return instead of clicking your mouse.
Method 4: Record Your Screen
You may have noticed in Method 3 that there were actually a few more options available on the screenshot menu that we didn’t mention. These options are for recording a video of your screen, which is fairly easy to do. There are two modes available.

The first, shown in the image above, records your entire screen. The second, directly to the right of the first mode, allows you to select a portion of your screen to record. To start recording in either mode, just press the Record button on the right of the screenshot menu. To stop recording, press Command + Shift + 5 again and press the square button in the center of the screenshot menu.
FAQs
Where can I find screenshots on Mac?
By default, your screenshots will save to your Mac’s desktop as a PNG.
How can I change where screenshots save on Mac?
To change where screenshots save, open the Screenshot app (Command + Shift + 5), click Options from the menu that appears at the bottom of the screen, and choose a new location from one of the options that appear.