Office 365 users may sometimes receive an error message informing them they don’t have the authorization to access certain webpages. This can happen when they’re trying to access Outlook on the Web or other online Office 365 services.
Contents
How to Fix Office 365 “You Are Not Authorized to Access This Site” Error
Update Data Source Settings
If you recently edited your account settings or changed your password, update your data source settings.
- First, log out of the problematic Microsoft service if you’re already logged in.
- Type %appdata% in the Windows Search bar and hit Enter to open your roaming profile folder.
- Once the C:\Users\UserName\AppData\Roaming path visible, open the Microsoft folder and locate the folder of the program that triggered the error.

- Then rename that folder. You can simply add the _OLD extension at the end of the folder name.
- Close Explorer, launch the problematic service again and log back in. Check if the issue persists.

Repair Office 365
Repairing your Office 365 installation package allows you to fix the file corruption problems that may have triggered this error.
- Navigate to Control Panel and select Programs.
- Then click on Programs and Features.
- Select Office 365 or Microsoft 365 and hit the Change button.
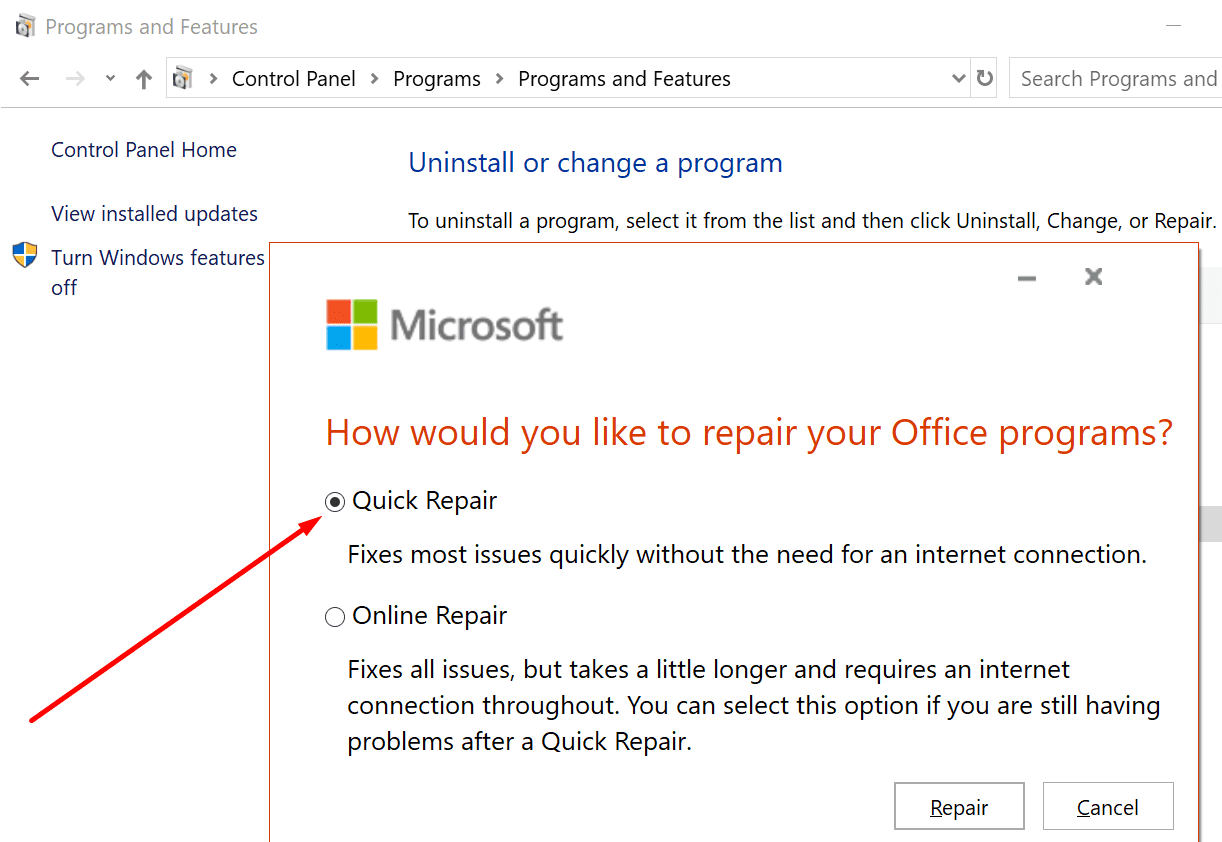
- On the new repair window, select Quick repair. Let the tool scan and repair your Office installation files. Then restart your computer and check the results.

- If Office 365 still says you don’t have the authorization to access that site, repeat the steps above and run an Online repair.
Contact Your Admin
Additionally, if you’re using a work or school account, contact your IT admin. Ask them to check all the settings and permissions associated with your account. If you don’t have sufficient permissions to access certain sites, your IT admin should be able to whitelist your account.
Conclusion
If Office 365 says you don’t have the authorization to access a certain site, most likely, access to that site has been restricted. Contact your IT admin and ask them to grant your access to the respective page.
If you found other ways to troubleshoot this problem, share your ideas in the comments below.