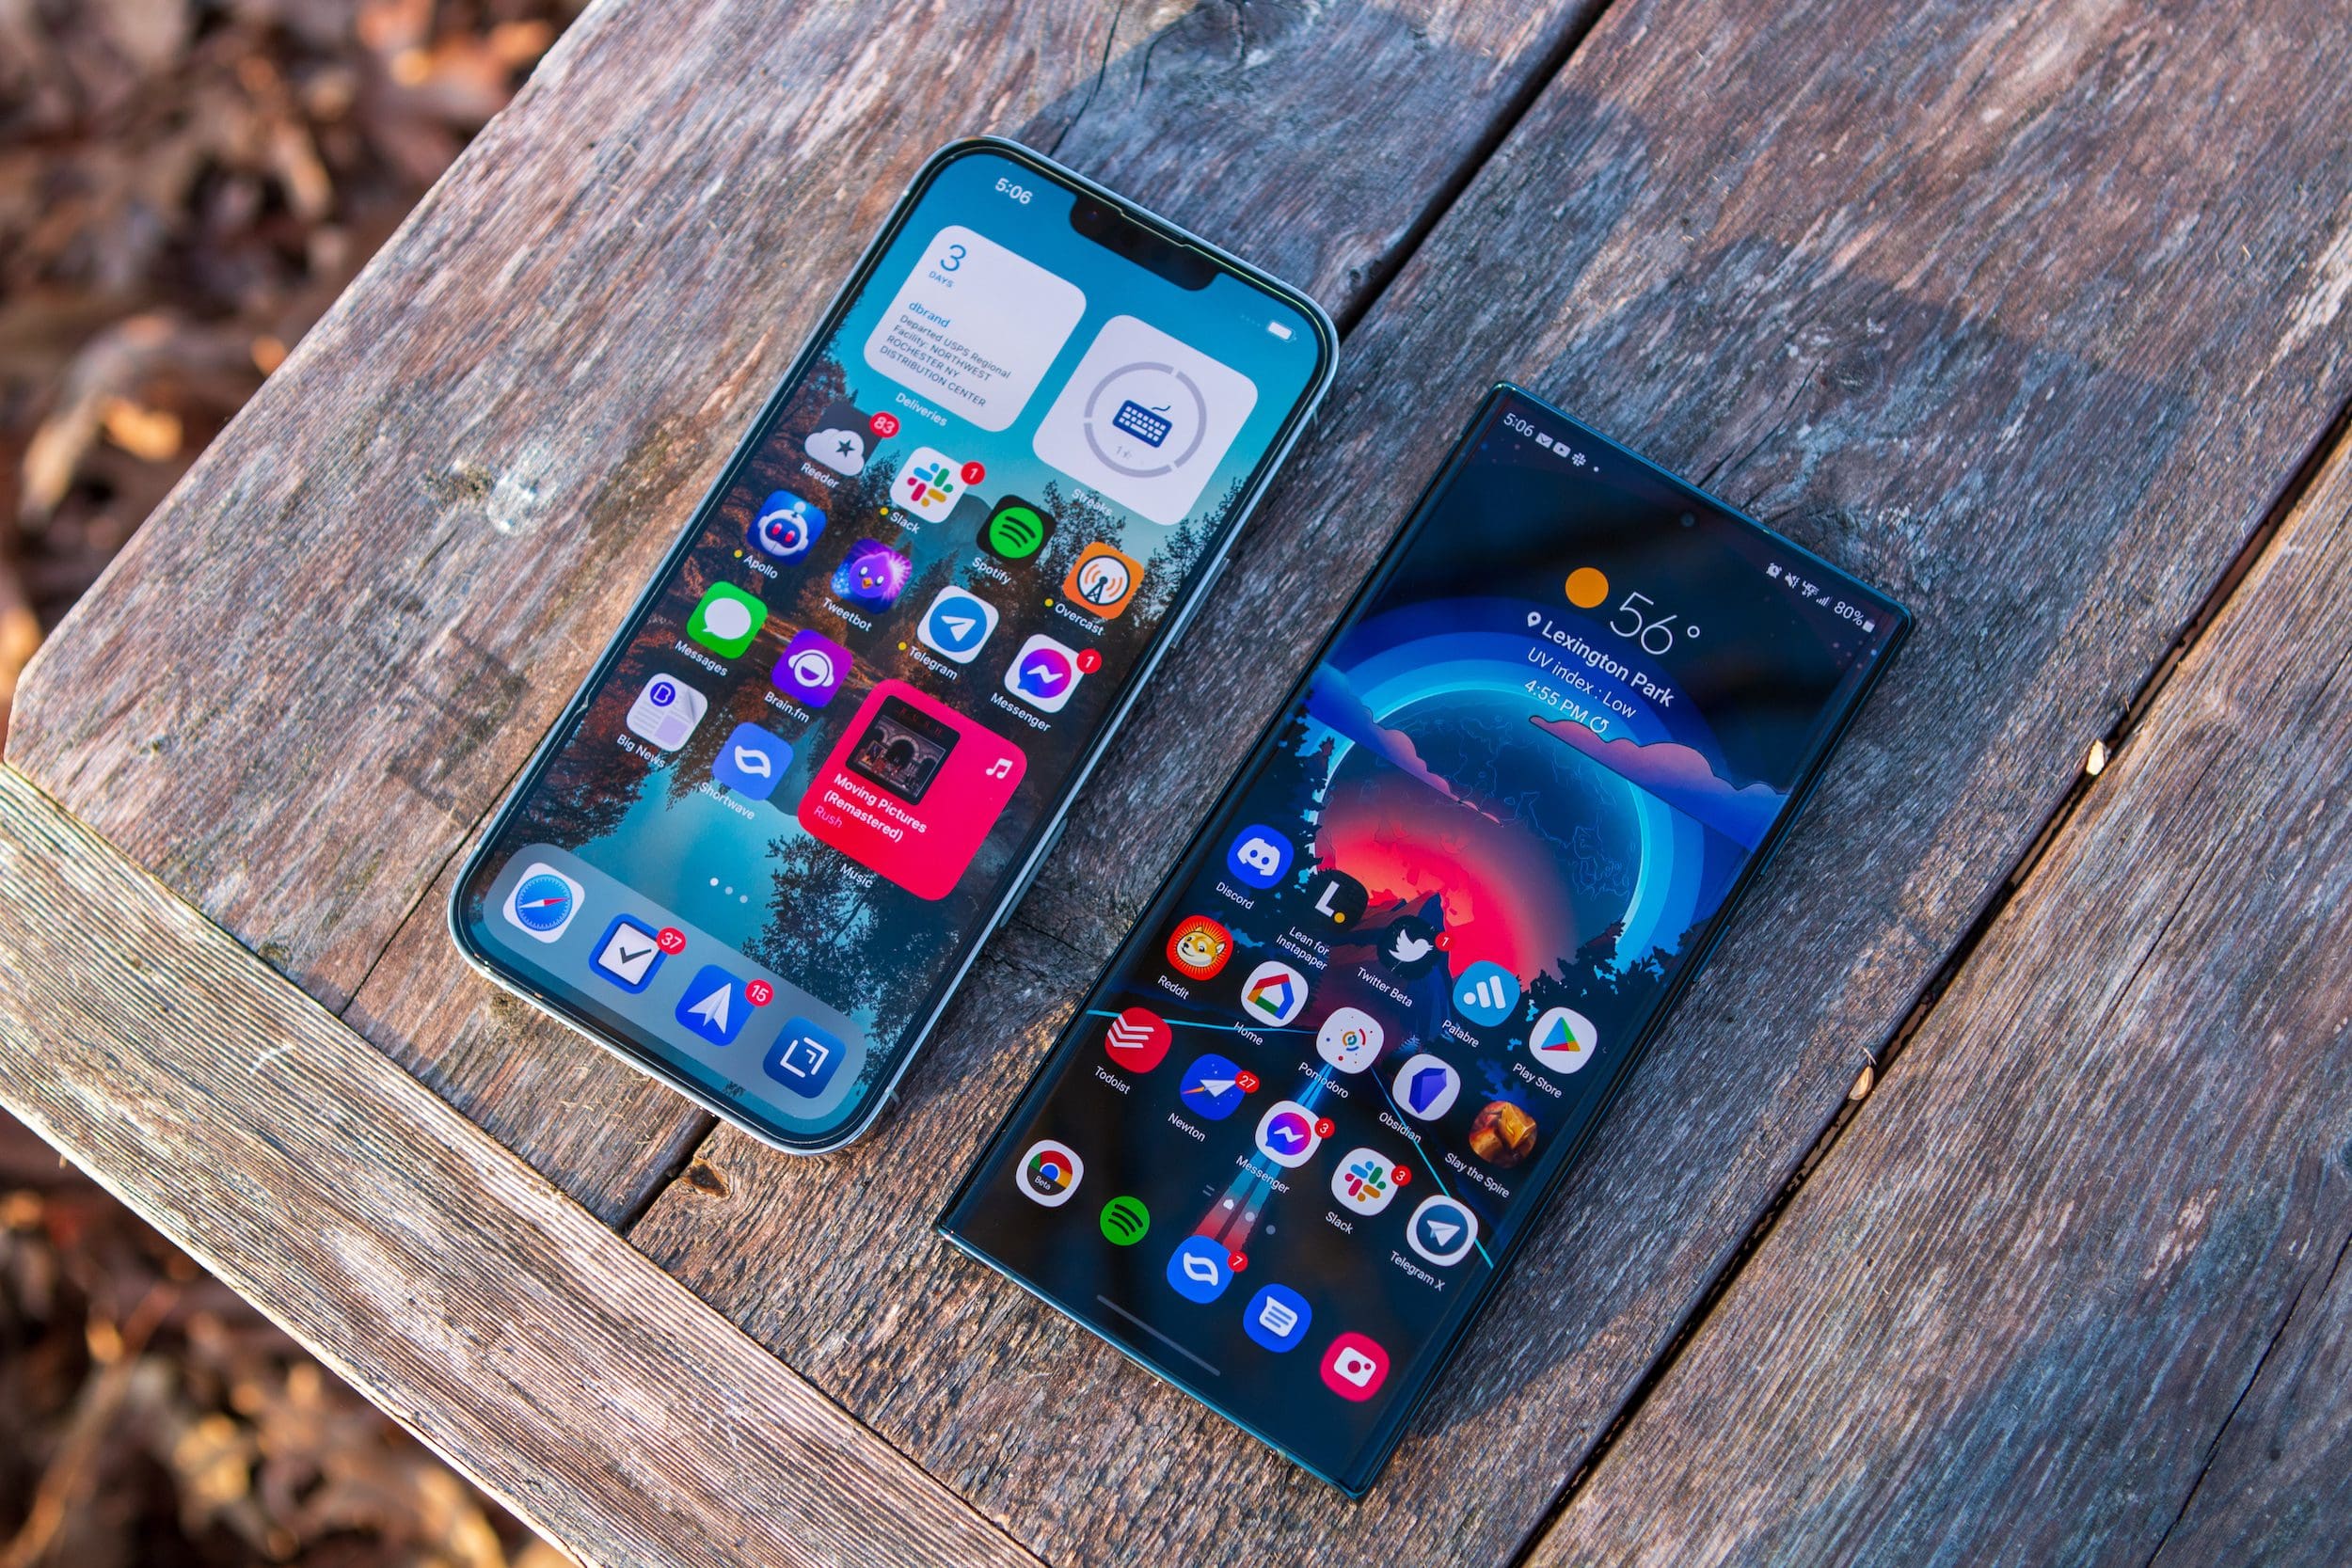
Over the years, we’ve had several different methods to play around with when it came to switching between iOS and Android. None of the solutions have been exactly the greatest, but Apple, Google, and Samsung have been working to try and make the transition a bit easier.
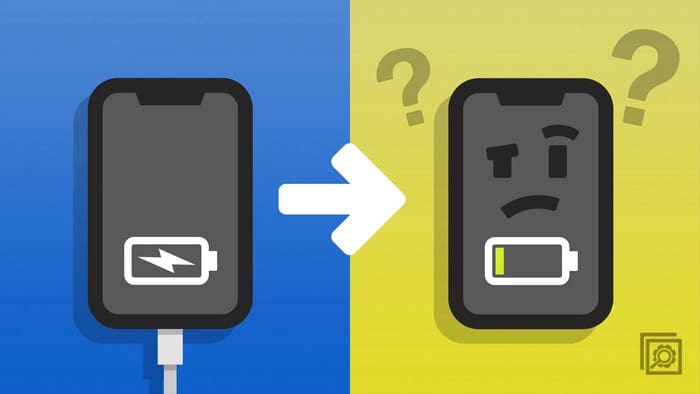
Until now, you have been able to go through and manually connect a Lightning to USB cable between your two devices in order to transfer everything. This would include your photos, videos, messages, contacts, and even in some cases, your installed apps. But Google has just released a new app onto the App Store that attempts to make this transfer even easier than before.
How to use Google’s Switch to Android App
As expected, Google’s Switch to Android app is completely free to download. However, performing a simple search on the App Store may leave you coming up empty. That’s because Google is still working on making the app available in various regions. Google is working on releasing an update for Pixel phones that will allow those devices to work with this new Switch to Android app.
But if you don’t want to wait around and want to switch from an iPhone to Android today, here’s how you can use the Switch to Android app.


- Open the App Store on your iPhone.
- Search for Switch to Android.
- Select the option with Google LLC listed as the developer.
- Tap to download and install the app.
- Once the Switch to Android app is installed, open it on your iPhone.
- Tap the checkbox to accept the Terms of Service.
- Tap the Start button at the bottom.
- When prompted, provide access to the Camera on your iPhone.
- Scan the QR code that is shown on your Android phone.
- Tap the toggle next to the following options:
- Contacts
- Calendar events
- Photos
- Videos
- Tap the Continue button at the bottom.
- Follow the on-screen steps to turn off iMessage on your iPhone.
- Tap the Start request button if you want to request a transfer of your photos and videos from iCloud. You can also just press the un-highlighted Skip button.
- Once complete, finish the setup of your Android phone.


Of course, the most important part of this entire process is the step that prompts you to turn off iMessage on your “old” iPhone. If this is not properly completed, then you will not be able to receive messages from other iPhone users, even after you make the switch to Android.
There’s also another tool at your disposal that is designed to make it easy to turn off iMessage, and it’s actually offered by Apple. Here’s how you can make sure that iMessage has been properly disabled on your iPhone:

- Navigate to Apple’s Deregister iMessage website.
- Scroll to the bottom of the page.
- Enter your phone number.
- Press the Send Code button.
- Once you receive the 6-digit confirmation code, enter it in the prompt on the website.
- Hit the Submit button.
And that’s it! Many people either forget, or don’t realize that iMessage is enabled. By using Apple’s web tool, you can rest easy knowing that iMessage has actually been removed from your account. Then, you’ll be able to send messages to all of your contacts from your new Android phone, even if the person on the other end is using an iPhone.