You want to try and make your Windows 11 computer sound better, but you changed something you shouldn’t, and now you can’t remember how to fix it. Sure, you could call your tech friend, but you can also reset the sound settings to start from scratch and start all over. That way, you won’t have to owe anyone a favor.
Contents
Reset Windows 11 Volume Levels
The good news is that there are different options for resetting the audio settings on your Windows 11 computer. If one way doesn’t work, you can always choose another. To get started, click on the Windows Start menu and go to Settings. You can also press the Windows key + I. Once you’re in Settings, go to System, followed by Sound.

Look for the Sound mixer option and scroll to the bottom to find the option that says Reset sound devices and volumes for all apps to the recommended defaults. You’re done if you see a checkmark to the side of this option. That’s all there is to it. But if you want to try another option, you can always try the following.

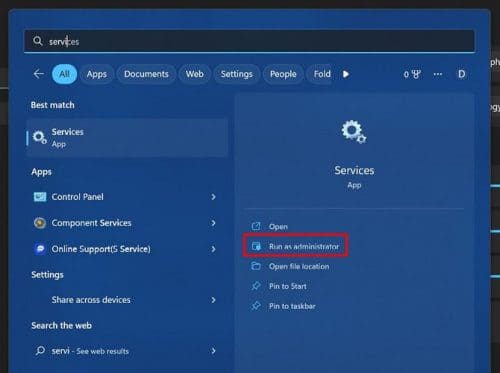
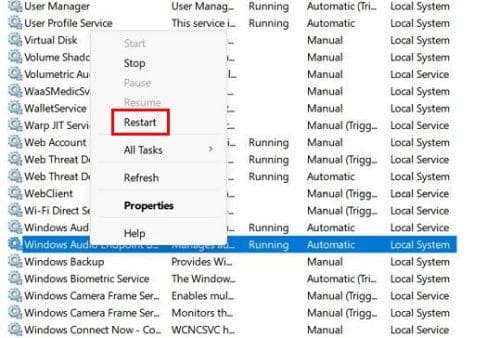
Go to the Search menu and type in Services. Make sure to run the app as an Administrator.
Once you’ve opened the app, scroll to the bottom until you come across the Windows Audio and Windows Audio Endpoint Builder. Right-click on these options in the order you want and choose the Restart option. When you’re done, don’t forget to restart your computer.
Reset the Audio Settings for a Specific Device
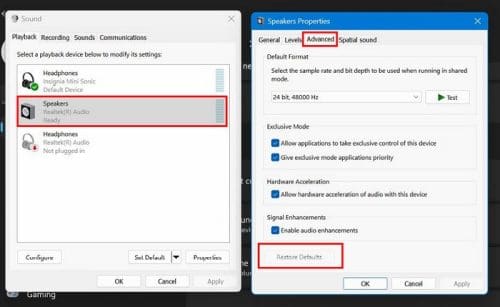
Are your speakers the ones that are giving your problems? In that case, you can reset the audio setting according to the device. You’ll need to go to the following:
- Settings
- Sound
- More sound settings
- Right-click on the device whose audio settings you want to change
- Choose the Properties option
- Click on the Advanced tab
- Click on the Restore Defaults
- Click on Spatial Sound (If available) and also choose the Restore Defaults
This is the process you’ll need to repeat if there is more than one device you’re having issues with.
How to Reinstall or Update Your Windows 11 Sound Drivers
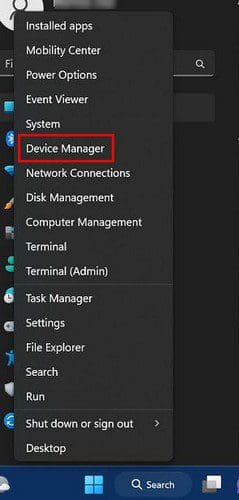
You’ve tried all the previous methods, but nothing has worked. One last option would be to update or reinstall your computer’s sound drivers. You’ll need to right-click on the Windows Start Menu and choose the Device Manager option.
When the window opens, click on the dropdown menu for the Sound option. You should see the icon of a speaker. When the list of sound drivers appears, right-click on the main sound driver and choose Update driver. It’s going to be called Realtek (R) Audio.
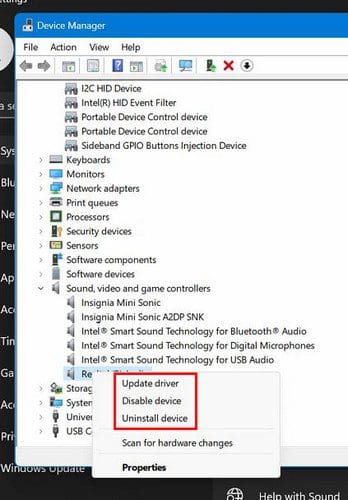
Choose the automatic option when Windows asks you if you would like to Search automatically or Browse. Still nothing? Try selecting the uninstall option; what’ll happen is that when you restart your computer, the sound driver will be reinstalled, and everything will go back to the default settings. Remember that you can also see if your manufacturer has custom sound drivers.
Conclusion
It’s only a matter of time before your Windows 11 computer will need a look into it. If it’s not the sound, it’ll surely be something else. The good news is that there are various tips you can try to fix the issue. If one doesn’t work, you can always try the other. How long has your Windows 11 computer been giving your problems? Share your thoughts in the comments below, and don’t forget to share the article with others on social media.