
While eSIM’s are becoming more and more popular, they have not taken over the world as of yet. This includes the recently-released Samsung Galaxy S20 FE as there is still a physical SIM card tray in the device. For some, you may need to take out the SIM card, especially if you are experiencing some network connectivity issues.
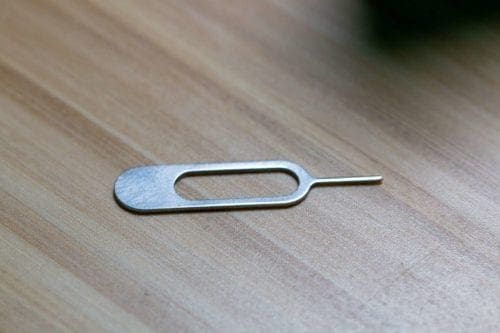
In order to remove the SIM card, you will need to know the location of the SIM tray, along with a SIM ejection tool. In the event that you can’t find the tool that is included in the Galaxy S20 FE’s box, then you can also use a bent paper clip. Although if you are using a paper clip, you need to be a bit more careful.
Insert and Remove the Samsung Galaxy S20 FE SIM Card
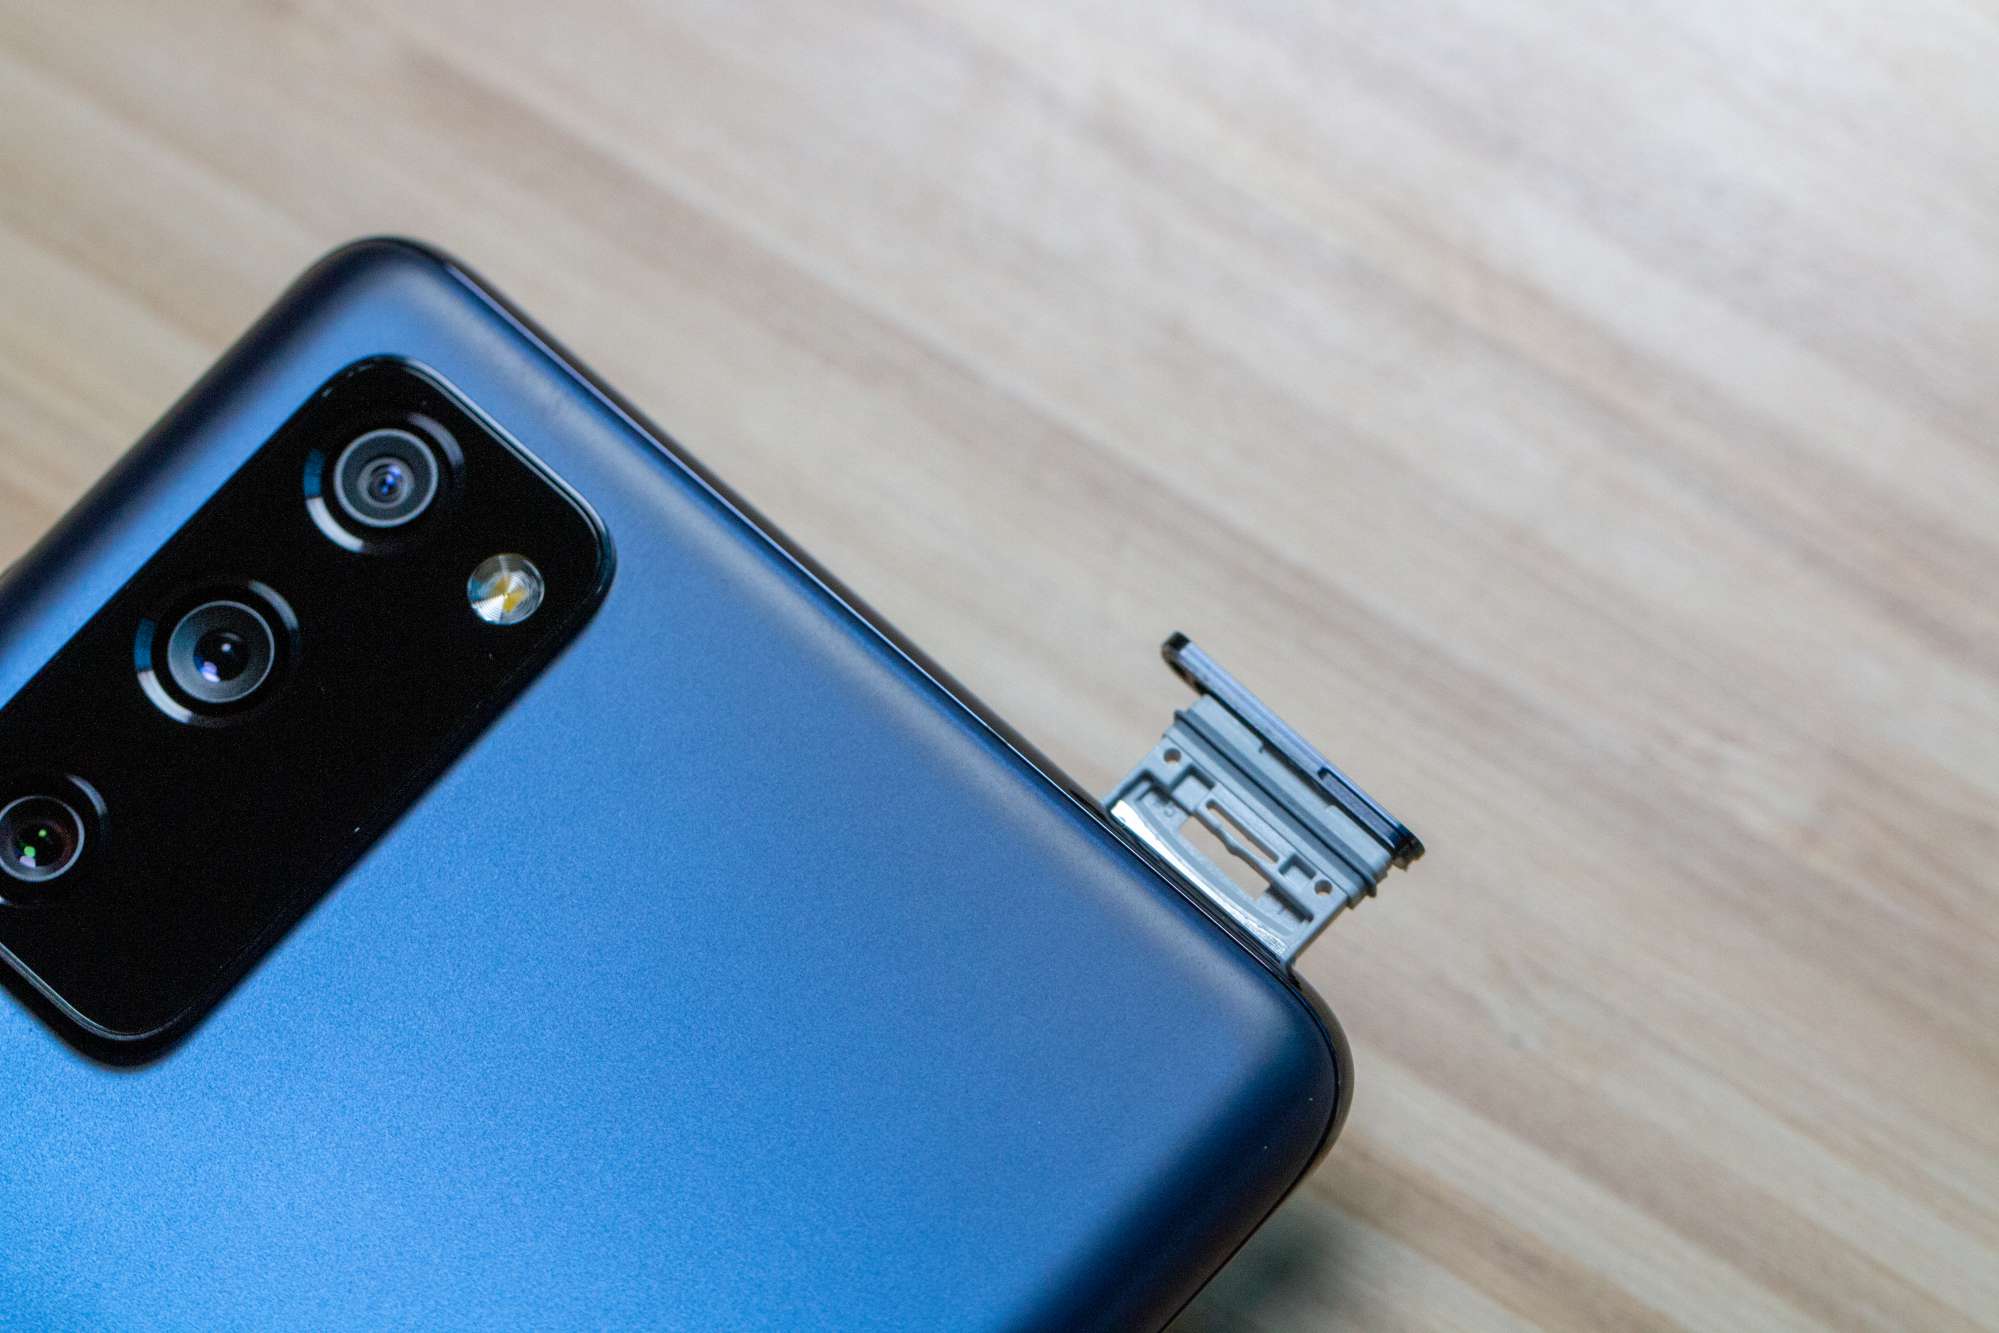
The SIM card tray is located on the outer frame of the front display. Look at the right side of the frame, and both the tray and ejection hole are near the bottom. Here’s how you can remove the SIM Card from the Samsung Galaxy S20 FE.
- Power the Galaxy S20 FE off completely.
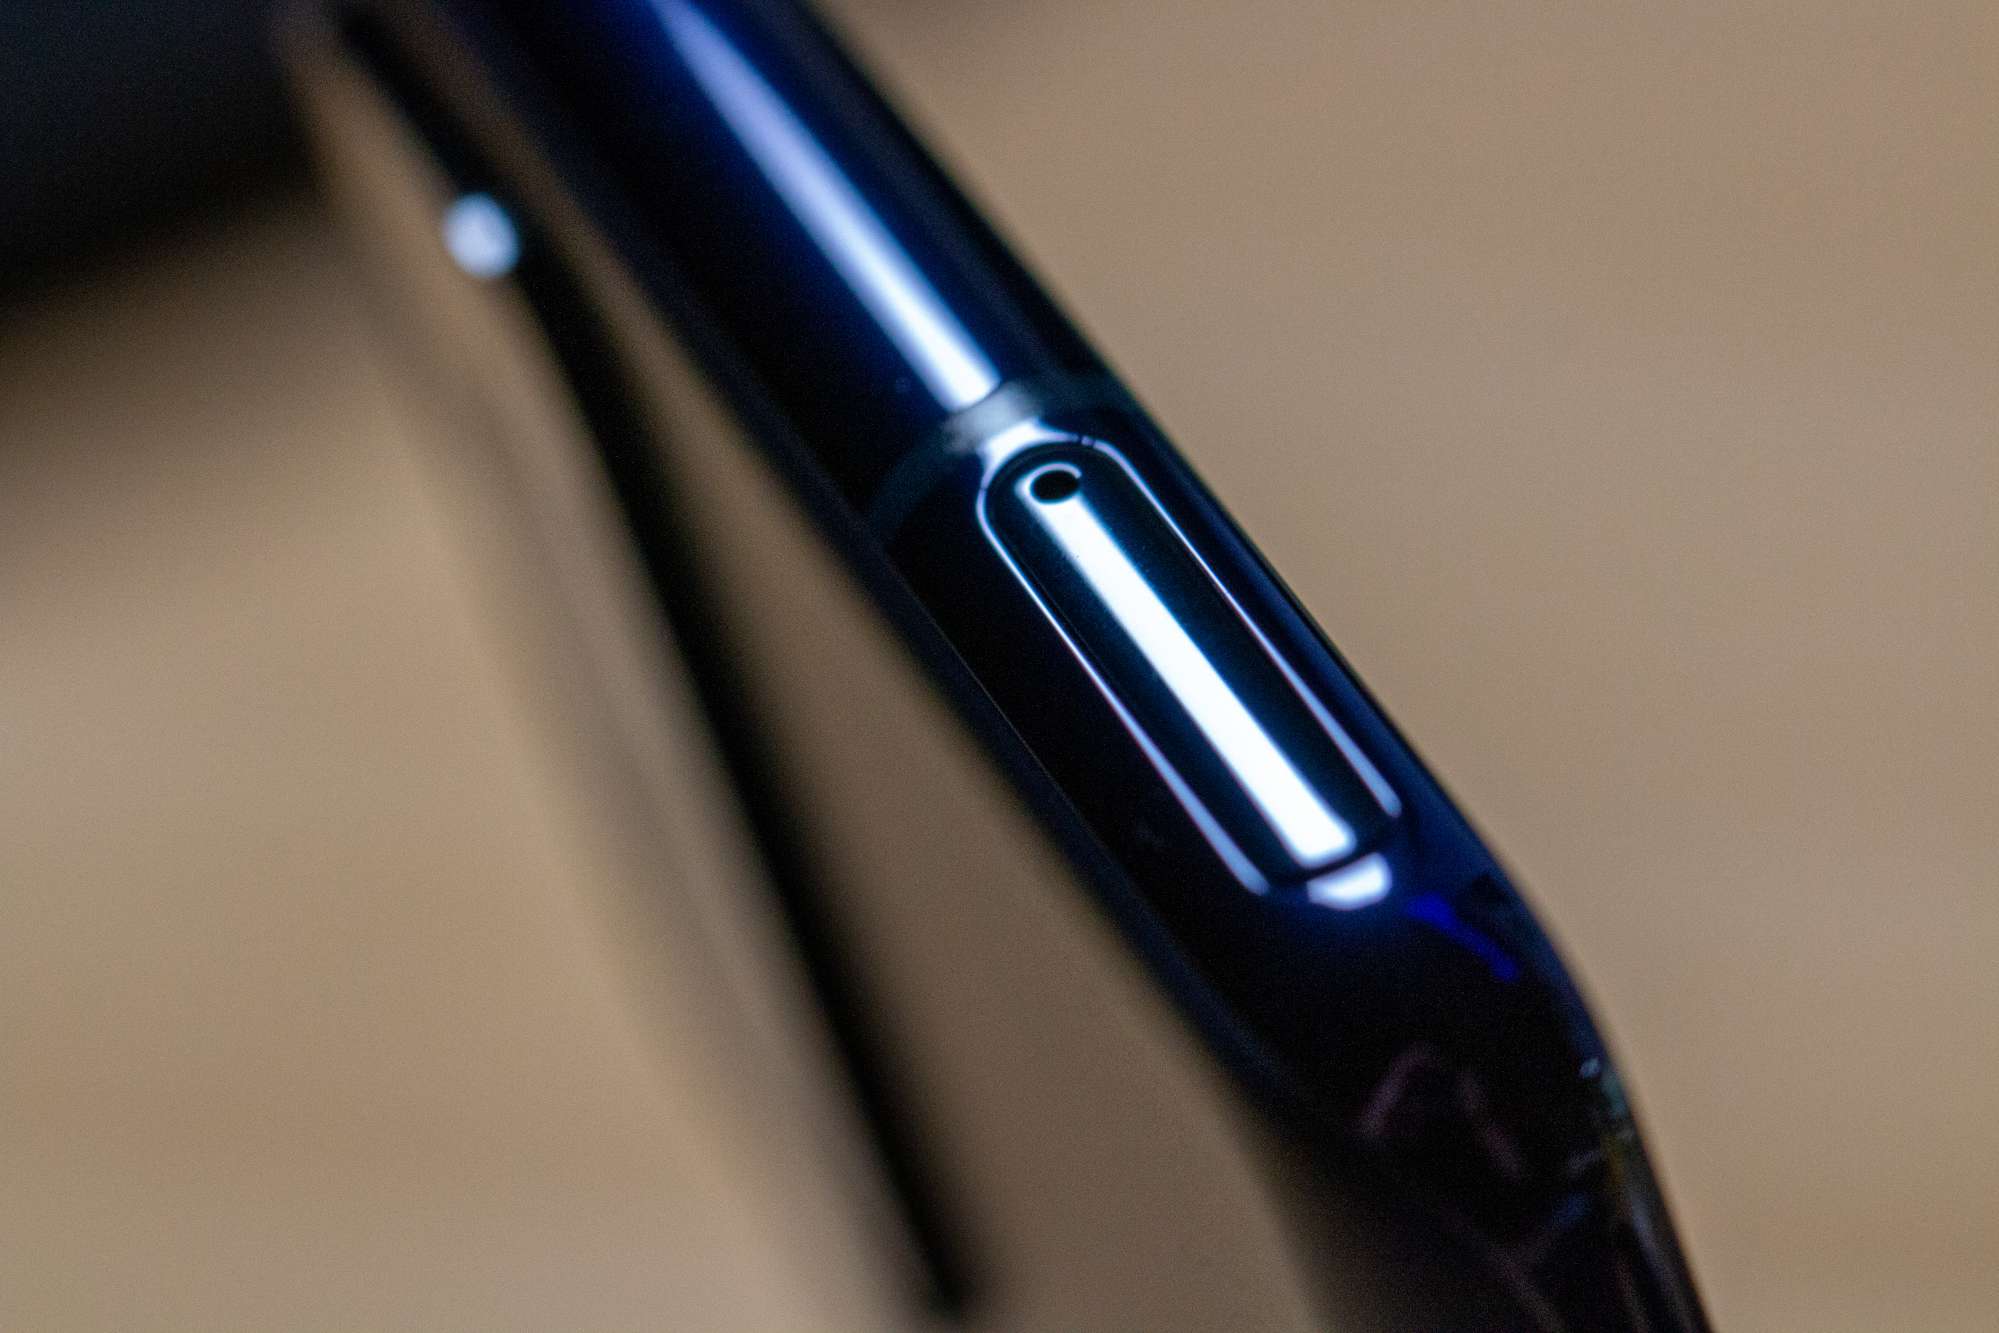
- Locate the eject hole on the outer frame of the device.
- Using the SIM eject tool (or paper clip), insert it, and gently push the button inside.
- The tray will eject.
- Carefully remove the tray from the frame.
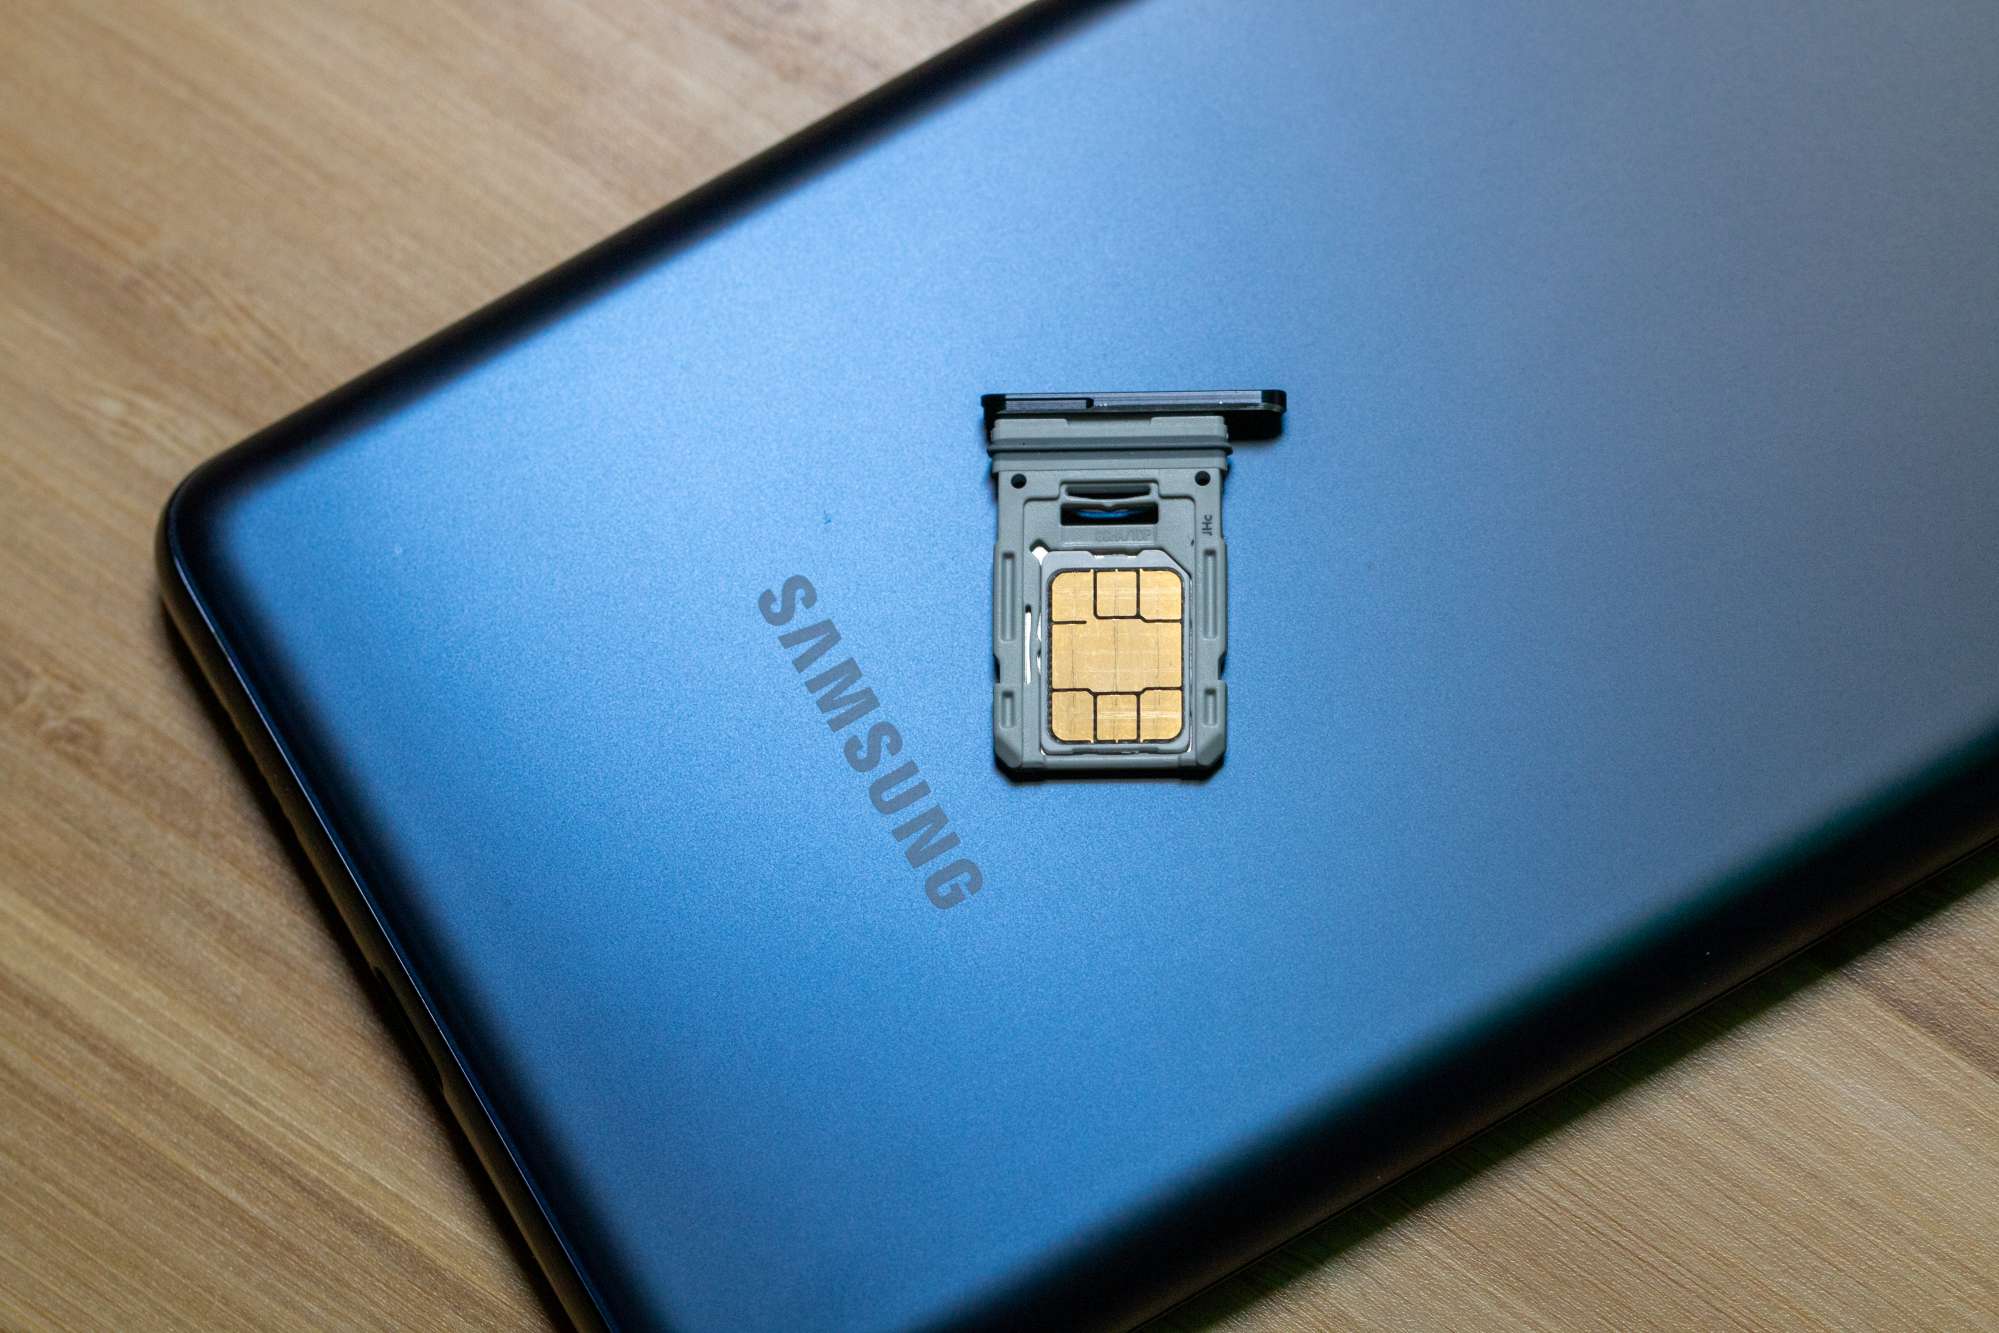
- Remove the SIM card from the tray.
It’s important to note that when you remove the SIM card, a message notification pops up on your Samsung Galaxy S20 FE if it’s still powered on. This just lets you know that the SIM has been removed, and then goes away when the card has been re-installed.
When it’s time to put a new SIM card back into the Galaxy S20 FE, it’s important to have the card lined up properly. If the phone is facing upwards, the gold contacts will be facing down. You can also line up the SIM Card with the outline in the tray.
Once the card is housed in the tray, line up the tray with the open hole on the outer frame. Gently push the tray back into place until it is flush with the remainder of the frame. Once the card is back, just turn it back on and you are ready to get back to business.


a sim card was not sent with my replacement for defective s20 5g phone. I received the same phone. Can I use the sim card from the defective phone for the new one?
My sim card isn’t recognised by my new Galsxy S20FE. I can’t make phone calls and the sim appears to be non-existent, according to my Settings. The sim tray is difficult to open with the card in it.
I wasn’t told that anything about BUYIING a new SIM card for my new phone! So I’m guessing the SIM card has to be replaced in order to function? Please explain
I have a new s20fe.the phone doesn’t detect the sd card so I removed the simcard/sd card tray.the sd card did not come out although the sim did.I have reinserted the tray twice but no luck.any advice?
Still not clear absolutely clear the orientation of SIM card, phone face up?
Gold contact side of sim down?
Really