You bought your PC, you own your PC, so why is it telling you that you need permission to do something? Today, we’ll be looking at an incredibly frustrating pop-up message: “You need permission to perform this action.” We’ll be examining the possible causes behind it and how to fix it.
Contents
Why This Message Pops Up

The “Permissions” error is unfortunately quite common and will often pop up when you attempt to modify, delete, or move files or folders. There are a few possible causes behind this:
- The file you’re looking to modify is a system file, and any change could harm your machine.
- You have insufficient permissions to access a certain file or folder.
- You do not have ownership or access.
- The file or folder in question is corrupted, infected by malware, or flagged by your antivirus software.
As seen above, this issue is mostly related to problems surrounding access and ownership. Let’s look at some potential fixes.
Fixing “You Need to Have Permission to Perform This Action Error”
To fix this error, you need to ensure that your PC and the files in question are under your control. Here’s how to do so.
Check Your Account
Windows machines have different types of accounts with differing levels of access to certain system files. A Guest account, for example, will have nowhere near the same level of access privilege as an Administrator, and can only access surface-level functions. This stops any user from editing system settings at will.
To access and modify nearly all Windows files, you need to ensure that you have Administrator privileges. On personal machines, this comes standard. If you belong to an organization, you may need to apply for increased permissions. To check the level of your account:
Step 1. Open the Control Panel via the search bar.
Step 2. Navigate to “User Accounts” and click on it.
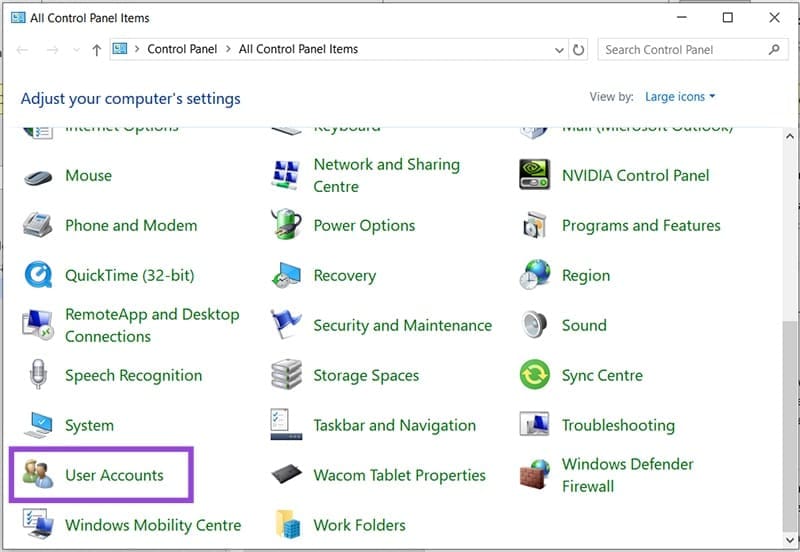
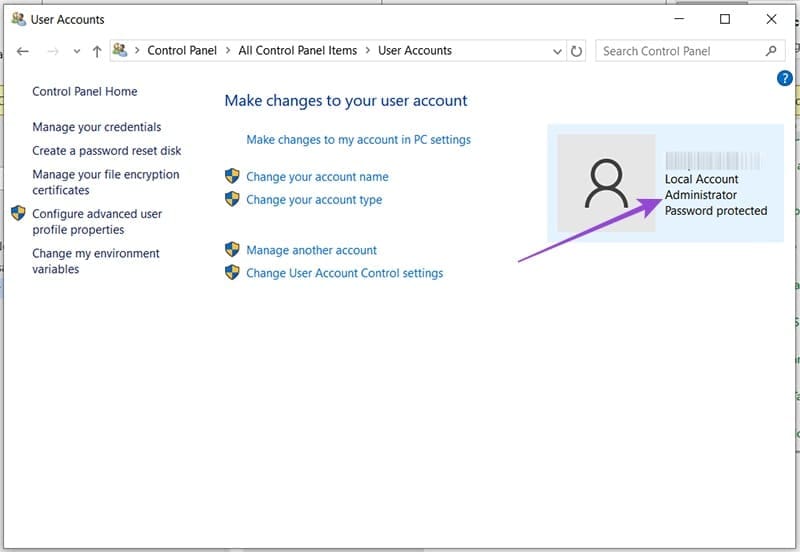
Step 3. Look for your account details on the right side of the screen. If you have Administrator privileges, it should say so.
If you are the owner of your machine but don’t have an Administrator account, you can enable it via Command Prompt. Here’s how:
Step 1. Open Command Prompt via the search bar.
Step 2. Once in, type the following: “net user administrator /active:yes” and press “Enter.”
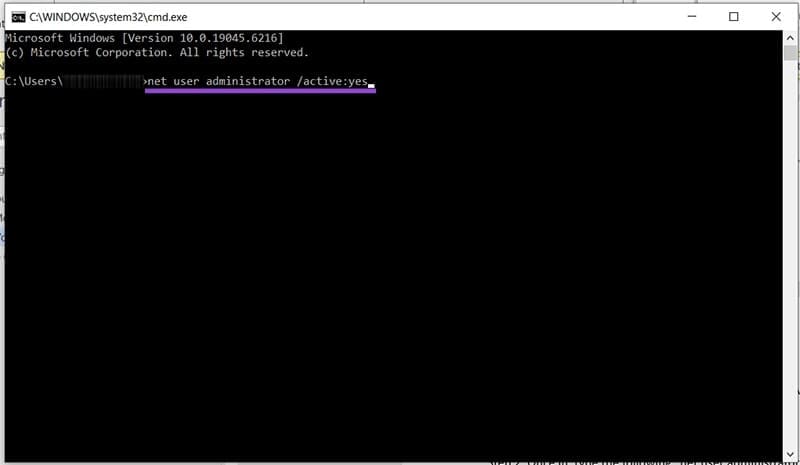
Step 3. Restart your machine, and your account should now have Admin privileges.
Before attempting to open any troublesome file, be sure to do so as an Administrator. Right-click the file or folder icon and choose “Run as Administrator,” and approve the pop-up.
Change Ownership of a File or Folder
If you have Administrator privileges, you can also change the ownership of files, which may be causing the pop-up. To do this:
Step 1. Find the problematic file or folder in Windows Explorer and right-click it.
Step 2. Select “Properties” from the context menu that pops up.
Step 3. In the Properties window, select the “Security” tab.

Step 4. Click the “Advanced” button.
Step 5. You’ll see the owner of the file or folder displayed at the top. Click “Change” next to this.

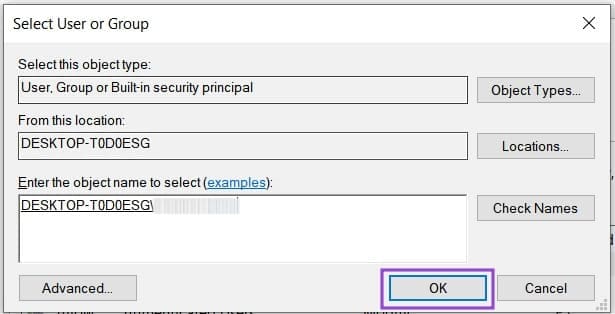
Step 6. Type your user account into the text box provided, and click the “Search Names” button. The proper path should show up. Click “OK” once done.
Step 7. Back in the Advanced Security menu, be sure to check both “Replace owner on subcontainers and objects” and “Replace all child objects and permission entries with inheritable permission entries from this object” and click “Apply.”
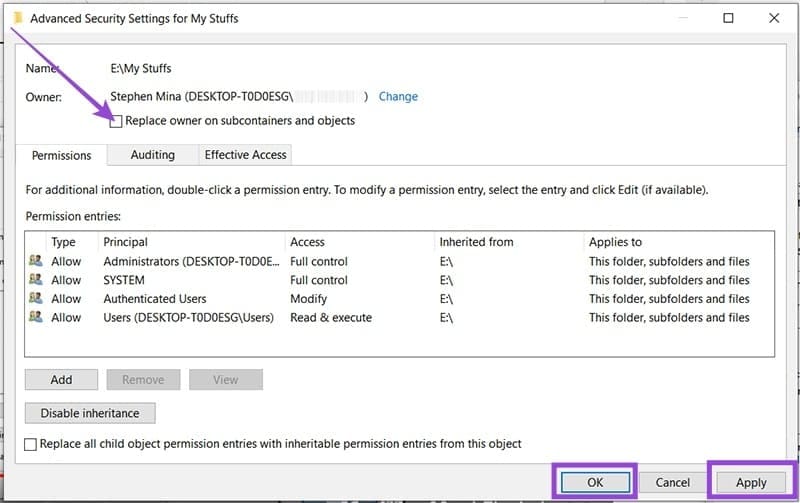
Step 8. Agree to both warning messages before finally clicking “OK.” Ownership should now be yours.