In general, an HDD should last between four and seven years, but not using it often or even using it too much can degrade its performance and cause irreparable data loss. Even if you’re up to date with PC hardware upgrades, you should perform a periodic Windows 11 HDD health check. It will help you schedule online backups.
Here’s how to check the health of a HDD.
Contents
Method 1 – How to Check HDD Health in Windows 11 With Command Prompt
There are a few valuable built-in commands that a Windows OS uses to perform hard drive integrity checks.
Option 1 – Old Version: Use WMIC
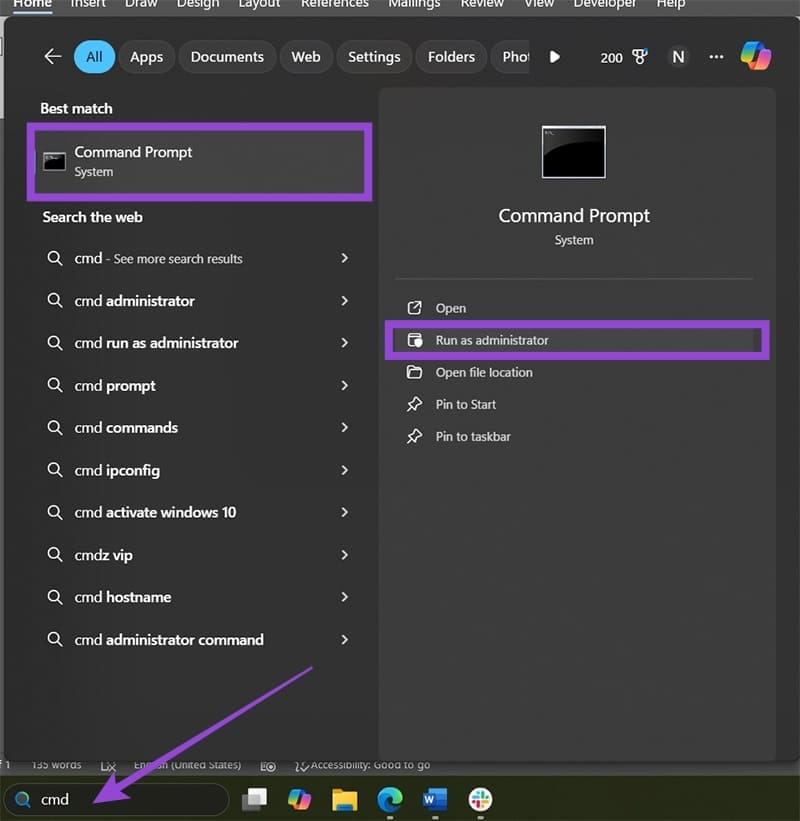
Step 1. Open the Command Prompt as an administrator. You can do this by searching for “cmd” in the search bar and selecting “Run as administrator” from the options. You will need to confirm the User Account Control prompt.
Step 2. In the command prompt windows, type “wmic” and hit “Enter.”

Step 3. Paste the following command and hit “Enter:”
diskdrive get status
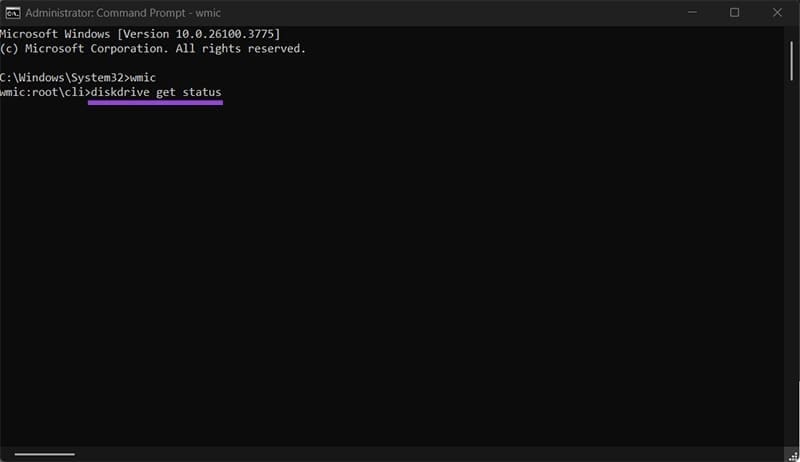
Step 4. If the system detects an error, it will return a report. Otherwise, you’ll get a simple “OK” message.
Option 2 – Newer Version: CHKDSK
WMIC is technically obsolete as of later versions of Windows 10, but this command should still work. If not, you can use the CHKDSK command.
Step 1. Run Command Prompt as an administrator.
Step 2. Enter the following command:
chkdsk /f
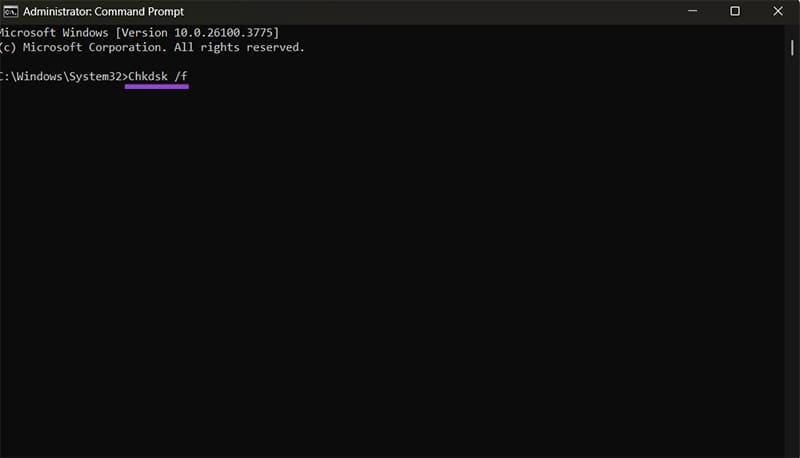
Step 3. As soon as you hit “Enter,” the system will start analyzing the hard drive, which may take a while if it’s older and full of data. However, if your operating system is using the NTFS file system, it won’t be able to get analyzed while the operating system is still running, and you’ll get a prompt to schedule it on the next startup.

Step 4. Input “Y” and hit “Enter,” then restart the PC (or wait until you shut it down and start it up again naturally). When you do, you’ll get a detailed report during the boot up. You’ll need to manually confirm that you’ve seen the report to continue booting into the operating system.
If the Check Disk Utility (the technical term for the command) finds corrupted data or drive issues, it will either provide a report or attempt to automatically fix them. Alternatively, the “chkdsk /r” command will search for bad sectors, then attempt to retrieve workable data and store it elsewhere.
Method 2 – How to Check HDD Health in Windows 11 Through OEM Websites
If you’re using an HDD from a large manufacturer like Samsung or Western Digital, chances are you can find an online health-check utility on their website. This will provide more information, on average, about the actual state of the drive.
You can use the Device Manager to determine the exact make and model of your drive.
Step 1. Search for “Device Manager” and open it via the search bar.
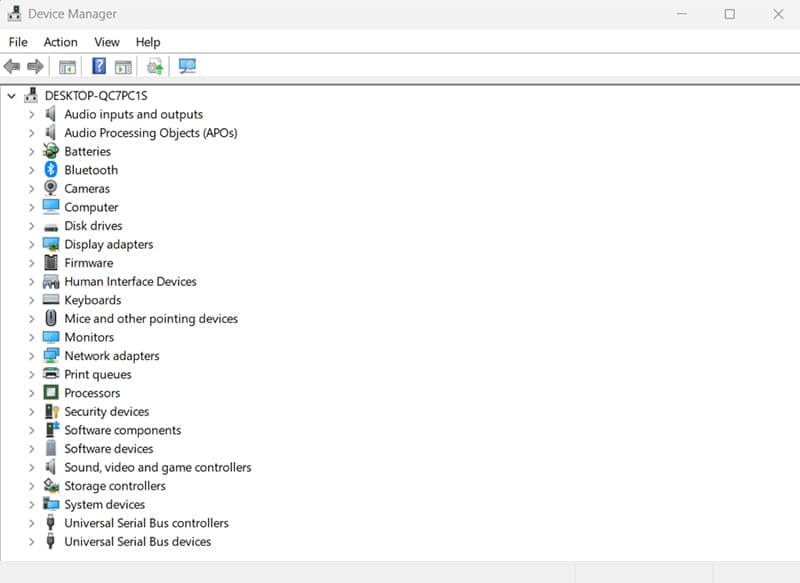
Step 2. Open the “Disk Drive” category and note the drives listed in there. If you have more than one drive, they will be listed in the order of installation and bootup. You can manually paste the make and model from here.
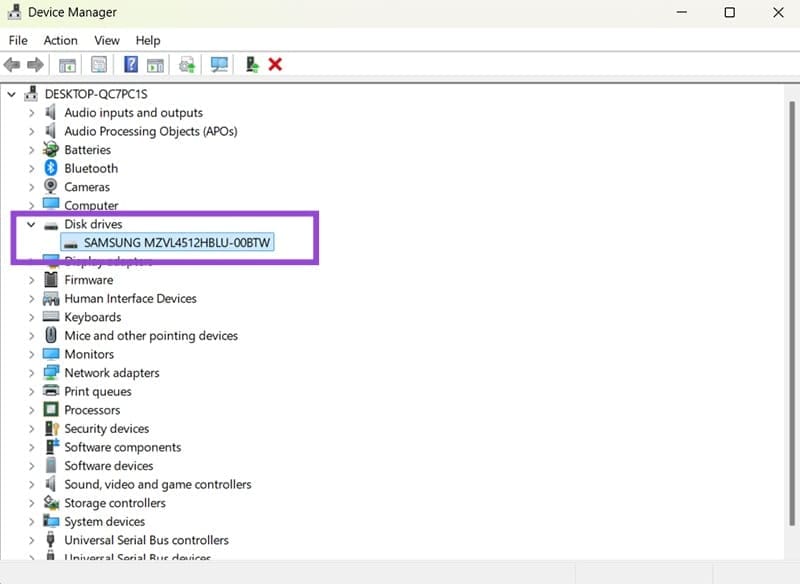
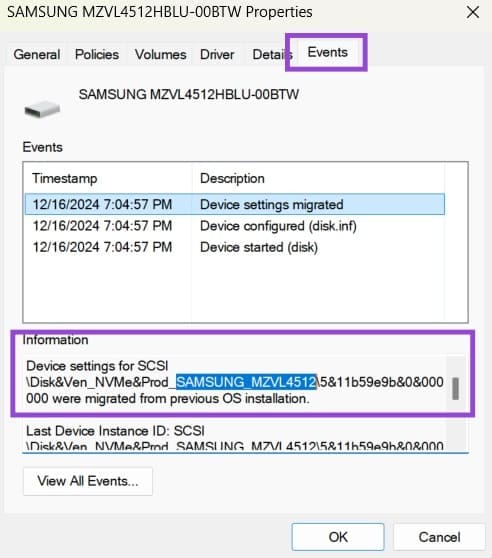
Step 3. Double-clicking on a drive name will open its properties. Go to the “Events” tab, and in the “Information” section, you should be able to select the HDD’s model name for easy pasting.
Step 4. Open your browser and search for the manufacturer of the HDD. Insert the terms “HDD health check” for a closer match.
Step 5. Find the tool that comes straight from the manufacturer’s website. For Samsung, that’s the “Samsung Magician Software” (formerly Hutil).
Step 6. Download the tool and follow the instructions to run it.
Method 3 – Use Third-Party HDD Health Checkers
There are plenty of third-party software solutions that claim to be able to accurately perform health checks on both HDDs and SSDs. Most of the top-rated solutions will generally work and perform the same. It’s up to you to read the reviews and see which one works best for you.
HDD Scan and Hard Disk Sentinel are two excellent options that might be worth checking out, as they also come with advanced monitoring.