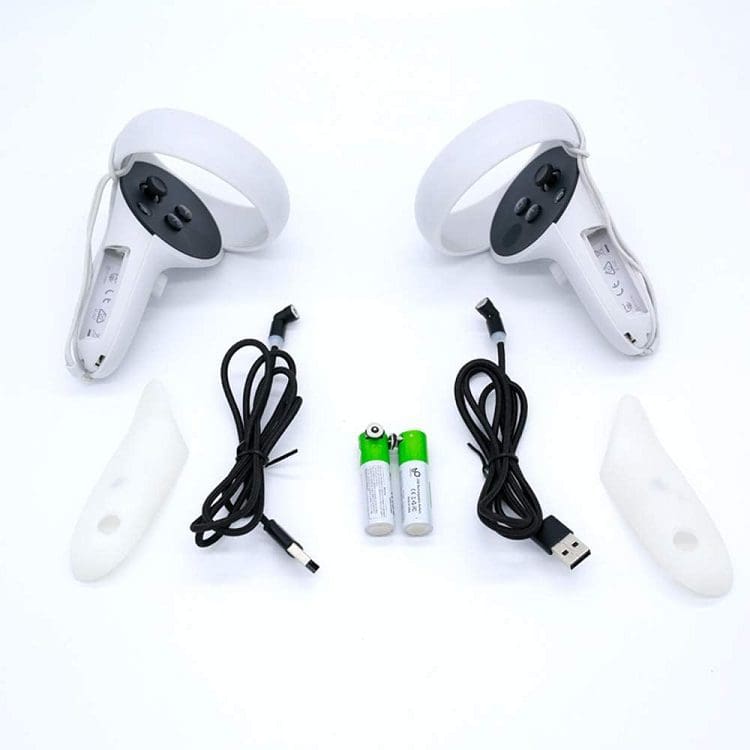
Like any high-tech mobile gadget, the Oculus Quest 2 requires battery power to run. Like most top-end tech, it uses a lithium-ion rechargeable battery built-in that you can quickly recharge with a USB-C cable. Obviously, the motion controllers also need battery power. However, these aren’t powered with an integrated battery. They each have a single AA battery. While this will provide a decent battery life, they will eventually run out of power, and you’ll need to change them.
Unfortunately, being powered by an AA battery, you can’t just plug your controllers in. You’ll have to take them out and replace them. To do so, you’ll want to look at the palm grip of each controller until you find the small eject symbol. You can find it near the top, between the main buttons, and the trigger on the back. Simply push it down, away from the top ring, to open the battery compartment.
Tip: It can be pretty hard to open the battery compartment as the plastic is smooth and well fitted, don’t be afraid to put a fair bit of force into it if you can’t get it to quickly move. You may also want to try to use something to increase your grip.
Once you’ve got the cover off, it’s the standard process to replace it. Just take it out and put in another AA battery, ensuring the orientation is correct. Putting the cover back should be friendly and straightforward, needing very little force.
While you could choose to replace the standard AA battery with another, you may also want to consider other options. You could get a set of rechargeable AA batteries. Combined with a charger, these will be cheaper long term. If you get a pack of four and remember to charge them, you can be confident that you’ll always have a second set of batteries to swap into your controllers.
Alternatives
You may also want to consider getting an alternative power supply. There are some products available online that offer an alternative. Anker, well known for its battery packs, sells a unified charging dock for the Quest 2 headset and the motion controllers. The headset is charged via the standard USB-C port, though the same trick doesn’t work for the controllers. Instead, the controllers get a replacement battery and battery cover that support wireless charging on the dock. Once you’re done playing, you can set your controllers back on the charging dock, and they’ll wirelessly charge back to full by the time you next play.

BeswinVR also offers a similar solution, though it only covers the motion controllers. A custom replacement battery and cover feature a magnetic charging port that you can just snap into place to charge your controllers from any USB power source.
Conclusion
Neither of these solutions works directly with silicone skins or covers for your controllers. The main downside, however, is the price. Both alternatives are pretty expensive, though the convenience may well be worth the money. Leave your thoughts in the comments below.