Live Kernel Event error 193 is an annoying error code that indicates your computer stopped working unexpectedly. More specifically, Windows encountered a hardware problem that caused it to stop working correctly. Oftentimes, this issue involves a memory, hard drive, or driver problem. Let’s see how you can fix this problem.
Contents
How to Fix and Prevent Live Kernel Event Error 193
Install the Latest OS and Driver Updates
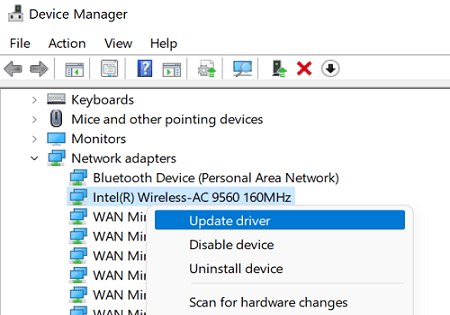
Be sure to update your drivers and OS to the latest version. Navigate to Settings, click on Windows Update, and check for updates. To update your drivers, launch the Device Manager, right-click on the drivers that have an exclamation mark next to them, and select Update Driver.
Make sure to update your Wi-Fi and GPU drivers. Outdated Wi-Fi and GPU drivers often trigger Live Kernel Event error 193.
Alternatively, you can manually download the latest driver version directly from your hardware manufacturer’s website. You can also use a driver updater to get the job done. Then, restart your computer, and check if the issue persists.
Run the Hardware Troubleshooter
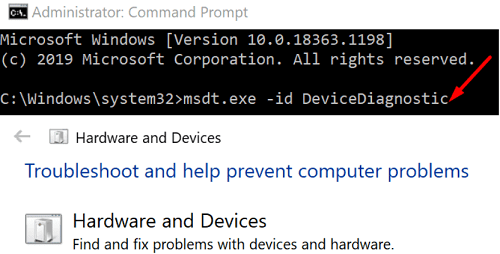
- Launch Command Prompt with admin rights.
- Then, run the msdt.exe -id DeviceDiagnostic command to launch the Hardware troubleshooter.
- Follow the on-screen instructions to repair hardware-related issues.

- Restart your computer and check if you notice any improvements.
Disconnect Your Peripherals
Unplug all the devices connected to your computer to make sure they’re not interfering with one another. Then, restart your computer, and check if you’re still getting Live Kernel Event error 193. Plug your peripherals one by one to identify the culprit.
Repair Corrupted System Files
Corrupted or missing system files may sometimes trigger Live Kernel Event error code 193. Run SFC and DISM to repair faulty system files.
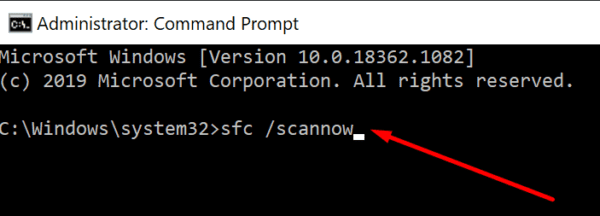
- Launch Command Prompt.
- Run the following commands:
- dism /online /cleanup-image /restorehealth
- sfc /scannow

- chkdsk /f
- If you’re prompted to press Y to reset your computer, do that.
Clean Boot Your Computer and Check for Overheating Issues
Clean boot your machine to ensure Live Kernel Event error code 193 is not triggered by software incompatibility issues. Alternatively, you can launch the Task Manager and manually force-stop the app and programs running in the background.
By closing unnecessary programs, you can quickly free up more memory. Check for overheating issues, and use a cooler to keep your device’s temperature in check.
Conclusion
Install the latest OS and driver updates to fix Live Kernel Event error code 193. Then, run the Hardware troubleshooter, and disconnect your peripherals. Clean boot your computer and check for overheating issues. Additionally, run SFC and DISM to repair corrupted system files.
Did you manage to get rid of Live Kernel Event error 193? Hit the comments below and tell us which solution did the trick for you.