
Sound is an important part of using a computer, lots of people want to play music, videos, or computer games, all of which rely on audio. The overall volume is an important component of the sound, that is easily changed by adjusting the volume on speakers, headphones, or from within Windows itself.
On top of that though, it’s key that the volume levels of individual apps are balanced. Balanced audio levels mean you don’t have to adjust your overall volume settings when you switch to a different task. Balancing audio levels also potentially allows you to configure apps so you can hear one over the other while doing multiple things at once.
How to change the volume of specific apps
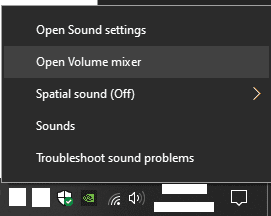
To configure the volume of apps individually, you need to open the Volume mixer. There are two ways to do this. The first way is to right-click on the volume icon in the System Tray and select “Open Volume mixer” from the menu.
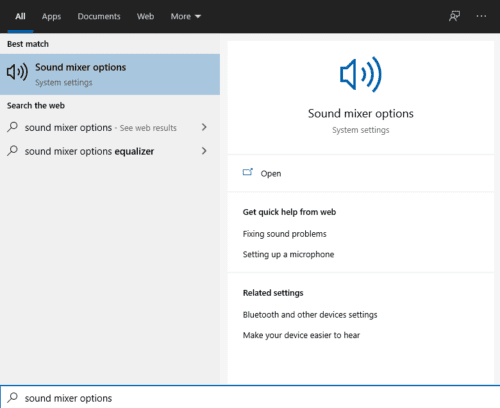
The second method is in the Settings app and can be accessed by pressing the Windows key, typing “Sound mixer options” then hitting enter.
Tip: Annoyingly, with both options the app-specific volume settings are always reset when you close and reopen the app. Where possible it may be more effective to use in-app audio settings that will be remembered.
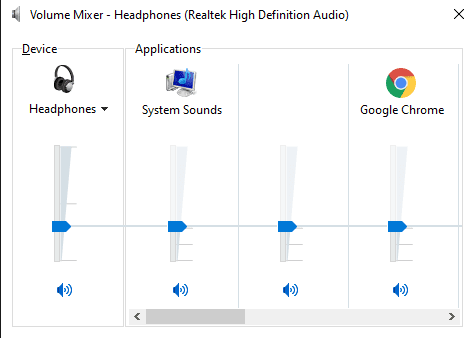
To use the Volume mixer, click and drag the volume slider for individual open applications. The overall system volume is set with the far-left slider. The line that runs across from the system volume slider is just used to indicate the current system volume. Each slider can be freely adjusted below the line, but if you move it above the line then the system volume will also be dragged up too.
Unfortunately, dragging the system volume back down when the app-specific sliders are not at 100% will result in them staying at the same percentage of the system volume. For example, if you have the system volume set to 100%, and an app to 50, then lower the system volume to 50%, the app volume will be lowered by 50% to 25%. This can make it a real pain to line up the volume sliders again, without either maxing them all out or taking them all to 0%
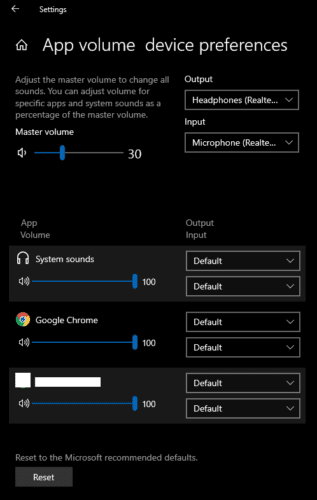
To use the Sound mixer in the Settings app, you have a master volume, at the top of the page, which is your current system volume, you then have a list of app-specific sliders which will all default to 100% of the master volume. Adjusting any of these is easy and takes it to a percentage of the system volume. The system volume can only be increased by adjusting the master volume. This process should feel much more intuitive than the older Volume mixer.
Tip: With the Sound mixer, you can even specify exactly what output and input device a specific app uses. This allows you to easily set a specific app to use a set of speakers while another app uses your headphones.


It works for the time I use my pc, but after my pc has been on sleep mode for a while it resets to 100, and I get my ears blasted.
dosnt work, no app will go over the volume set by system volume slider