Video-calling with a computer or a laptop really only requires a few things – a computer, an Internet connection, a microphone and headset, and a camera. What if one of those is missing though? While laptops generally come with a camera, other machines usually don’t. The good news is that you can use your Android smartphone as a stand-in camera, even if you don’t want to or can’t call from the phone directly.
There is a relatively easy way to do this: by using WiFi. Have a look at the instructions below.
In order to be able to do this, you need to connect both your phone and your computer to the Internet using the same wireless router. If both devices aren’t connected to the same network, this won’t work. Make sure this requirement is fulfilled and follow the steps below.
-
Install IP Webcam
You’ll need a third-party app to do this – just go to your app store and download IP Webcam. Once you’ve installed it, launch it and you’ll be prompted to set it up.
-
Configure app
You’ll be faced with a set of options to choose from. Don’t feel overwhelmed by the various options you have here. You won’t need to change all of them.
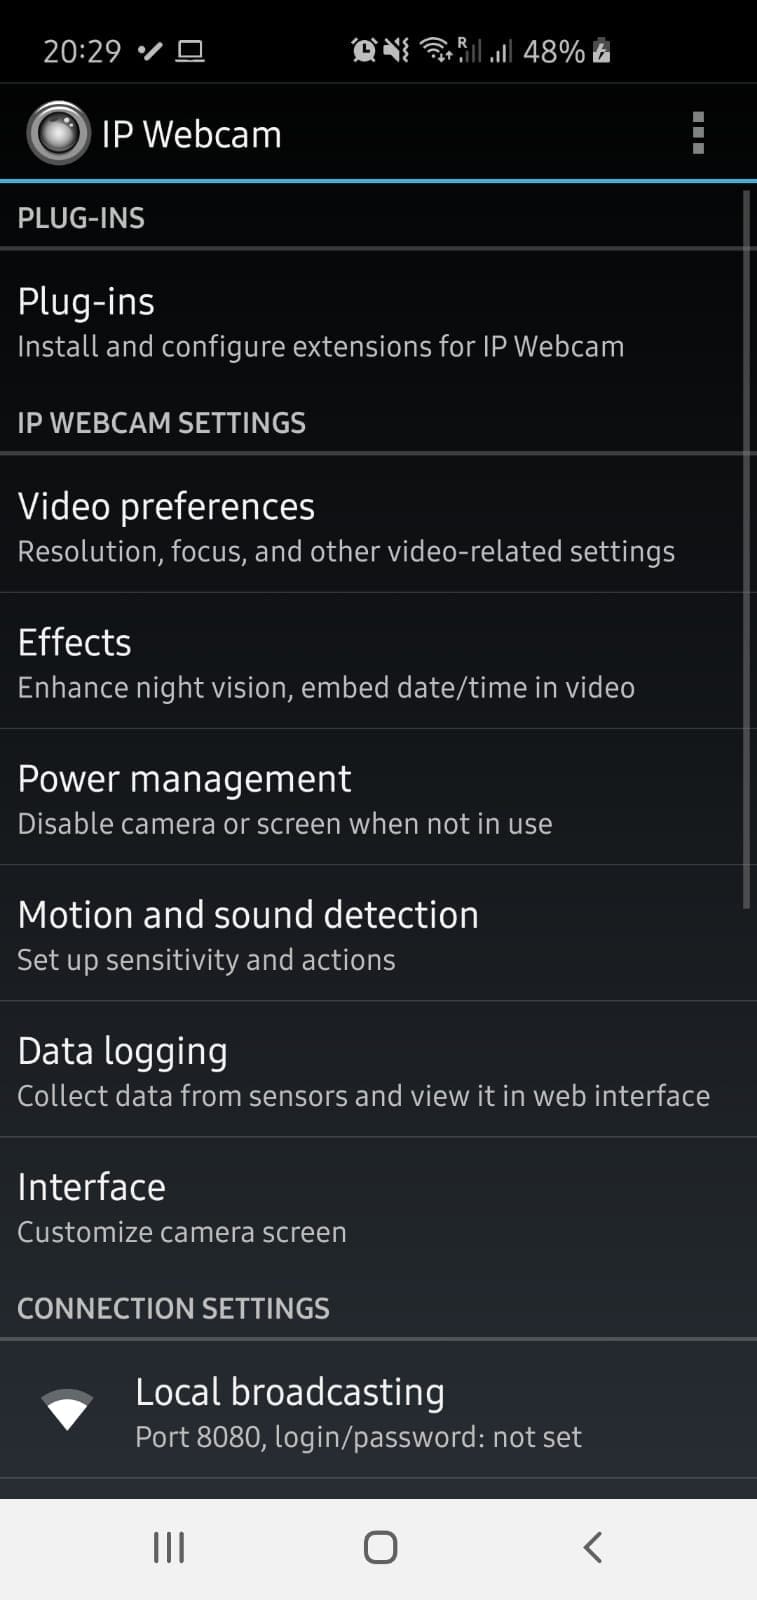
When you’re a little more familiar with the app, you may want to add extensions or effects here, but for now, you just need to make sure that your video settings match what you need. Open the relevant menu section and set the cameras to your preferences. Since your phone likely has a front and rear camera, make sure the right one is selected for your purposes.
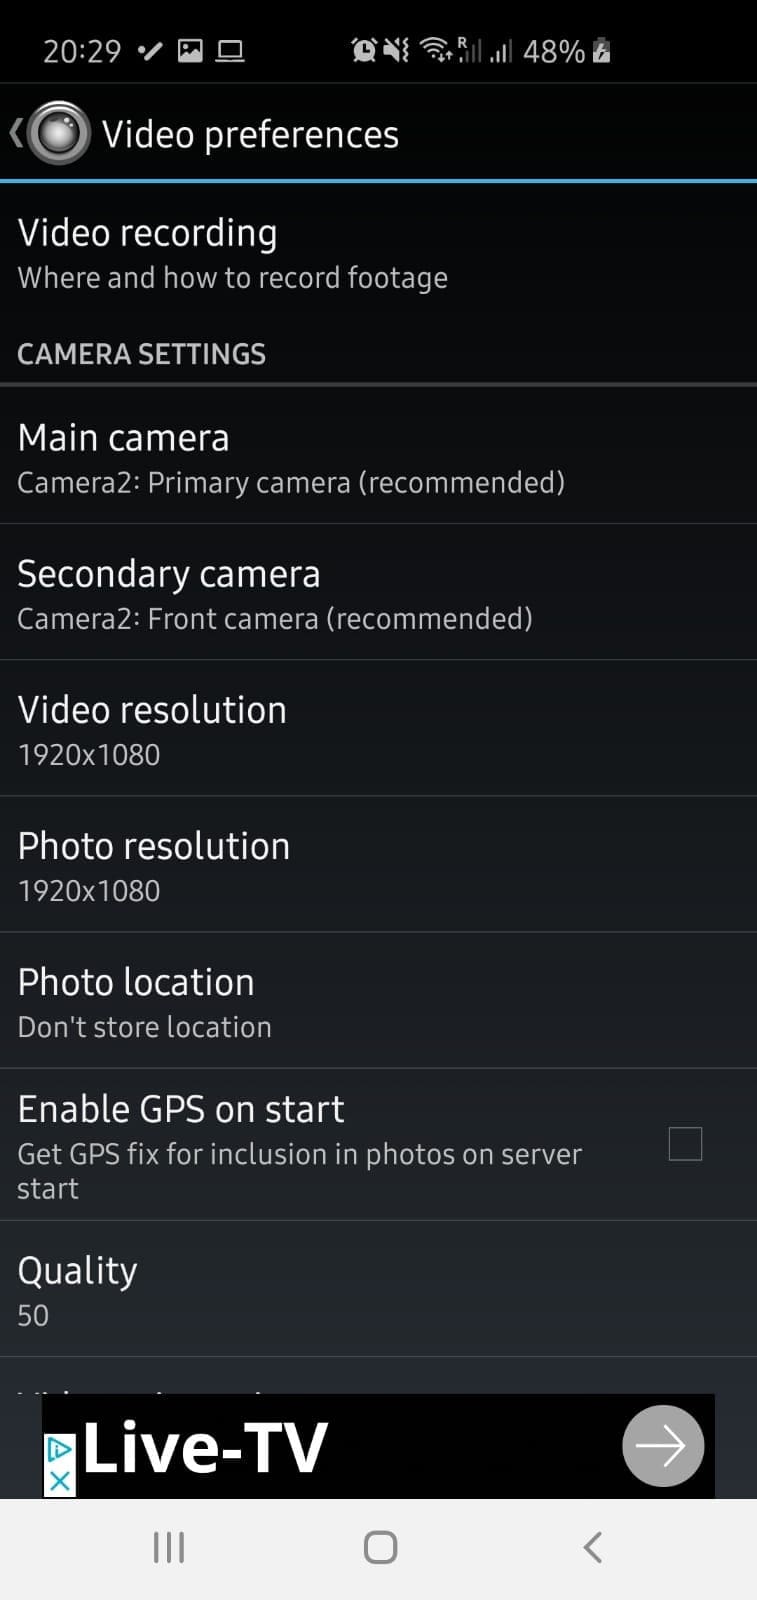
You can also set the screen orientation here, and if you have problems with the feed, you can come back here to make adjustments to color tones and balances. When you are happy with your settings, go back to the main settings option and scroll down.

You’ll want to make sure audio is enabled. Other than that, the default options should work well enough, so click Start Server at the bottom when you are ready. On this page you can also find a link to an FAQ section that can help you with any issues you may end up having.
-
Copy IP address
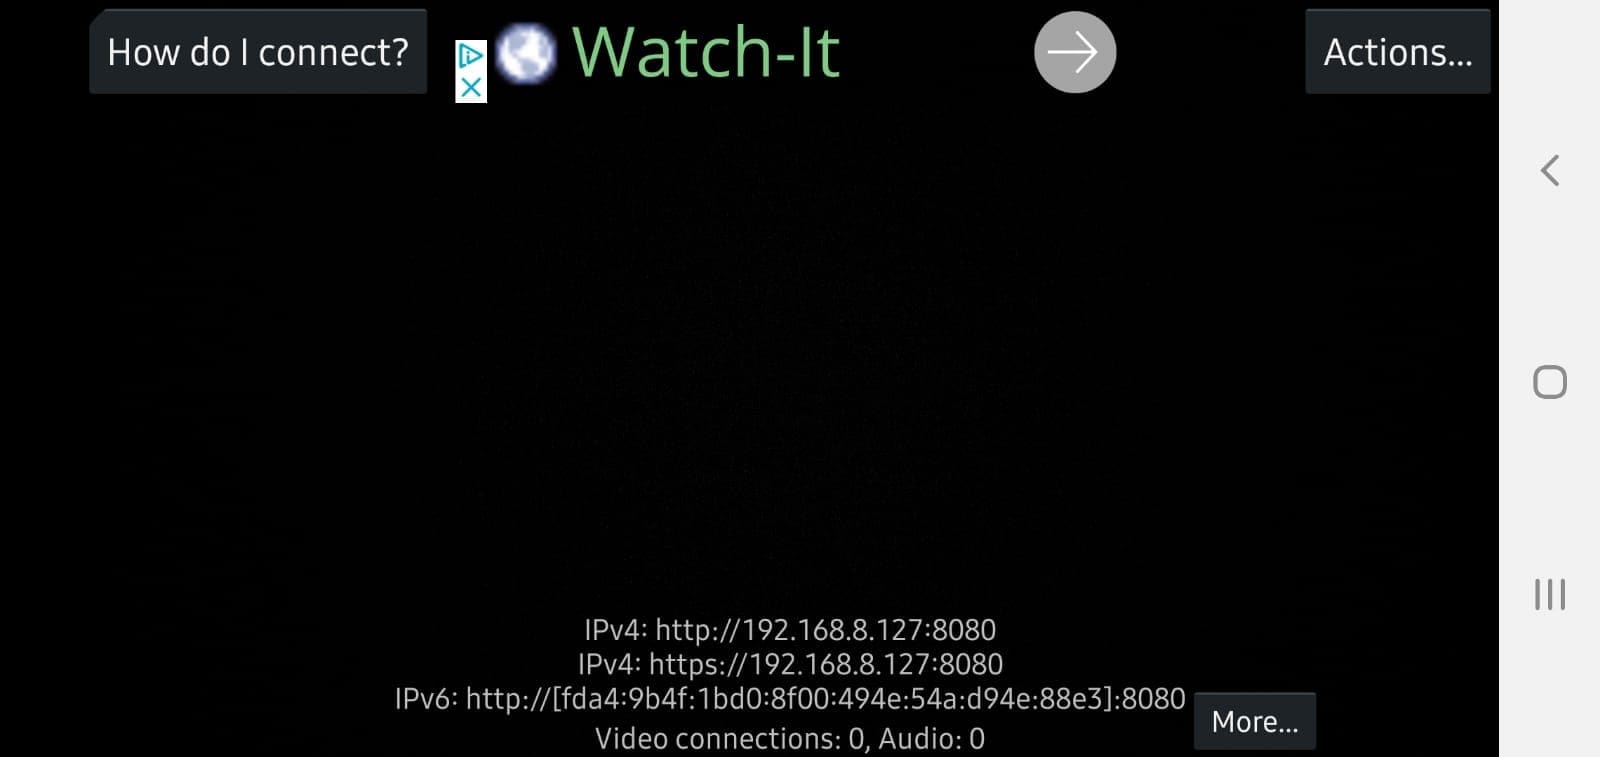
Your phone will display a video feed with some text at the bottom – that text is a list of IP addresses. Note down the top one, or if that doesn’t work, try the other two. Note that these IPs will be UNIQUE to your phone and session, so a new one will be generated every time.
-
Go to IP address
Next, type the IP address into your computer’s browser. You’ll be faced with another set of options, but your camera should be working now! Set the Video Renderer at the top to Browser, and you should be able to view your camera feed easily. Further down the page you’ll find options to take photos, switch camera directions and more.
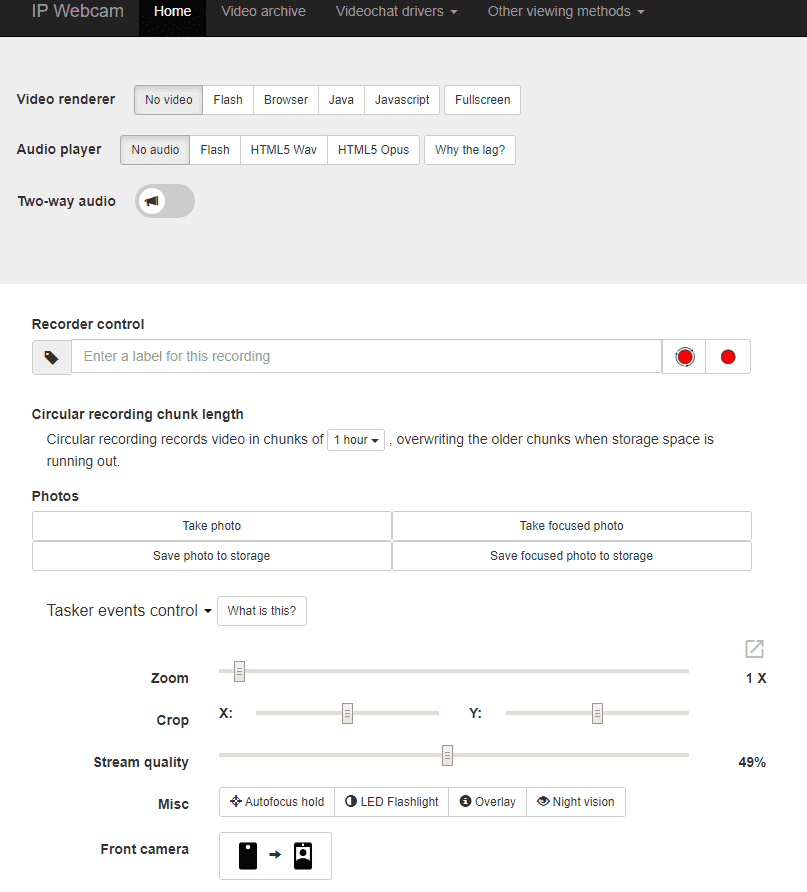
If you want to connect to a specific service etc, use the top right corner option Other Viewing Methods to do so. Simply select the one you need and follow the steps to set it all up.