Unfortunately, WhatsApp doesn’t have an integrated way of saving a WhatsApp status. The only way you could get your hands on that picture if that person sent it to you personally. After reading this article, that is going to be a problem you’re not going to have anymore.
You’ll be able to find the hidden folder your file manager has the WhatsApp status images you’ve looked at or use a third-party app for help. There is always one last method that will still work no matter what phone you’re using, but the app option is better.
Contents
Download WhatsApp Status Through File Manager
The file manager I’m going to use is called Solid Explorer. When you open the app swipe all the way down until you see the WhatsApp folder. After selecting the folder, tap on the three dots at the top right and check the box for the option that says Show hidden files.
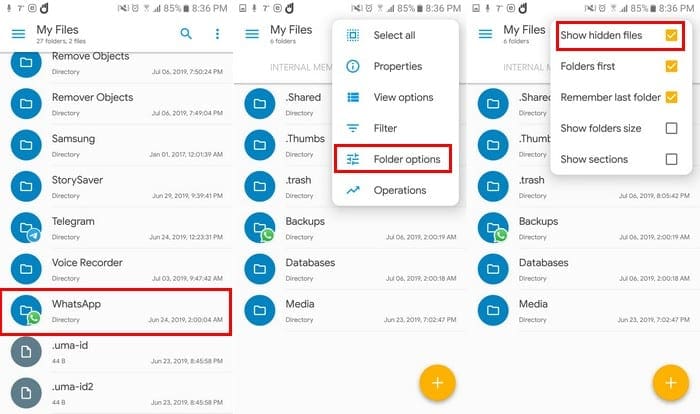
Tap on the Media file, and the first folder on top will be the Statuses folder. In that folder, you will find the image of every WhatsApp status you’ve looked at. If you don’t want those images taking up internal storage space, long-press on them to erase them.
Save WhatsApp Status With Third-Party App
If you don’t feel like going through all the previously mentioned steps to access the Status images, you can always use Status Saver. The app will only save WhatsApp Status’ that you’ve already looked at.

The app will be of no use if what you want to do is look at WhatsApp Status’ without showing up on the Seen list (the eye icon at the bottom of your status that tells you how many people have seen your status).
All the images will be in one section, and all the videos will be in another. When you select an image (for example), you will see a plus symbol at the bottom right. Tap on it, and you will see options to save, share, repost, save as, and delete.
The app will also work if you have GB Statuses, Parallel Space, or Parallel Space (Lite). The app does have ads, and you will have to pay $2.49 if you want to remove them. All videos and images you save will be downloaded to your device’s gallery.
The Screenshot Method
Depending on the type of phone you have will depend on how you take your screenshots. Even if you’ve had your phone for at least a few hours, one of the things you learn first is how to take screenshots.
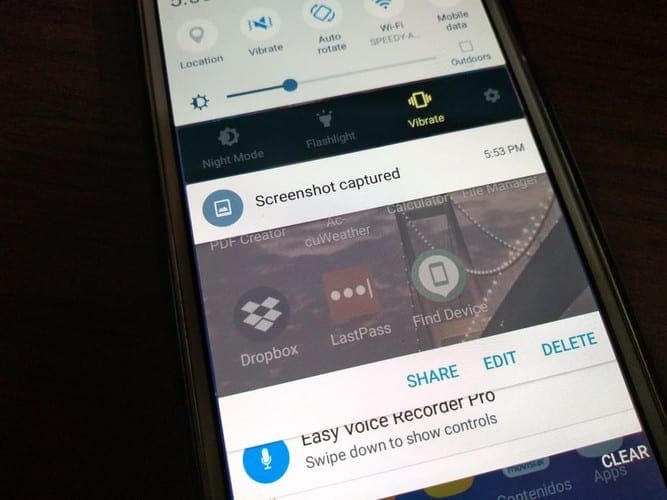
One Samsung phones, you need to press the power down and home button for a few seconds to take a screenshot. On the Moto G6 Play, you need to press the power down and power button until you see that the screenshot has been saved.
If you’re going to use the status image as on your status, don’t forget to crop it. That way, it’s not apparent to the whole world you took a screenshot.
Conclusion
With these three options, you will always be able to save any WhatsApp video or image you see on a status. Which one are you going to try first? Share your option in the comments below.