Whether you’re a Gmail fanatic, work within Docs every day or rely heavily on your Drive account, you’re using Google. Thankfully, the company gives us 15GB of storage space for free. However, this covers your files and docs in Drive, your Photos and more. That space can be eaten up pretty quickly.
What happens if you start to run out of space on your main Google account? If you aren’t already using more than one, you can easily create another for free. Sadly, Google has yet to give us a straightforward easy way to transfer Drive files from one account to another. However, I am going to show you two different methods of accomplishing this.
Transfer Google Drive Files to Another Account by Sharing
Open up your Drive account and decide which folder you wish to move to the other account. If you have files scattered all over the place you would like to move, I suggest placing them all in one folder. Right-click on the folder and choose ”Share.”

Type in your secondary account name. If you do not already have one, you’ll need to create it prior to starting this process. After typing your email in, click on ”Advanced.”

The ”Sharing Settings” box will now open. In the middle, you will see your original account name states ”Is Owner” next to it. Click the pencil icon next to the secondary account email you just typed and change that account to ”Is Owner.” As soon as you do, a message will show up stating that you have changes that must be saved. Select the ”Save Changes” button at the bottom of the box.

Once you save the changes, a warning will appear asking if you are sure. Obviously, since you are changing ownership to an account YOU own, go ahead and click on ”Yes.”

You are now back to the ”Sharing Settings” page. Scroll to the bottom and click on ”Send” and then ”Done.”
Now, let’s head over to the secondary Drive account, where the folder is sitting. You can rename the files or folders and arrange them to your liking, just as you did with your original account.
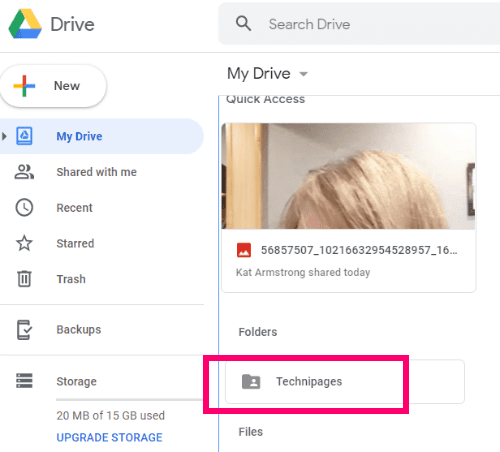
The last step in this process is to go back into your primary Drive account and delete the folders or files you just transferred, thus freeing up precious space to continue working!
Transfer Google Drive Files to Another Account Using Google Takeout
This process is a bit different, but still not too difficult to manage. We are going to archive the things you want to move to the other account, download it and then upload to the secondary Drive space, using a Google product.
Head over to Google Takeout. You will see that basically everything you have files on within Google is listed, along with all of it already being selected. Be VERY careful here, to only choose what you wish to archive. (Note: it’s not a bad idea to download an archive occasionally and store to an external drive, as I do. You just never know what can happen to your data.)
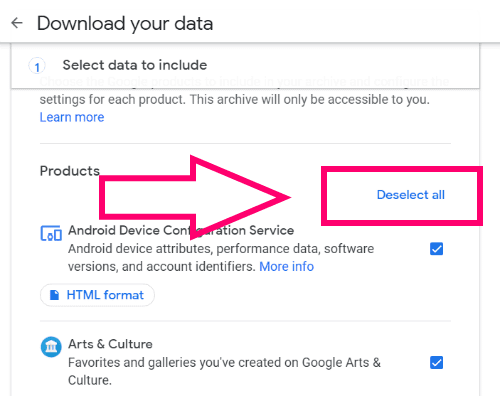
The very first thing I need you to do is select the ”Deselect All” link at the top-right of the page. Scroll down the page until you find ”Drive”. Check that box, then select the ”All Drive Data Options.” option.

Uncheck anything you do not wish to archive and download. In my case, I simply want to keep the Technipages folder checked. Once you have made your choice, hit ”OK” then scroll to the bottom of the page and select ”Next Step.”
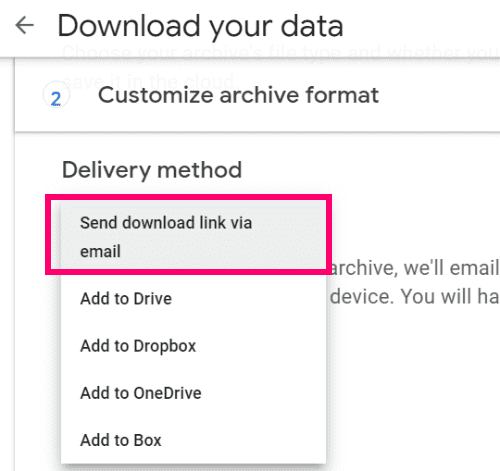
Now choose your download format and delivery options. I chose to have my link sent to me via email. Depending on the amount of data you are downloading, receiving the archive can take a few hours.
Next, choose whether you want to do this once or schedule it to happen often. In this instance, I’m just going with downloading it once so I can move it to my other account. Below that, choose the file format you wish to receive your archive in. A .ZIP file is definitely easiest. Last, choose your archive size. Anything over 2GB will be split into more than one download. After making all of your selections, click on ”Create Archive.” Wait until the ”Download” button appears.
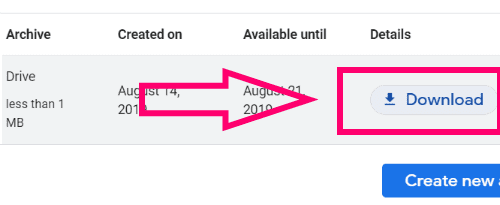
Select “Download“, then enter your Google password when prompted.
Next, name the folder and decide on the location to save it in.
Now that you have it, it is time to transfer it to your other account. Right-click your downloaded .ZIP file and choose ”Extract All.” > ”Extract”. Your extracted folder full of the archived files/folders will be located in the same place you downloaded the archive.

Open up your secondary Drive account. At the top-left of the page, select ”New” > ”Folder Upload.”

The usual box will open up allowing you to navigate to and choose the folder to upload, along with giving you a warning about whether or not you trust the files. Of course you do – they’re yours! The folder or files now appear in your secondary Drive account. Once again, you may rearrange or rename them to suit your needs. Be sure to go back to your original (main) Drive account to delete them in order to free up that space!
What other Google Drive questions do you have that we may be able to help you with?
Happy space saving!