WhenNeed to print labels to send Christmas greetings, wedding, and other home event invitation cards? Want to print shipping addresses in bulk for your online shopping site? Read this article to learn how to print labels from Excel using Microsoft Word’s Mail Merge feature.
Microsoft Excel is an excellent app to create large databases for business or personal contacts. However, it isn’t that much user-friendly when it comes to printing shipping or other labels on label papers.
You may manually create label-like cells in Excel and write content in it manually. You could do this manual work for a few labels but when you need to send cards, invitations, and merchandise to hundreds of recipients, manual work isn’t an option.
Hence, you must learn how to print labels from Excel using the Mail Merge feature of Microsoft word by reading this article until the end. You’ll also explore some smart tips at the end!
Contents
How to Print Labels in Excel: Prep Work
The process to print address labels from Excel or printing mailing labels from Excel involves the cross-compatibility of Excel files with Word. Hence, you must make the following adjustments in Word if you’re printing labels in Word using Excel contact lists:
- Open the Microsoft Word app on your PC or mac.
- Click File and then select Options.
- Click Advanced on the Word Options window.
- Scroll down until you see the General section.
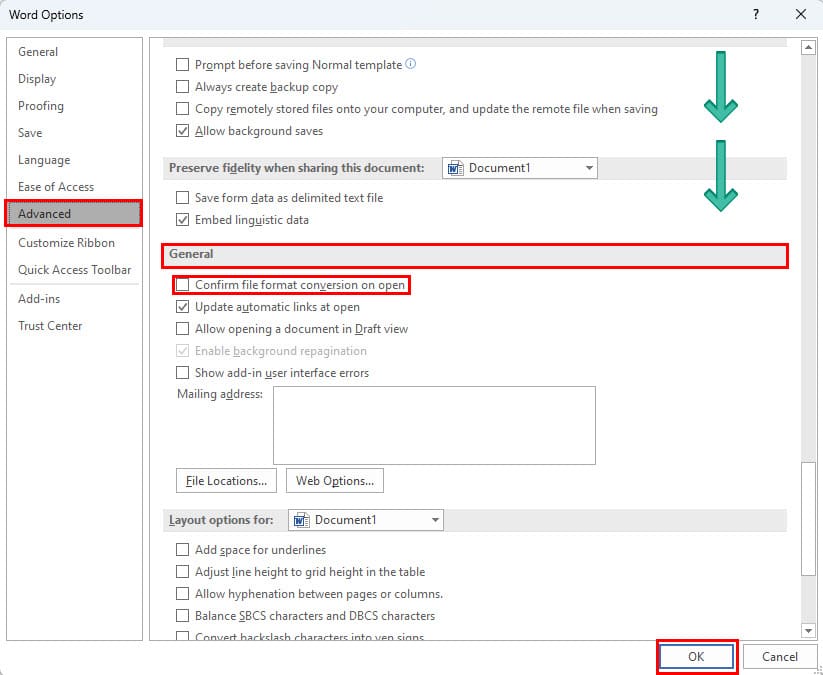
- There, checkmark the checkbox beside Confirm file format conversion on open.
- Press OK to save the changes and exit the Word Options window.
Before you can print the labels, you must check if the Word Mail Merge feature supports the label or not. Microsoft compiled the label sticker specifications from top vendors in the app. Here’s how you can see the list and document code for label stickers:
- Click the Mailings tab on the Word ribbon menu.
- Choose Start Mail Merge and then select Labels from the drop-down list.
- The Label Options dialog box will now pop up.

- Under the Label information section, you should see the Label vendors and Product numbers list.
- Select the label paper vendor name and product code. You’ll find the details on the packaging of the label papers you bought.
- Click OK to apply the changes to this label printing project.
If you don’t see the label vendor name in the above list, you can manually enter its specifications. Thus, Word will sync with the printer appropriately so that you can print the address labels, mailing labels, and shipping labels effortlessly.
To create a new label configuration, follow these steps:
- Click New Label on the Label Options dialog box.
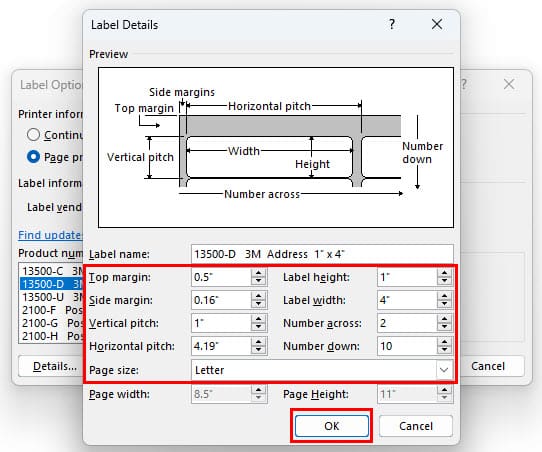
- Now, type a name for the new configuration file.
- Then, adjust the parameters like top margin, side margin, label height, label width, page size, etc.
- Click OK to save the changes.
That’s it! Don’t forget to save the Mail Merge Word document so that you can use it later or recover it if power fails during your work.
How to Print Labels From Excel: Prepare Contact List
Now, you need to create a database from which the Word Mail Merge tool can pull the recipient’s name, address, and other details. Follow these steps to create and save your Excel contact list for this project:
- Open a new blank worksheet in Excel.
- Save it as Shipping Labels Contact List or any other name you like.
- Start populating data from the top corner of the worksheet without leaving any blank cells either on rows or columns.
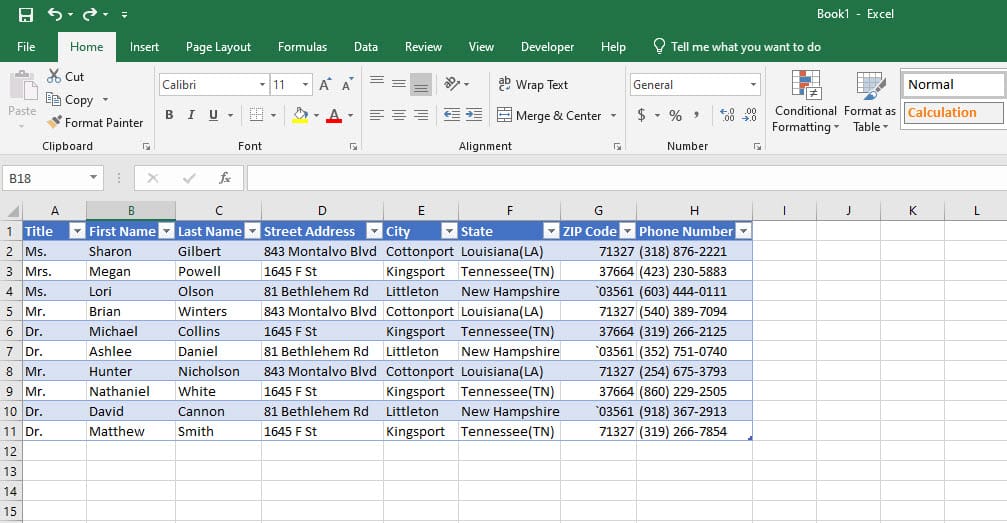
- Type column headers that the Maile Merge tool of Word will detect and use in the Match Fields option.
- Below this column header, type appropriate data.
- It’s best if you can import a CSV (comma-separated values) file from any contacts app and then format it in Excel by adding the column headers.
- Double-click on the worksheet tab at the bottom of the Excel app and rename it to Contact List or any other name that you’ll remember.
- Once done, Save the entire Excel file again.
How to Print Labels From Excel: Use Mail Merge in Word
Once the Excel database for shipping addresses is ready, go to the Word file where you saved a label format that matches the physical paper on which you’ll be printing the mailing addresses. Now that the Mail Merge labels file is open, follow these steps:
- In the Start Mail Merge section of the Mail Merge tab, choose Select Recipients.
- Select the Use an Existing List option from the drop-down list.
- The Select Data Source dialog box pop-up will open.
- Navigate to the Excel file where you saved your contact list.
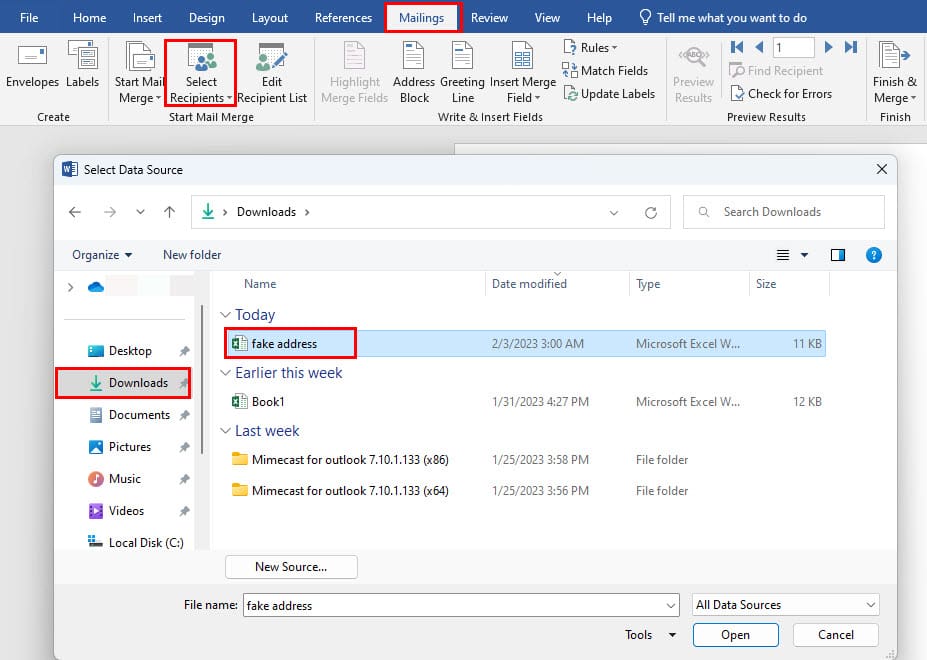
- Select the file and then click Open.
- Now, you must see the Select Table window.
- This window shows all the worksheets available in the Excel file you just imported.
- Select the worksheet where you created the contact list.
- In this tutorial, it’s the Contact List worksheet. Click OK to continue.
- Now, you should see the label stickers as Next Record.
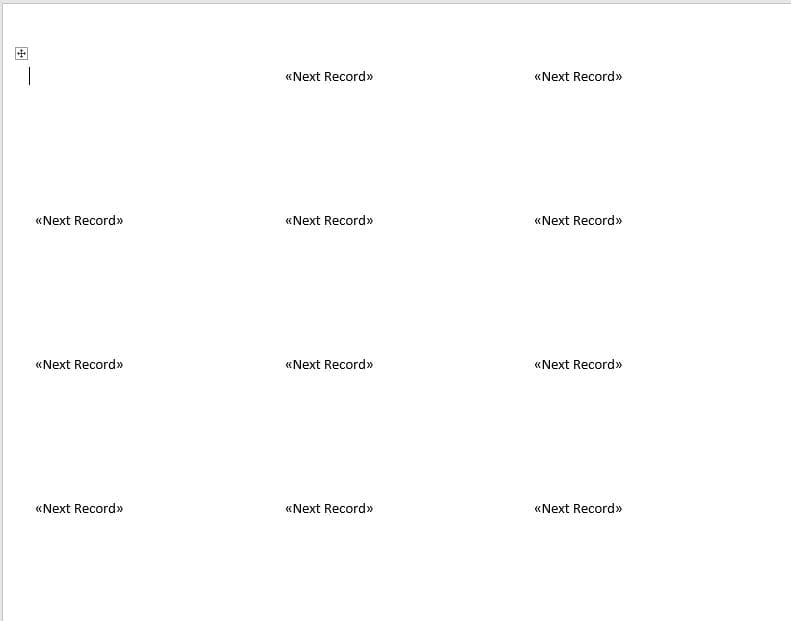
- The first label sticker will be empty. That’s okay.
Now that you populated the label rows and columns on Word Mail Merge, your task is to import actual data from the contact list database on Excel. To accomplish this task, try these steps on your end:
- Considering you’re on the Mailings tab, click Edit Recipient List.

- Check out the table of contacts and their addresses. See if there are any issues.
- If all looks good in the above table, click OK.

- Now, click on Insert Merge Field in the Write & Insert Fields menu of the Mail Merge tool.
- A drop-down list will show up with all the column headers that are in the contact list database of the Excel file you imported.
- Click Title.
- Press Shift + Enter.
- Then again click Insert Merge Field and select First Name.
- Press Shift + Enter and repeat the above steps until you have all the column headers in the top left corner label sticker.
- You can customize various components of the label sticker tool.
- Go to the Home tab and select the text or texts on the label to apply formatting options like font type, font size, color, highlight color, and so on.
- Once all things look right, go back to the Mailing tab.

- Now click the Update Labels button.
- This will populate data for all the labels on the page.
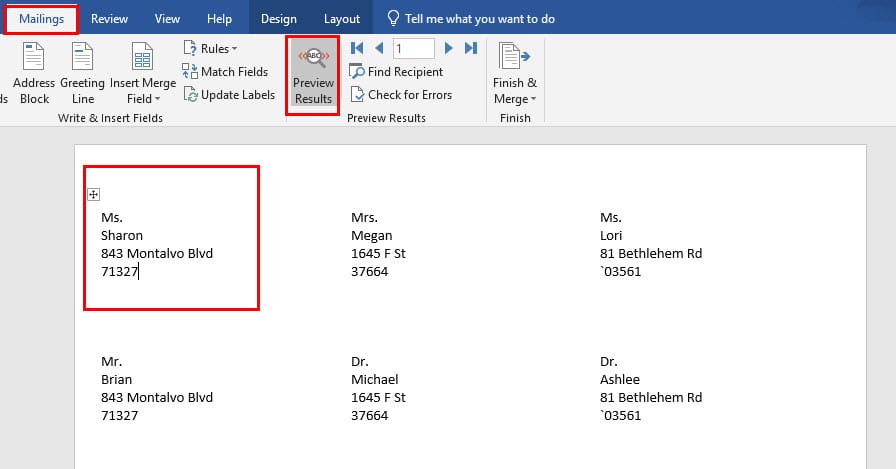
- Now, simply click Preview Results to show the actual data on labels.
When creating mail addresses or shipping labels on Mail Merge using contact lists from Excel, don’t import too many components in the labels. It’ll clutter the labels. Choose components that are absolutely necessary to deliver a package successfully.
How to Print Labels From Excel: Printing Document
So far, you created the labels successfully on a Mail Merge document. Now, it’s time to print it by following these steps:
- Take out all the papers from your printer.
- Insert the physical label sticker paper into the printer paper feeder.
- Come back to the labels page on Word and hit Ctrl + P. This is the print command.
- Now, adjust the print settings from the left-side navigation pane.
- You must ensure that print settings reflect the appropriate print conditions like the printer, settings, paper size, margins, etc.
- Click print to start printing the labels on the label printing paper.
Awesome! You just printed some good-looking shipping addresses or mailing labels for personal or professional use.
How to Print Labels From Excel: FAQs
Is There a Way to Print Address Labels From Excel?
Yes! You can create a contact list database in Excel. You can create columns like Name, Address, ZIP Code, Country, Phone Number, State, etc., and then populate data below these column headers.
Once done, you can import this database to Word Mail Merge to create address labels using the Labels creation tool on Mail Merge. Follow the steps mentioned above in this article to discover the exact moves.
How Do I Create Labels From Excel to Word?
You can use Word’s Mail Merge feature to import contact list data from an Excel sheet. Then, you can use the Label creation wizard in the Mailings tab of Word to create labels and populate data from Excel. The Insert Merge Field command will help you add fields in the label.
How Do I Print Multiple Labels on One Page?
Printing mailing labels from Excel using the Mail Merge feature of Word will always let you print labels in numbers like 10, 20, 30, etc., per page. All you need to do is choose the appropriate Product numbers and Label vendors in the Label information dialog box.
Conclusion
So, now you know how to print labels from Excel using Word’s Mail Merge feature.
The critical part of this process is using the appropriate label sticker page before populating label data on Mail Merge. If you select the wrong paper, you may end up wasting the physical paper by printing non-aligned labels.
When you’re not sure of the paper vendor and product code, always create a new label paper before following the whole process.
Think I’ve missed any other way to print address labels from Excel do mention the method and its process in the comment box below.
Next up, how to combine two columns in Excel.