Sometimes your computer will restart when it should shut itself down, which can be frustrating and can drain the battery if you don’t notice. There are many common reasons this can happen, and luckily, most of them are easily solved with a few clicks. Below are the first steps you should take if you encounter this problem. If none of them work, it may be something more serious and it’s a good idea to consult a technician.
Contents
Fix 1. Disable Fast Startup
Windows 11 has a great feature called Fast Startup to load your software more quickly. But it’s only great if it works. When this feature stops working or experiences a temporary glitch, it can interfere with your computer’s normal functions.
Steps to disable Fast Startup:
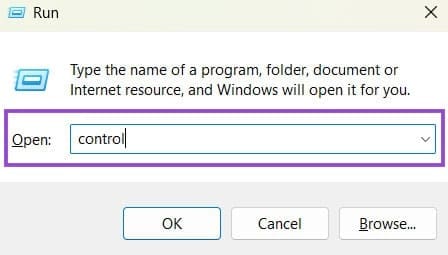
Step 1: Press Windows+R to open the ‘Run dialog’ box.
Step 2: Type ‘control’ and open the Control Panel.
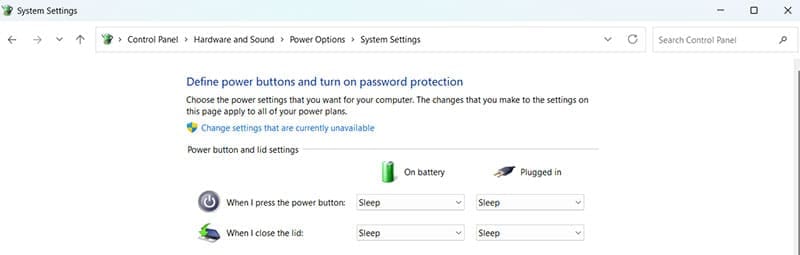
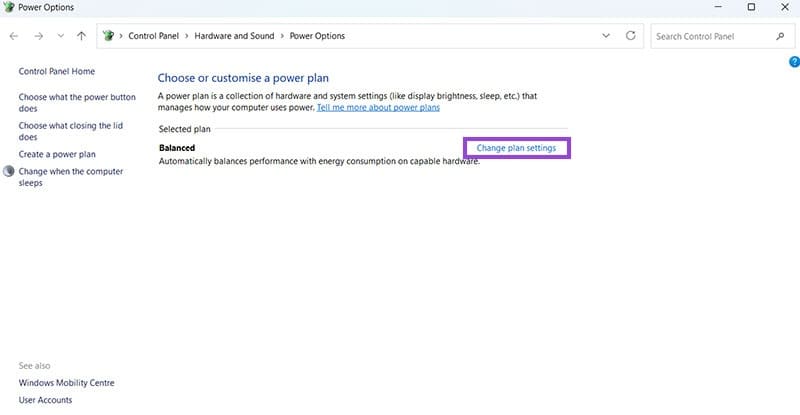
Step 3: Go to ‘Hardware and Sound’ then Power Options.

Step 4: Click ‘Change what the power buttons do.’

Step 5: Click ‘Change settings that are currently unavailable.’
Step 6: Find ‘Shut-down settings’ in the window.
Step 7: Disable ‘Turn on fast start-up.’
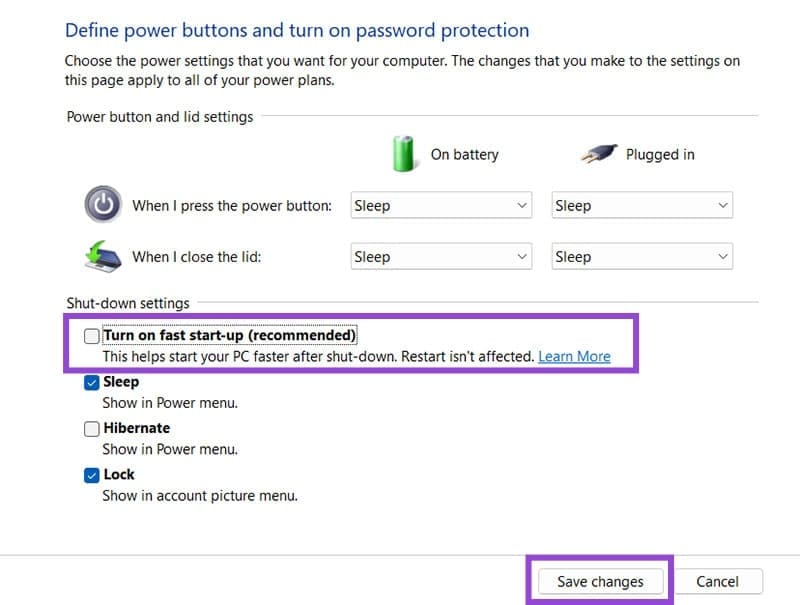
Step 8: Click ‘Save changes.’
Try shutting your computer down again, and hopefully it should work as normal.
Fix 2. Turn Off Automatic Restart
You might notice that your computer restarts sometimes without warning. This is an automatic restart, a built-in feature that is triggered when certain system failures occur behind the scenes. It resets your system and hopefully fixes the problem. However, it can sometimes affect your computer when it’s shutting down instead.
Steps to disable automatic restart:
Step 1: Press Windows+R and search for ‘sysdm.cpl.’

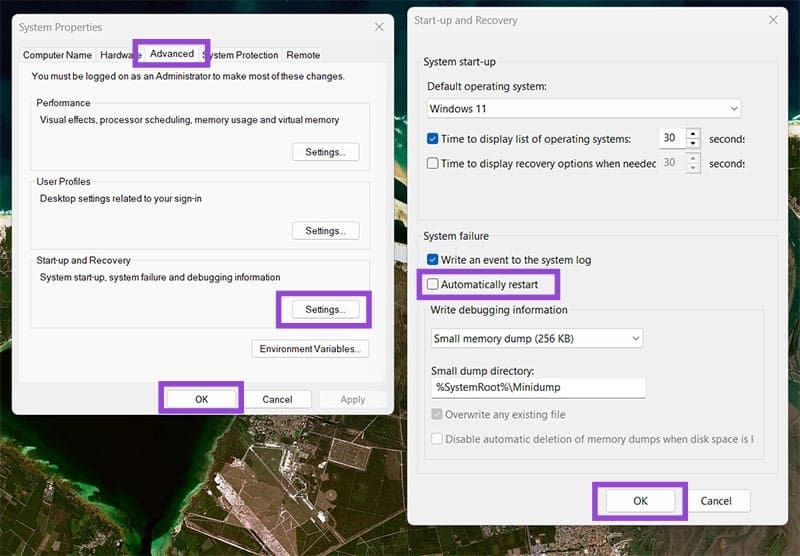
Step 2: In System Properties, open the ‘Advanced’ tab

Step 3: Under ‘Start-up and Recovery’, click Settings.
Step 4: Look for ‘System failure.’
Step 5: Turn off ‘Automatically restart.’

Step 6: Click Ok for both of the open windows.
Now, try to shut down your computer again.
Fix 3. Update or Reinstall Device Drivers
Ideally, your system will automatically update your drivers when a new version is available, but that isn’t always the case. When this happens, you need to manually update them or even uninstall them completely. Your computer will reinstall them when it starts up again.
Steps to update drivers:
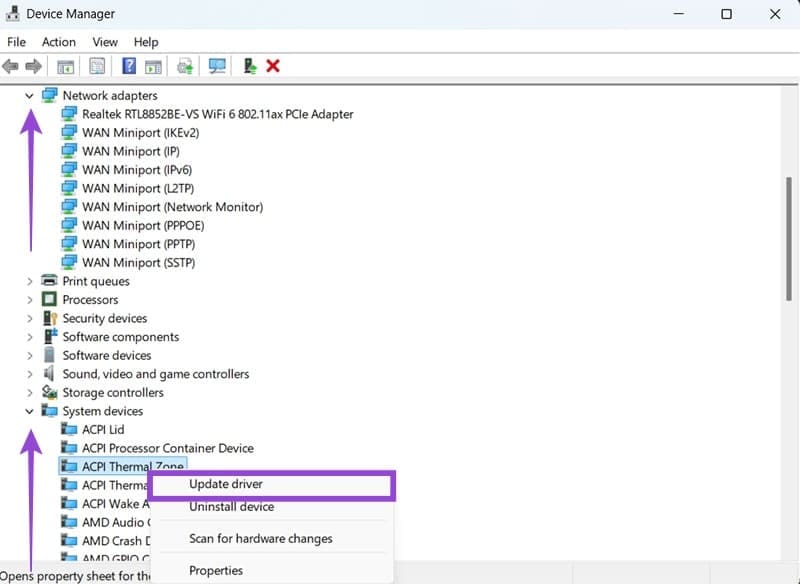
Step 1: Press Windows+X and select Device Manager.

Step 2: Expand the ‘Network adapters’ and ‘System devices’ tabs.
Step 3: Right-click each individual device and choose ‘Update driver.’
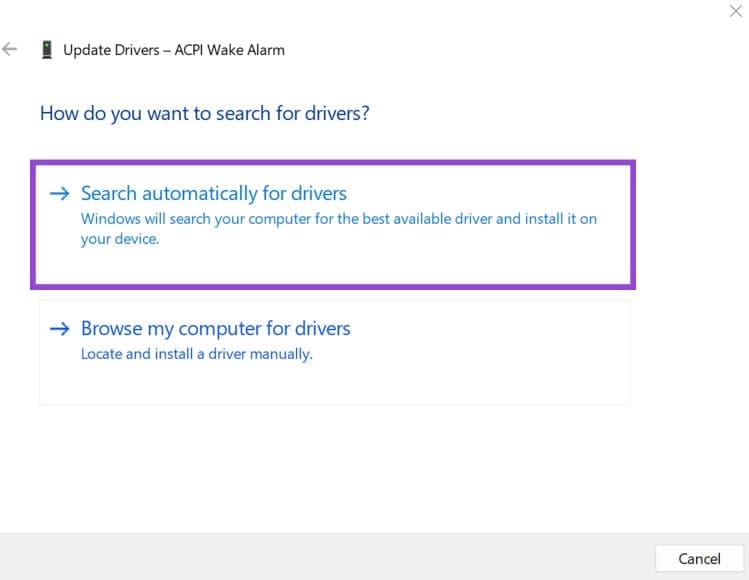
Step 4: Select ‘Search automatically for drivers.’
If updating doesn’t help, try uninstalling the driver:
Step 1: Right-click each device and choose ‘Uninstall device.’
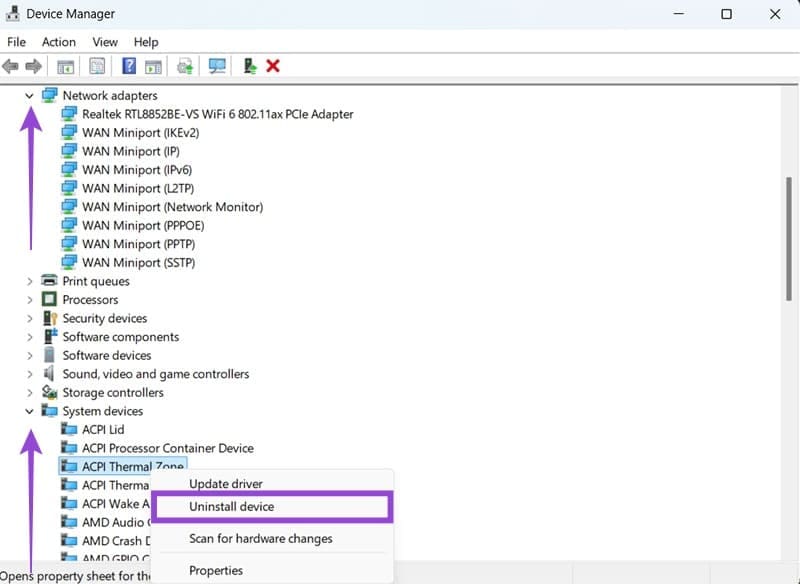
Step 2: Restart your PC.
This should give you the most recent version of the drivers software or reinstall them, depending on which method you’ve chosen.
Fix 4. Disable Wake Timers
Wake timers are certain events, usually scheduled into your computer’s software, that wake the device up. Typically, these protocols shouldn’t interact with the shutdown process but it can happen sometimes. Here’s how to fix it.
Steps to disable wake timers:
Step 1: Press Windows+R then search for ‘powercfg.cpl.’

Step 2: Click Change plan settings.
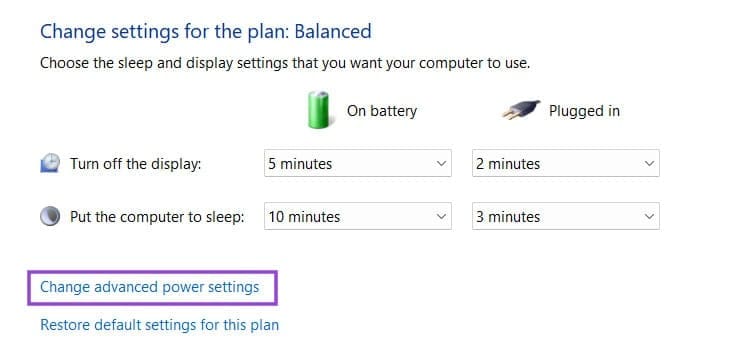
Step 3: Click ‘Change advanced power settings.’
Step 4: Go to ‘Sleep’, then find Allow wake timers.
Step 5: Disable it for both ‘On battery’ and ‘Plugged in.’
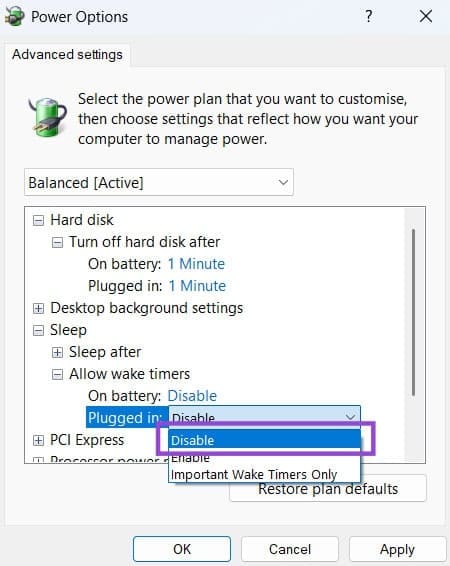
Step 6: Click Apply.
This should stop Wake Timers from triggering and preventing a proper shutdown.
Fix 5. Check for Pending Windows Updates
Sometimes your system will still be running on an old version, which can cause your computer to restart.
Steps to check and complete updates:
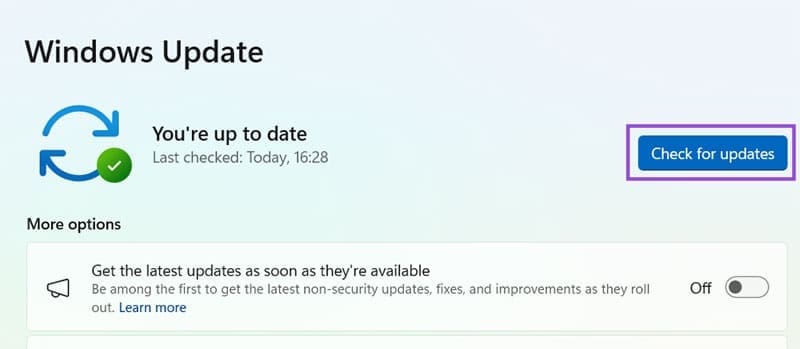
Step 1: Go to Settings then Windows Update.

Step 2: Click Check for updates.
Step 3: Install any available updates.
Step 4: Restart your PC and attempt to shut it down again.