The error code 0xc004f213 usually happens because Windows couldn’t verify the operating system’s activation key, resulting in the PC displaying that you’re running an unlicensed version of Windows. It’s especially common if you’ve upgraded from Windows 10 to 11 or changed your PC’s motherboard and have transferred over the old product key. To fix 0xc004f213 error for Windows 11, you’ll typically need to find and enter the original product key again or get a new one.
In most cases, a license key is matched with the motherboard during the initial setup. For prebuilt PCs that come with an operating system, this means you might not even get the actual product key, but you’d need it to reactivate the system and get the error 0xc004f213 fix for Windows 11.
For all fixes, you’ll need to have an active internet connection.
Contents
Fix 1 – Use the Built-in Activation Troubleshooter
You can use a built-in troubleshooter specifically designed to resolve activation issues like the error code 0xc004f213. In most cases, it can automatically detect and fix common activation issues.
Step 1. Press “Windows + R” to open the Run dialog, then type in or paste “ms-settings:activation” and hit “Enter.”
Step 2. In the Activation window, you should see the error code 0xc004f213 displayed. Look for a button or link labeled “Troubleshoot” and click on it.
Step 3. The activation troubleshooter will launch and begin scanning for issues. Follow the on-screen instructions to complete the troubleshooting process.
Step 4. If you’ve recently made hardware changes, select “I changed hardware on this device recently” when prompted.
Step 5. Sign in with your Microsoft account if prompted, then select your current device from the list of linked devices.
Step 6. Complete the reactivation process and restart your computer.
Fix 2 – Manually Re-enter Your Product Key
Re-entering the key manually can resolve error code 0xc004f213 in many cases.
Step 1. Press “Windows + I” to open Settings.
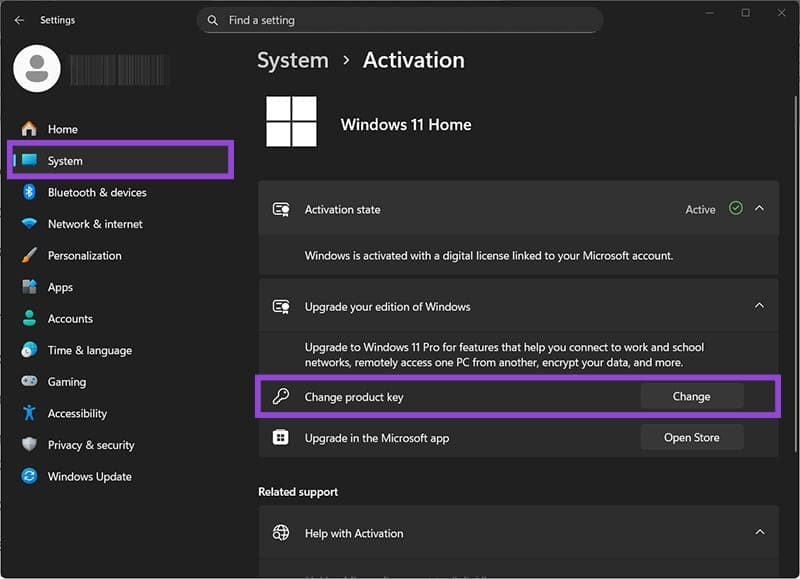
Step 2. Go to “System” in the left sidebar, then click on “Activation” in the right pane.
Step 3. Under the activation status, click on “Change product key” next to the product key option.
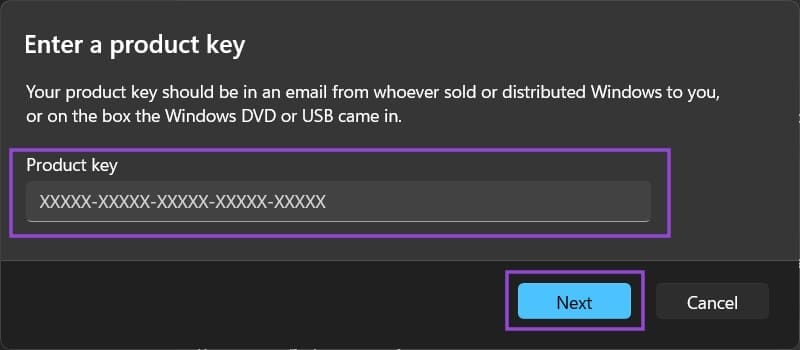
Step 4. Enter your 25-character Windows 11 key with dashes, then click “Next.”
Step 5. Follow the activation process and wait for Windows to verify your key through Microsoft’s servers.
Step 6. Restart your computer once activation is complete.
Fix 3 – Find Your Product Key in BIOS
If you have a pre-built computer, your Windows 11 product key might be embedded in the firmware
Step 1. Open the Command Prompt as an administrator (you can search for “cmd” and select “Open as administrator”).
Step 2. Paste the following command and hit “Enter:”
wmic path SoftwareLicensingService get OA3xOriginalProductKey

Step 3. Copy the product key that appears (if one is displayed).
Step 4. Follow the Fix 2 to reset the product key to the prebuilt one.
If you get a message “OA3xOriginalProductKey,” you’ll need to find a different method (but this usually happens if you haven’t modified Windows anyway, so it can be rare).
Fix 4 – Use a Microsoft Account
If you’ve registered the previous key with an account for Microsoft, you can use the account in lieu of a product key.
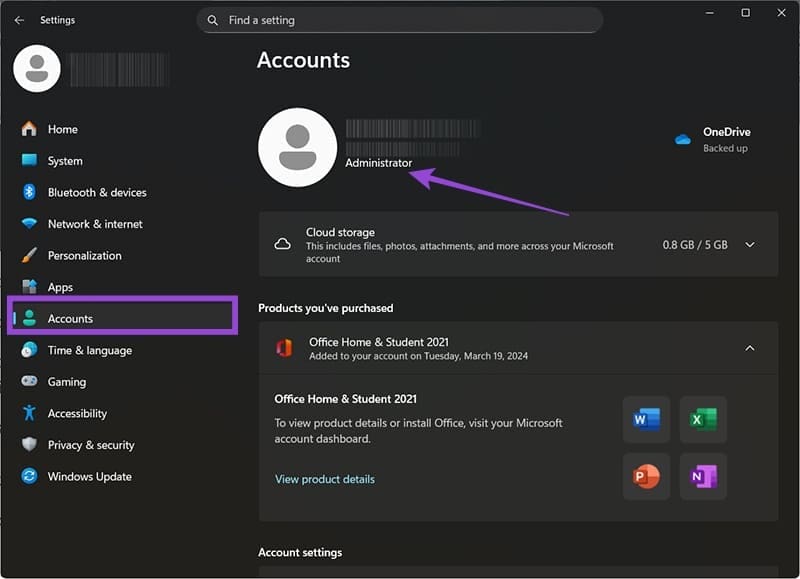
Step 1. Go to Settings, then to “Accounts.” Make sure that the account you’re currently using has administrator privileges (it will be listed under the name).
Step 2. Go to “System,” and then to “Activation.”
Step 3. Click on “Add an account.”
Step 4. Enter your account’s details (the account that was previously used with the registered product key).
Windows might prompt you with a confirmation on whether you want to use the account’s license to transfer it to that PC. Confirm the choice and check if the activation was successful.