If you’re suddenly being hit with a warning message that the ene.sys driver can’t load, you’re probably full of questions, the most important one being: “How do I get this fixed quickly?”
This driver is associated with ENE Technology and primarily the RGB control on your Windows 11 machine, and errors that you run into can be fixed without too much fuss. This article will be your guide.
Contents
Fix “ene.sys Cannot Load”
Many users have reported this error popping up on their machines following a major system update, like 24H2. It makes sense; lots of software can conflict or become incompatible after an update. Regardless, let’s look at ways to get your machine error-free once again:
Search for Updates
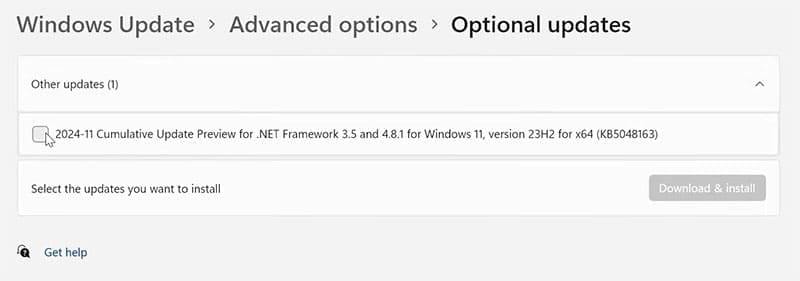
Let’s start easy. It’s a good idea to ensure that your machine is fully up to date and that Microsoft hasn’t released any patches to help with your issue. Be sure to search for optional updates too, which you can find under the “Advanced Options” of Windows Update.
Create the File
If your machine is indicating that the driver cannot load, then it might help to locate the “ene.sys” file in question and rename it to avoid problems. Here’s what you need to do:
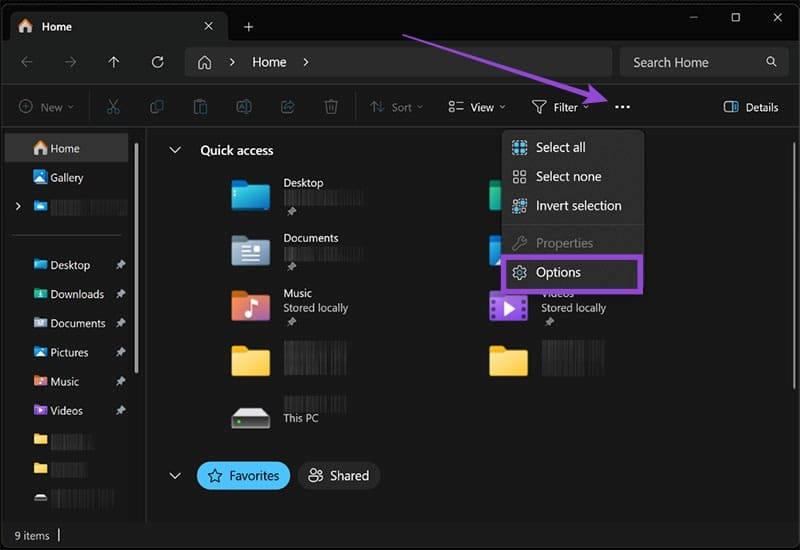
Step 1. Open a File Explorer window (Win + E) and click the hamburger menu (three dots) near the top of the screen.
Step 2. Select “Options” from the dropdown menu.
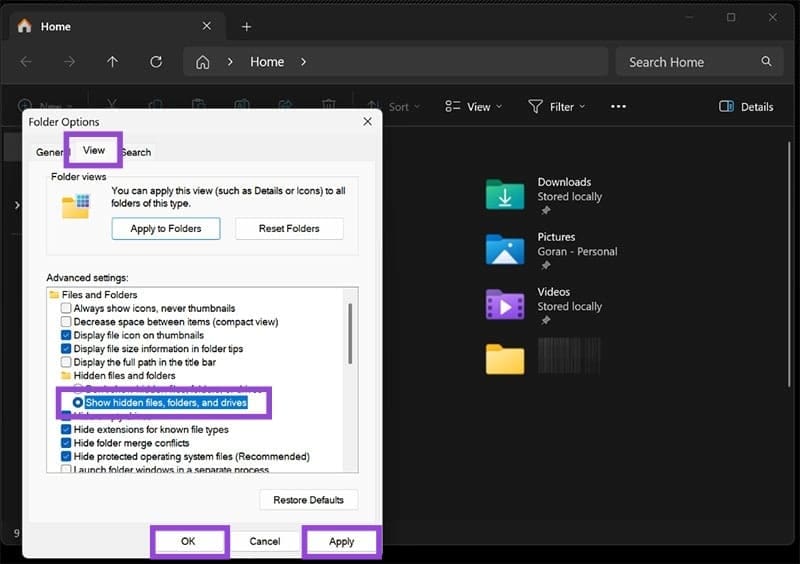
Step 3. In the new window that pops up, select the “View” tab.
Step 4. Navigate down to “Show hidden files, folders, and drives” and select it.
Step 5. Hit the “Apply” and “OK” buttons to finalize.
Step 6. Navigate to the following in File Explorer: “C:\Windows\System32\drivers\” and look for the “ene.sys” file.

Step 7. Click once on the file and rename it, pressing “Enter” once done. You’ll need Admin permission to do so.
Step 8. Restart your machine once done, and see if the problem is resolved on restart.
Disable Memory Integrity
If you have a program on your machine that controls RGB lighting levels on your mouse or keyboard, then it’ll most likely use the ene.sys system file. If not, you can disable Memory Integrity under Core Isolation to get rid of the message. Here’s how:
Step 1. Type “Core Isolation” into your search bar.
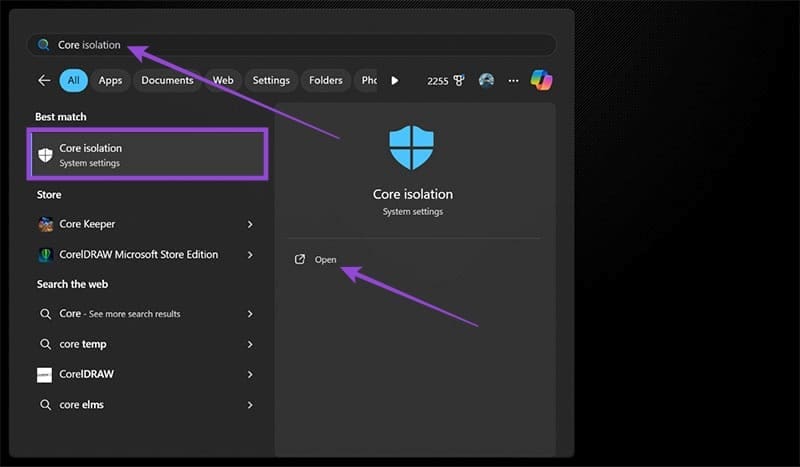
Step 2. Ensure that the “Memory integrity” slider is turned off.

Step 3. Restart your machine and see if the error message disappears.
Keep in mind that this feature helps keep your machine safe from attack. If it doesn’t work, be sure to re-enable Memory Integrity.
Run the Program Compatibility Troubleshooter
If the issue persists, then it may help to bring Windows’ troubleshooter on board to help. Here’s what to do:
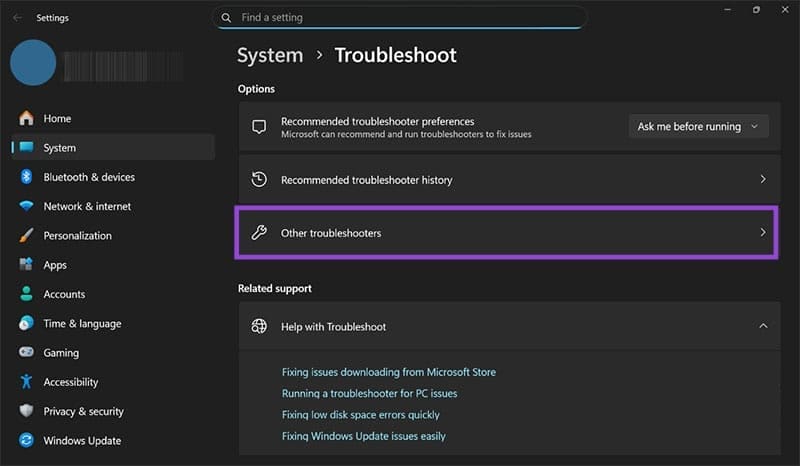
Step 1. Open up the Run dialog (Win + R) and enter “ms-settings:troubleshoot” before hitting “OK.”

Step 2. In the new window, select “Other troubleshooters.”
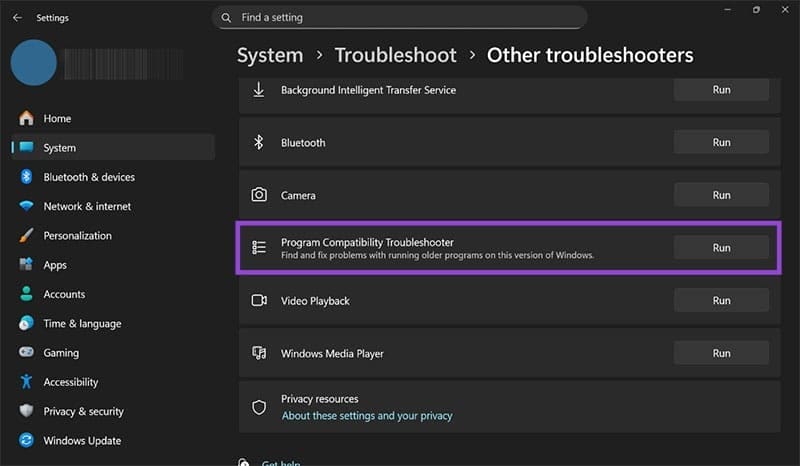
Step 3. Navigate to “Program Compatibility Troubleshooter” and select the “Run” button.
Step 4. If you can’t find the “ene.sys” file on the list provided, select “Not listed” before clicking “Next.”
Step 5. Click the “Browse” button to find the “ene.sys” file’s location. It should be under “C:\Windows\System32\drivers\.” Tick any box(es) that describe the problem best before clicking “Next.”
Step 6. The troubleshooter will then run. Follow any extra prompts.