You may not care if your recipients can see who else received the email most of the time. But, if there comes a time when you don’t want them to see who else got the email, the following information will show you the steps you need to follow.
Contents
How to Hide Recipients Emails in Gmail
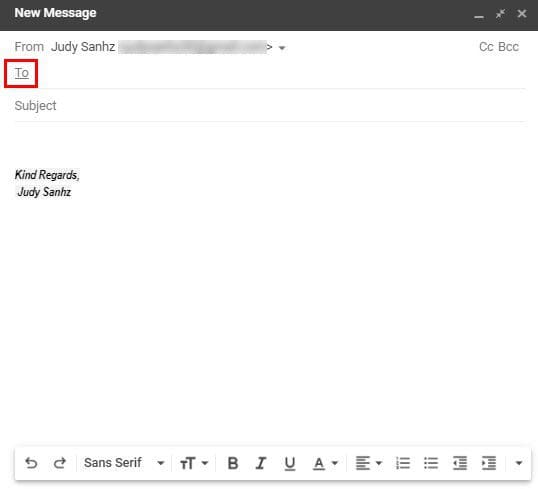
Hiding who else received the email from other recipients is easier than you may think. Once you’ve opened your new email, click on Recipients. To start adding contacts to your email, click on the To option, and type your email address with the words undisclosed recipients in front of it. Then add the brackets on the side. So it should look something like this: undisclosed recipients <123@fakeemail.com>.
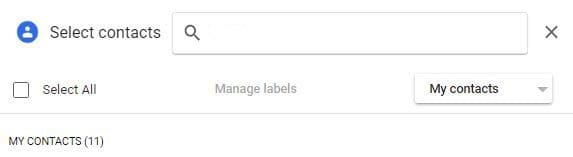
At the top right, click on the Bcc, and again when you see it moved under the To. Start adding the email addresses by clicking the are to the right of the Bcc and typing the first letter of the emails address. Click on Bcc to make your contact list appear. You can click on the box for the contact you want to add, or if you want to add all of them, you can click on the Select All box at the top left.
Don’t forget that you can also use the search box if you’re unsure if you have someone as your contact. Also, if you click on the My Contacts dropdown menu, you can choose from starred Android contacts and any labels you may have forgotten about.
Don’t forget that you can spice your email up a bit by using the different font types at the bottom. You can even add an emoji if you want. Also, if you regularly send emails this a specific group of contacts, you can create a label with those contacts. After that, you can send the same email to all with one click.
How to Put Specific Contacts in a Label in Google Contacts
Once you’re in Google Contacts, click on the three-lined menu at the top left. Click on the Create Label option.
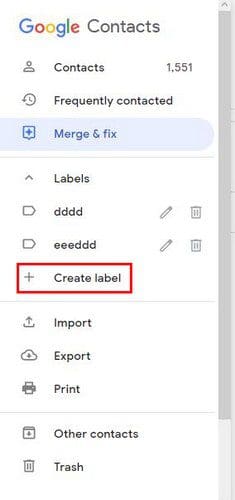
If you don’t see it, click on the Labels dropdown menu to make it visible. You’ll need to think of a name for your label and click on the Save option. Congrats! You’ve created your label, but now it’s time to add some contacts.
You can add your contacts one by one by placing the cursor near them and checking the box that’ll be to the left. Then click on the label icon at the top, followed by the name of the label you previously recorded. Don’t forget to click on the Apply button. Or, if you want to add all of them, you can start by clicking on one contact and then on the dropdown menu right above the first contact.

The All option is going to be the first one on the list. Once all the contacts are selected, click on the label icon, followed by the name of your label. Click on the Apply option to save your changes.
Conclusion
As you can see, hiding the email addresses for your contacts is easy on Gmail. If you frequently email the same group, why not create a label to make adding the contacts easier. Since you have work contacts and personal contacts, you can create as many labels as you need. Do you find the label feature useful? Share your thoughts in the comments below, and don’t forget to share the article with others on social media.