

On Windows 10, the context menu has a particular option that allows you to share File Explorer files via Skype. All you need to do is right-click on the item you want to share and select Share with Skype. If you rarely use this option, you can quickly remove it from the context menu. Keep on reading this guide to learn how you can do that.
Contents
Keep in mind that some of the Registry paths listed below may not be available on your computer. These differences stem from your OS version, Skype app version, as well as the other programs you installed on your machine.
- Type regedit in the Windows Search bar and launch the Registry Editor.
- Navigate to the following key: HKEY_CLASSES_ROOT\PackagedCom\ClassIndex\{776DBC8D-7347-478C-8D71-791E12EF49D8}.
- Then right-click on {776DBC8D-7347-478C-8D71-791E12EF49D8} and select Rename.

- Now, change the key name to -{776DBC8D-7347-478C-8D71-791E12EF49D8}. Apply the changes and close the Registry Editor.

By simply adding the minus sign in front of the key name, you should be able to remove the “Share with Skype ” option from File Explorer’s context menu.
⇒ Important Note: Skype will restore the key to default settings every time you install a new app version. In other words, you’ll need to repeat these steps after every Skype update.
Restrict the Option
Additionally, if you want to remove “Share with Skype” from the desktop app, follow the steps below.
- Relaunch the Registry Editor.
- Then navigate to the following key:
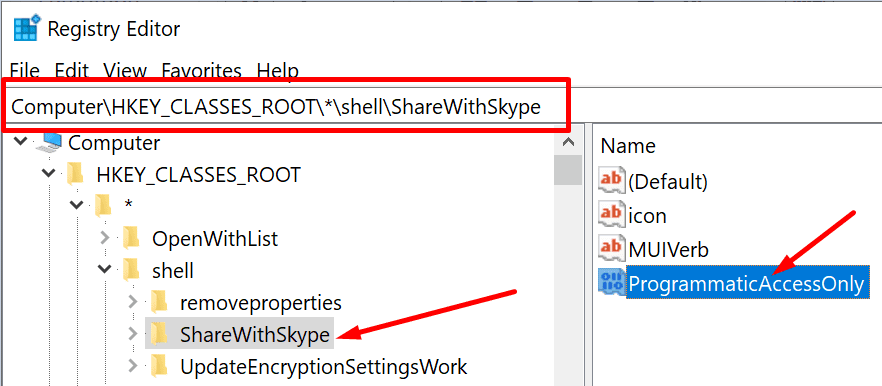
HKEY_CLASSES_ROOT\*\shell\ShareWithSkype. - Right-click in the right pane, create a new DWORD key and name it ProgrammaticAccessOnly. Leave the value data box empty.
Delete the Entry
Other users fixed this issue after deleting the ShareWithSkype key from the Registry.
- Launch the Registry Editor and navigate to HKEY_CLASSES_ROOT\*\shell\ShareWithSkype.
- Then right-click on the ShareWithSkype key and delete it.
This method should survive Skype updates and reinstalls.
⇒ Note: Some users may need to follow a different path to locate this option. Navigate to HKEY_LOCAL_MACHINE\SOFTWARE\Classes\PackagedCom\Package\Microsoft.SkypeApp_15.61.87.0_x86__kzf8qxf38zg5c\Class\{776DBC8D-7347-478C-8D71-791E12EF49D8}. Delete the DLL path.
Use the Command Prompt
Alternatively, if you’re running Windows 10 version 2004 and newer, you can also use Command Prompt to disable Share with Skype.
- Launch Command Prompt with admin rights and enter this command: REG ADD “HKLM\SOFTWARE\Microsoft\Windows\CurrentVersion\Shell Extensions\Blocked” /v {776DBC8D-7347-478C-8D71-791E12EF49D8} /d Skype
- Hit Enter and restart File Explorer.
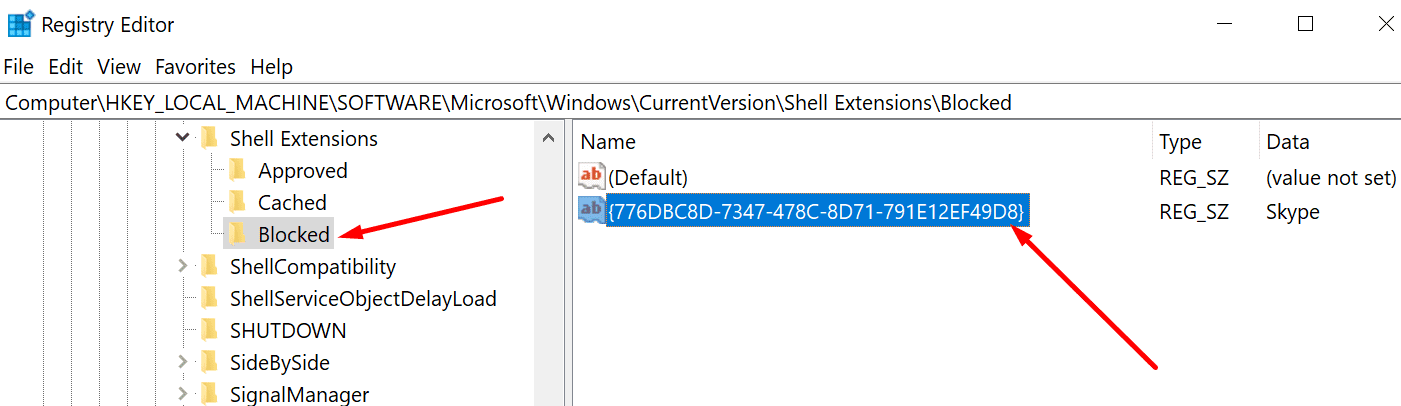
- Launch the Registry Editor and navigate to HKEY_LOCAL_MACHINE\SOFTWARE\Microsoft\Windows\CurrentVersion\Shell Extensions\Blocked.
- Then right-click in the right pane and select New → String value.
- Name the new REG_SZ {776DBC8D-7347-478C-8D71-791E12EF49D8}.
- Double-click on the key and add Skype in the Value box.

- Restart File Explorer. If the option is still visible in the context menu, restart your computer.
Adding this option to the list of blocked actions should permanently solve the problem.
Install Easy Context Menu
Easy Context Menu is a light program that allows you to customize your Windows 10 context menu. You can add and remove different options, including Share With Skype.
- First, you need to download Easy Context Menu from Sordum.
- Then launch the program and press Ctrl + X to open the Context Menu Cleaner.
- Select the ShareWithSkype line and delete it.
Uninstall Skype
If you don’t really use Skype and you rely on other instant messaging and video meeting tools, you can simply uninstall the app. Launch the Control Panel, select Uninstall a program, click on Skype, and then hit the Uninstall button.
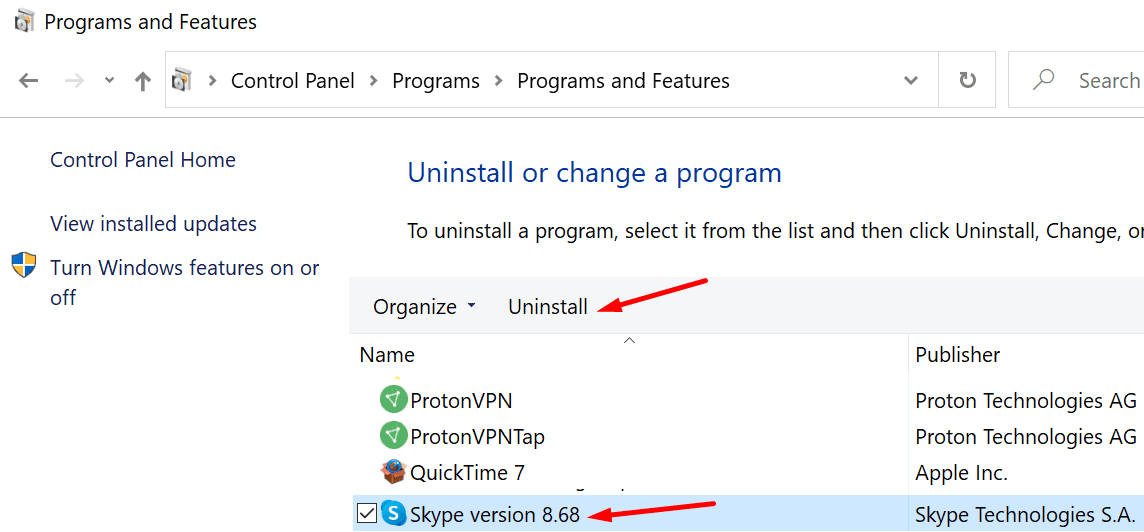
Once the Skype app removed, the Share With Skype option will also disappear from the context menu.
Conclusion
If you don’t use Skype too often, the quickest way to remove the Share with Skype context menu option is to uninstall the app. But if you want to keep the app and only remove the option from the menu, you’ll need to tweak your Registry.
We’re really curious to learn which of the solutions above worked for you. Do let us know in the comments below.


Thank you for a solution!
Amazing guide, thanks for being exhaustive in the options! I had already removed Skype and OneDrive (and a whole battery of other trash “features” and apps) before ever allowing my machine on the internet, tossed the packages out and made sure to check they were not replaced on reboot. I thought that would be the end of it, but come to discover indows10 has apparently been secretly putting things back without notice or consent, which I discovered just now when Share With Skype appeared in my context menu after a reboot.
What I would like to see is some way of taking full control from microsoft altogether, so no actions happen without a popup asking permission for it. A hassle to be sure, but if windows cannot be trusted to obey the user and ONLY the user, I see no other way. Do you have any idea how I might do this?
Worked like a charm, i had 2 entries, (dunno how that happened). The 2 registry key deletes worked well…. thank you
Confirmed working as of 4/25/2021. Great job thank you for sharing.