
Mail merge is a feature of Microsoft Office. It enables users to send bulk messages. You can compose a message using Microsoft Office and then send it to many people at the same time.
Mail merge saves you from having to send separate e-mails for each and every contact by using Microsoft Outlook to send mass e-mails. It might sound complicated, but once you know how to use mail merge it’s quite easy.
Contents
Pros & Cons of Using Mail Merge for Word
While a useful feature overall, there are several drawbacks when using the Word email merger.
It is advisable that you access which emails you will be able to merge without any loss in quality and information, and which should be custom-made for either private or business correspondence.
– Faster
– Easier Lead Retention
– Send More Data
– Better Tracking
– Less Personalization
– Non-adaptive formatting
– Increased Possibility of Missending
You will get MS Word in any MS Office suite. You can buy an activation card for Microsoft Office 2019 from Amazon and get it shipped by mail. The code will work for both Windows and MacOS users.
Step 1: Compose the E-mail
You can compose your message at Microsoft Word. Microsoft Word is a part of Microsoft Office. Now follow these steps to send a mass e-mail.
1. Open Microsoft Word from your desktop. You can also open Microsoft Office from the programs menu. Now, select Microsoft Word from the Microsoft Office program list.
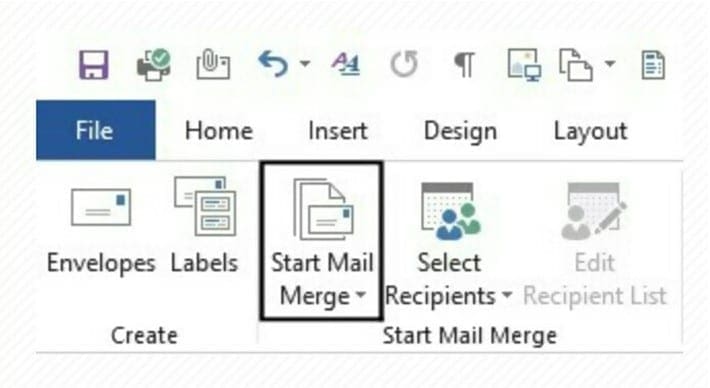
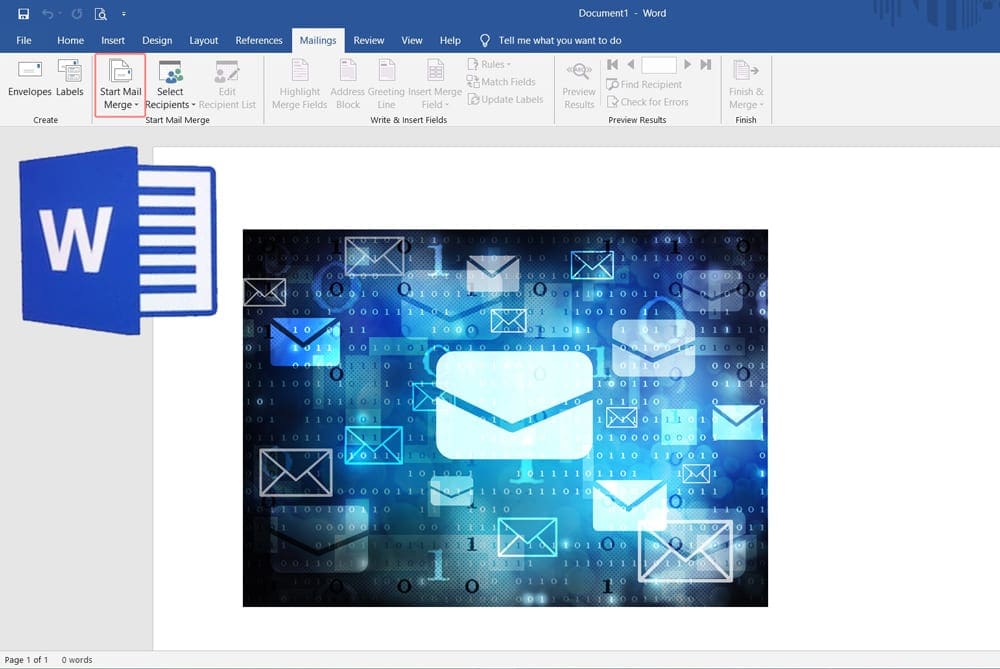
2. Click on the File Now click on Start Mail Merge.
3. From the given options, select Email Message.
4. Microsoft Word will provide you e-mail interface. The document will have no margins, unlike a regular document.
5. Follow the regular e-mail format. Type the opening salutations and body of your email message.
6. You can also include your email signature. For this purpose, you have to copy your e-mail signature from Microsoft Outlook.
7. Mail Merge also enables you to add personalized content in your e-mail.
Step 2: Create a Recipient List
Next, you’ll want to assemble your recipient list for your email. You can save your list as a Microsoft Word document or make it a Microsoft Excel file. Any Windows supported document making programs will work.
You can also use the Mail Merge wizard to create a recipient list. Now, follow these easy steps to add your recipients:
1. Click on the Recipient button from the Mail Merge tab.
2. Now, click on the Type a New List. You can also add your pre-existing recipient list.
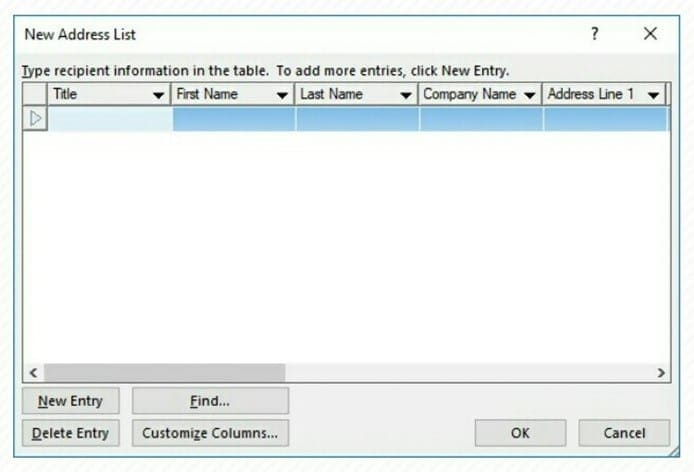
3. In the recipient list window, you can add relevant information. Like company name and address.
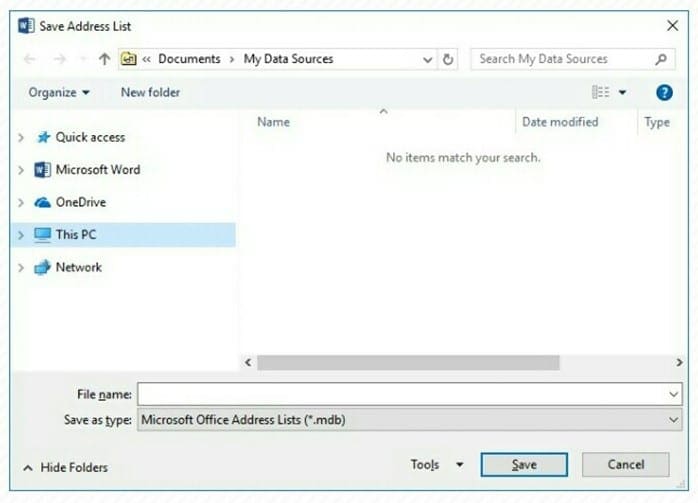
4. Use Customize Button You can exclude the undesired fields. Rename function is also available. Save your changes in the address list. Your newly created address list will go in the My Data Resources directory with .mdb
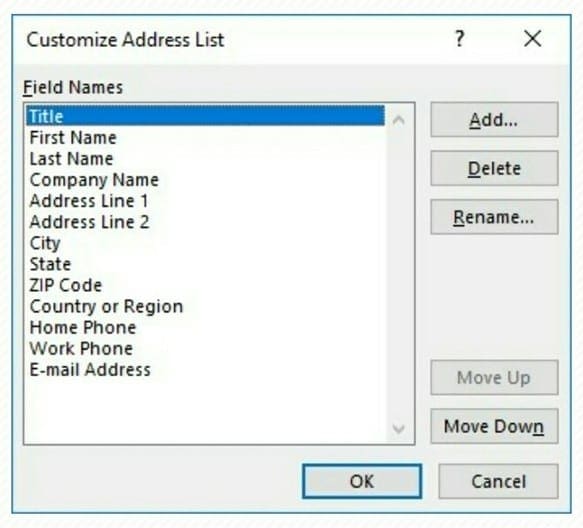
5. Click Ok to save your work.
Step 3: Complete the Mail Merge
Now that you have your email composed and your recipient list completed, follow these steps to complete the Mail Merge.
1. Select Mail Merge Field option to see the drop-down menu. From the list select the required fields.
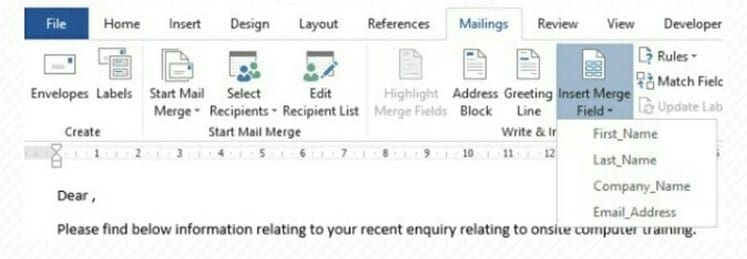
2. Now you will see a list of field codes on your screen. They will appear like this <<CompanyName>>. Do not mishandle these fields.
3. You can see the actual e-mail text in the
4. Choose Finish and Merge option from the mail tab. Now your e-mail is ready to send.
5. Click Ok on the final dialogue box to complete the Mail Merge.

It’s as simple as that. You’re ready to send out an email to a large group of recipients. You’ll be able to view your e-mail messages at any time.


Eduardo Arias says
November 14, 2020 at 10:35 am
I have two Microsoft accounts: one institutional and one personal. With the institutional, I have no problems when preparing and sending bulk e-mails. But now, I want to do the same with my personal account. Although I have signed up in both Word and Excel using it, the e-mail is still being sent from my institutional e-mail address. How i can proceed?
Thanks in advance
comment: switch the default sender account on outlook and restart outlook.
Nope. Got the blue spinny and had to control-alt-delete.
hello how the hell i woulld sent to others pls say u
On the final step “Finish & Merge’, the option of “Merge to Email” is greyed out. Any ideas why? I’ve gone through all the proper steps. Thank you.
I have two Microsoft accounts: one institutional and one personal. With the institutional, I have no problems when preparing and sending bulk e-mails. But now, I want to do the same with my personal account. Although I have signed up in both Word and Excel using it, the e-mail is still being sent from my institutional e-mail address. How i can proceed?
Thanks in advance
No,, because you didn’t cover the mail app part. I’m trying to use Gmail, which is supposedly MAPI compliant, but while I can select it in Word, I can’t find any output and mail not received.