Managing network domains on Windows involves various tasks, including switching domain controllers. Domain controllers are servers that store user accounts and security information, and they play a crucial role in the authentication and authorization processes within a domain. This article will show you how to switch domain controllers on Windows.

The need to switch domain controllers on Windows can arise for several reasons, and one of these reasons is when your network experiences heavy traffic. Switching to another domain controller will help distribute the load and ensure smooth network operations.
Furthermore, switching to a domain controller in a secondary data center can facilitate disaster recovery and business continuity in case of a catastrophic event that affects the primary data center. With this understanding, let’s move towards things you need to know before switching domain controller on Windows.
Things to Know Before Switch Domain Controller on Windows
Before switching domain controllers on a Windows network, there are several important considerations and steps to keep in mind:
- Before making any changes to your domain controllers, it’s crucial to back up your Active Directory to ensure you can recover if something goes wrong during the migration process.
- The new domain controller should be configured with the proper roles and features. It should also run a supported version of Windows Server. Update DNS and DHCP settings on client computers and other network devices to point to the new domain controller.

- Plan for a scheduled downtime during the transition. Users may experience temporary disruptions in network services during the migration. Check the event logs frequently during the migration and use diagnostic tools promptly to identify and resolve any issues.
- Review and update any Group Policies you have in place to reflect the new domain controller. Make sure all client computers are aware of the new domain controller.
Migrating domain controllers is a complex process that requires careful planning and testing. Following best practices and ensuring a rollback plan is essential in case of unexpected issues during the migration. With this understanding, let’s begin with the steps.
Also Read: How to find the IP address of a domain using NSLookup command in Windows
How to Find Current Domain Controller
It is essential to find the current domain controller before switching it on the client’s computer. The steps are relatively simple and easy to follow.
Step 1: Press the Windows key on your keyboard, type Command Prompt, and click ‘Run as administrator.’

Step 2: Once in the Command Prompt, type the below command and hit Enter.
nltest /dsgetdc:domainname
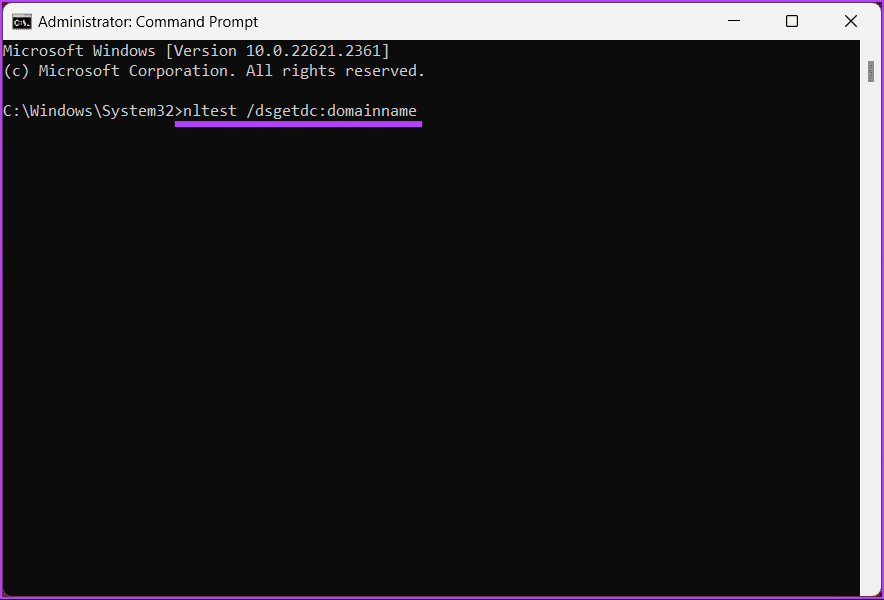
That’s it. The output will display the current domain controller, which you can use to switch on your client’s computer. If you want to know how to switch domain controller, continue reading.
How to Switch Domain Controller Command
Sometimes, you may have to switch the domain controller for various reasons. Perhaps you are experiencing problems or debugging the domain controller. At these times, you will need to switch the client controller.
Step 1: Press the Windows key on your keyboard, type Command Prompt, and click ‘Run as administrator.’
Step 2: Once in the Command Prompt, type the below command and hit Enter.
nltest /Server:ClientComputerName/SC_RESET:DomainName\DomainControllerName
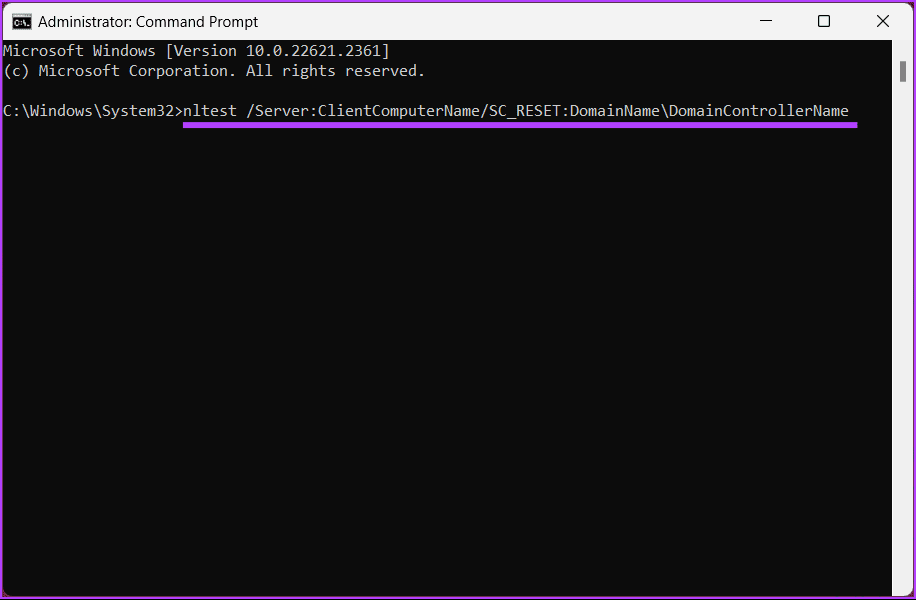
That’s all there is to it. You have successfully switched the domain controller. Remember that the switch is not permanent, and restarting might result in a new domain controller being selected.
For whatever reason, if you want to set the domain controller via registry, continue reading.
How to Set Domain Controller via Registry
This method is not as straightforward as the above, but the steps are simple. However, because we will be using Registry Editor, we strongly advise you to back up the Windows Registry before proceeding with the steps below.
Step 1: Open the Start menu, type Registry Editor, and click ‘Run as administrator.’
Note: Alternatively, press ‘Windows key + R’ to open the Run dialog box, type regedit.exe, and click OK to open Registry Editor.
In the prompt, select Yes.

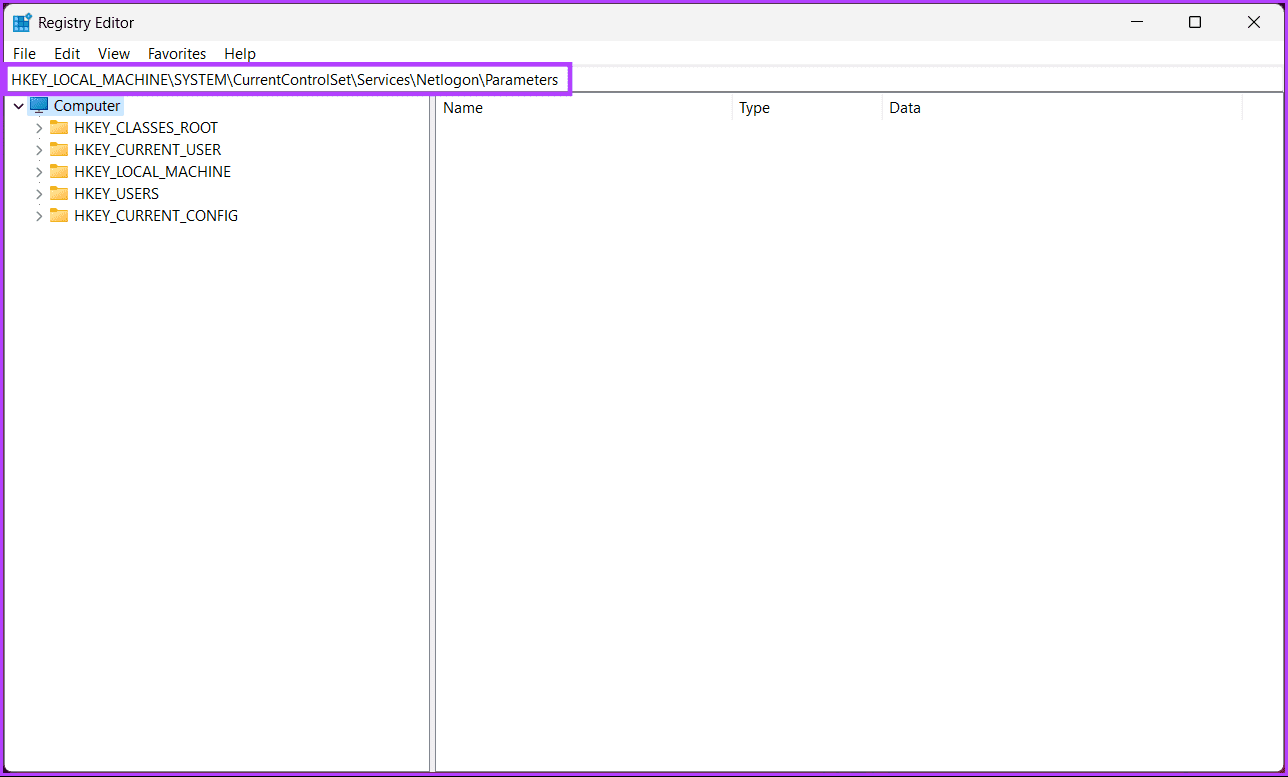
Step 2: In the top address bar, enter the mentioned address.
HKEY_LOCAL_MACHINE\SYSTEM\CurrentControlSet\Services\Netlogon\Parameters
Note: You can manually navigate to the section too.
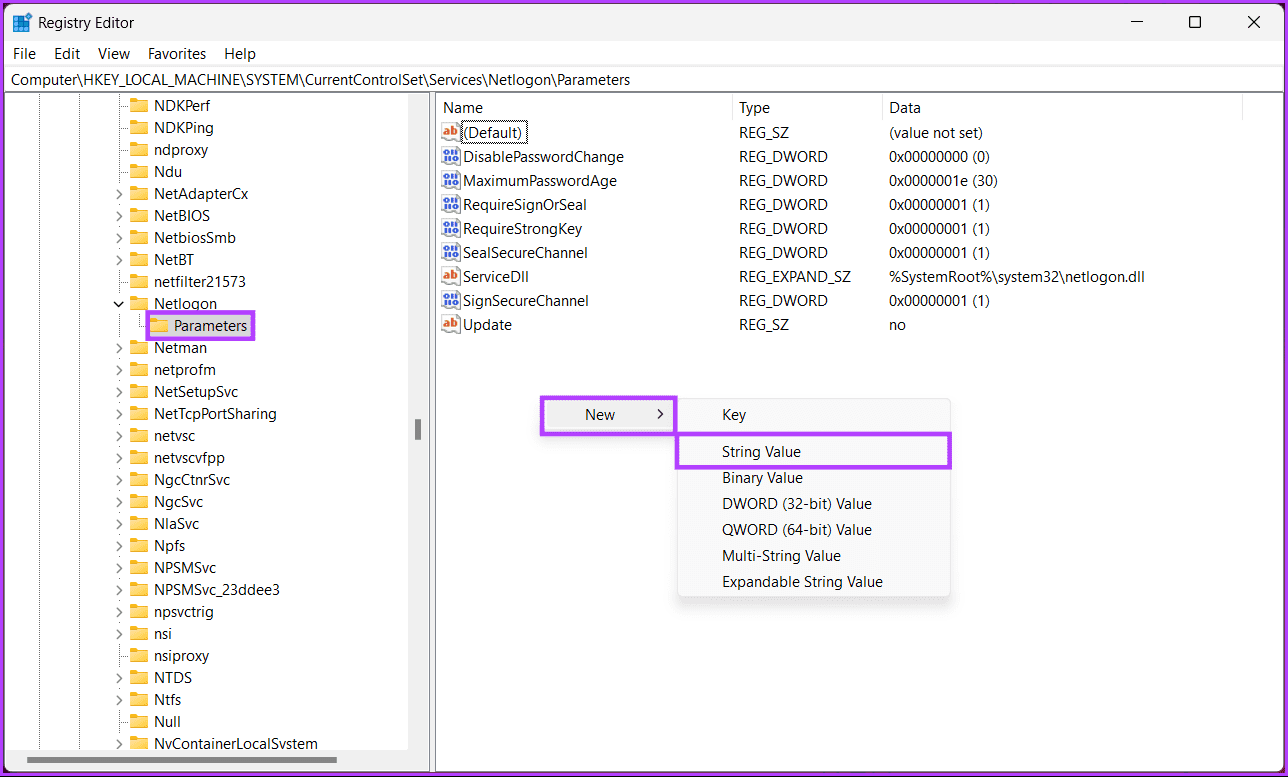
Step 3: Under the Parameters folder, right-click, select New, and choose String Value.
Step 4: Type SiteName in the name field and hit Enter.
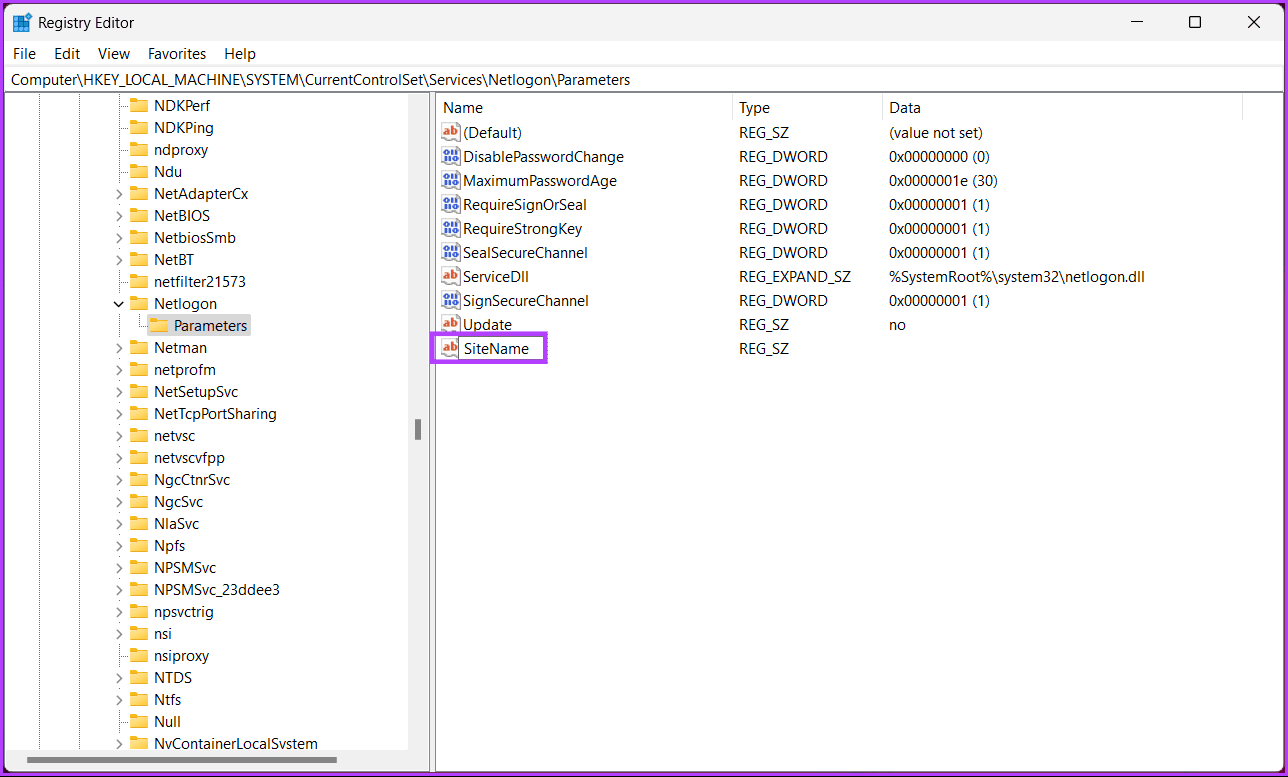
Step 5: In the Edit String pop-up, enter the domain controller name to which you want your system to connect. Example- DC1.mydomain.com

There you go. The domain controller has been set via Windows Registry. If you cannot set the domain controller via the Registry, read on to find out how to force clients to use a specific domain controller.
Also Read: How to safely clean Registry on Windows 10 and 11
How to Force Client to Use Specific Domain Controller
If you haven’t already, back up the Windows Registry and follow the instructions below.
Step 1: Open the Start menu, type Registry Editor, and click ‘Run as administrator.’
Note: Alternatively, press Windows key + R to open the Run dialog box, type regedit.exe, and click OK to open Registry Editor.
In the prompt, select Yes.
Step 2: In the top address bar, enter the mentioned address.
HKEY_LOCAL_MACHINE\SYSTEM\CurrentControlSet\Services\Netlogon\Parameters
Note: You can manually navigate to the section too.
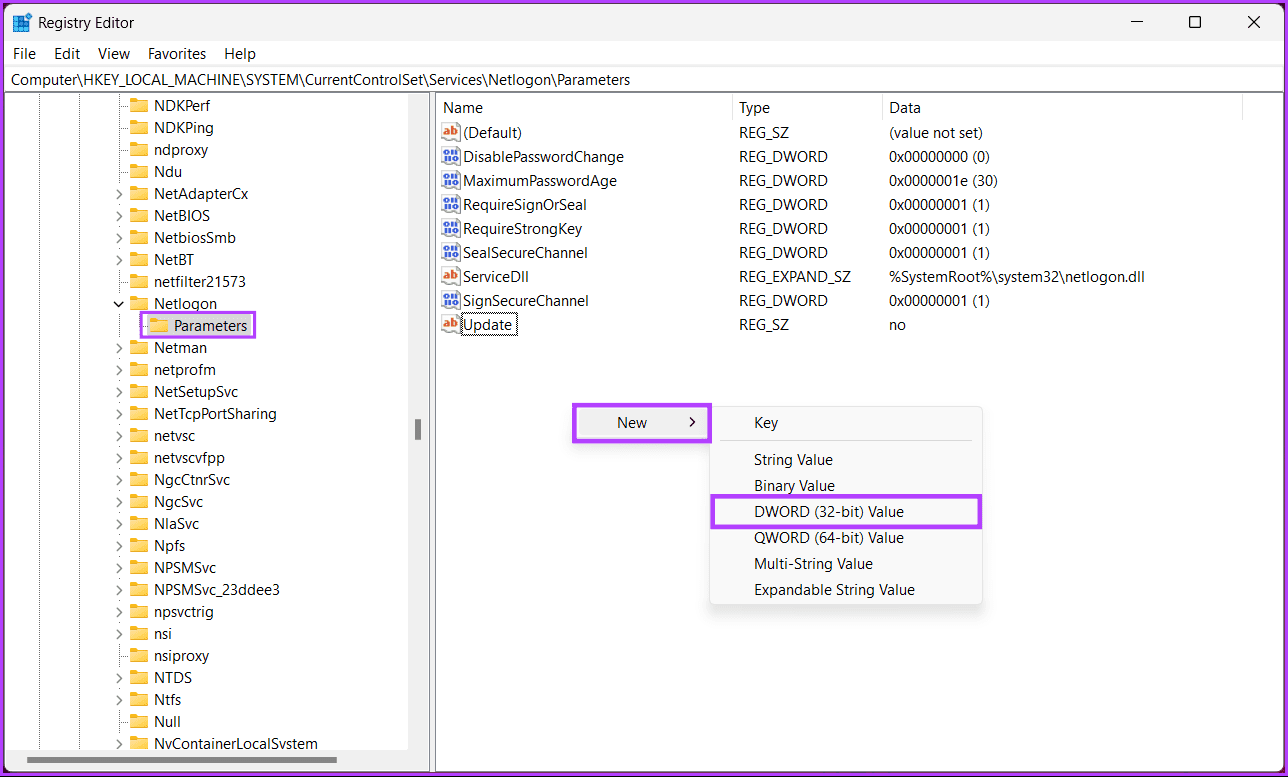
Step 3: Under the Parameters folder, right-click, select New, and choose ‘DWORD (32-bit) Value.’
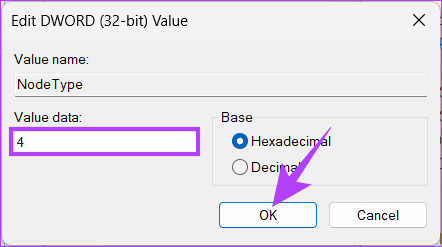
Step 4: Type NodeType in the name field.
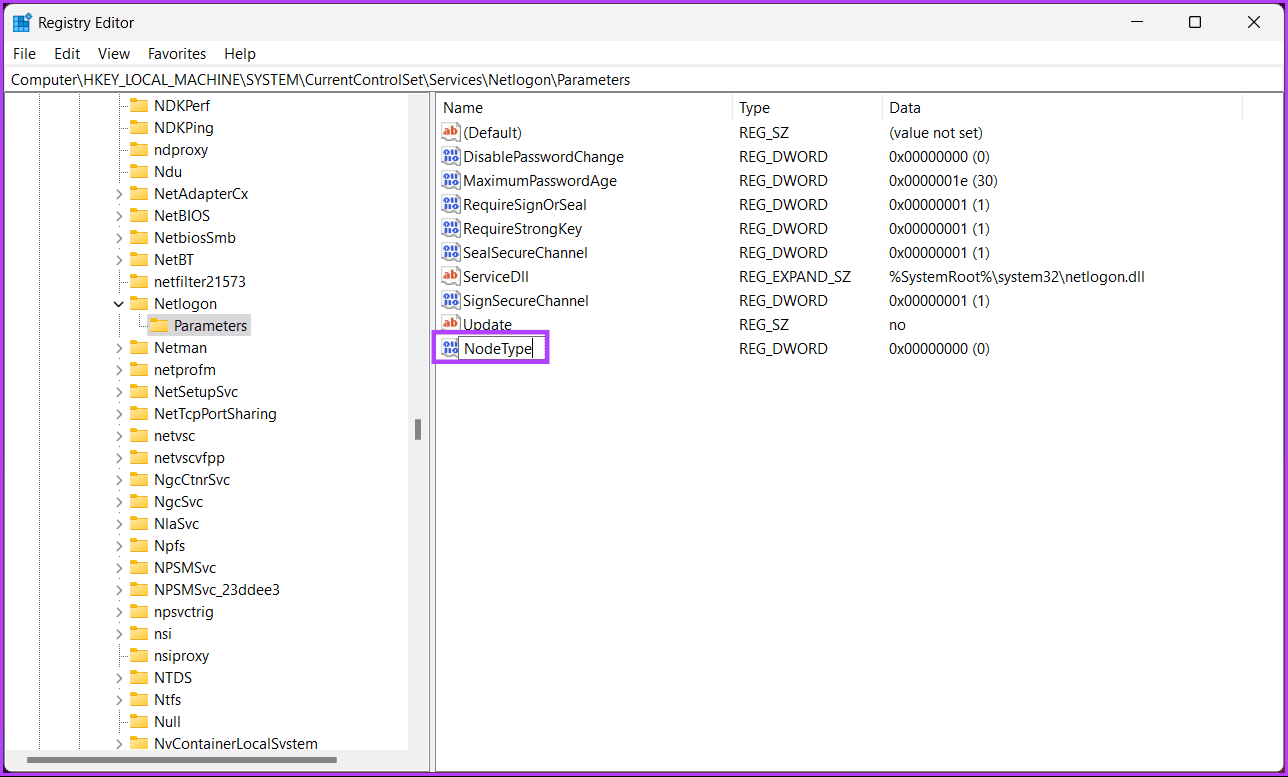
Step 5: Double-click the new value, type 4 in the Value Data field, and press OK.
Note: The value 4 in the Value Data field sets the network to broadcast before contacting name servers for resolution. If no WINS servers are configured (H-node/queries name resolution first, then broadcasts), the value 8 applies.
Step 6: Again, right-click, select New, and choose ‘DWORD (32-bit) Value.’
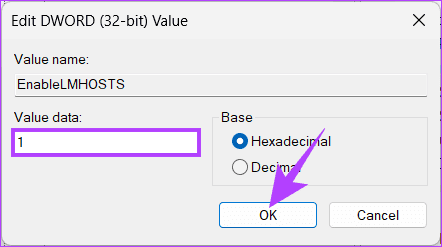
Step 7: Type EnableLMHOSTS in the name field.

Step 8: Double-click the new value, type 1 in the Value Data field, and press OK.
Finally, reboot the system to implement the changes. And that’s it! The new domain controller will be set when the system boots up. In case of any difficulties, consult experienced IT professionals for better guidance.
If you have any queries, check out the FAQ section below.
FAQs on Switching Domain Controller On Windows
Yes, it’s common and recommended to have multiple domain controllers in a Windows domain for redundancy and fault tolerance. This helps ensure that domain services are available even if one domain controller fails.
Common issues include DNS misconfigurations, replication problems, incorrect time settings, and permission issues. It’s essential to monitor the process carefully and resolve any issues that may arise.
Domain Controller Switch
We have explored the significance and provided a step-by-step guide on how to change domain controllers on Windows. So, the next time you need to switch domain controllers on Windows, refer to this guide to ensure a smooth transition that meets your network’s specific needs.
Was this helpful?
Last updated on 10 October, 2023
Read Next
 Top 4 Ways to Fix Windows 10 Not Detecting PS4 Controller
While Xbox reigns to work as a controller with Windows, there are plenty of PS4 owners who struggle to use their Dual Shock controller with Windows.
Top 4 Ways to Fix Windows 10 Not Detecting PS4 Controller
While Xbox reigns to work as a controller with Windows, there are plenty of PS4 owners who struggle to use their Dual Shock controller with Windows.
 Top 7 Ways to Fix Steam Not Recognizing Controller on Windows 11
Select games on your PC are more fun with a controller rather than the keyboard and mouse combo.
Top 7 Ways to Fix Steam Not Recognizing Controller on Windows 11
Select games on your PC are more fun with a controller rather than the keyboard and mouse combo.
 7 Best Fixes for Game Controller Acting Like a Mouse on Windows 11
Windows 11 is a delight for the gamers - pro and casual.
7 Best Fixes for Game Controller Acting Like a Mouse on Windows 11
Windows 11 is a delight for the gamers - pro and casual.
 Top 7 Ways to Fix PS4 Controller Not Connecting to iPhone Issues
Playing mobile games with console controllers allows for a more enjoyable, console-like gaming experience.
Top 7 Ways to Fix PS4 Controller Not Connecting to iPhone Issues
Playing mobile games with console controllers allows for a more enjoyable, console-like gaming experience.
 6 Best Charging Cables for PS5 DualSense Controller That You Can Buy
Unlike the Xbox controllers, the Sony PlayStation 5 DualSense controllers come with a rechargeable battery.
6 Best Charging Cables for PS5 DualSense Controller That You Can Buy
Unlike the Xbox controllers, the Sony PlayStation 5 DualSense controllers come with a rechargeable battery.
 6 Best Xbox Controller Phone Mounts in 2023
Whether you're playing a game on your phone, or streaming one on it - using a controller can make a massive difference.
6 Best Xbox Controller Phone Mounts in 2023
Whether you're playing a game on your phone, or streaming one on it - using a controller can make a massive difference.
 How to Check DualSense Controller Battery on PS5 or PC
Have you ever found yourself immersed in a game, only for your PS5 controller to run out of battery at a critical moment?
How to Check DualSense Controller Battery on PS5 or PC
Have you ever found yourself immersed in a game, only for your PS5 controller to run out of battery at a critical moment?
The article above may contain affiliate links which help support Guiding Tech. The content remains unbiased and authentic and will never affect our editorial integrity.