

One of the extra features that Windows 10 has on laptops that it doesn’t have on desktop computers, is the ability to change the brightness of the screen from within the computer. This point is generally moot because standalone computer monitors can have their brightness settings changed manually, through the OSD or On-Screen Display.
One of the advantages offered by being able to configure the screen brightness from within Windows is the ability to vary the screen brightness depending on if the laptop is plugged in or on battery. On battery, having the screen at a high brightness setting can reduce the battery life of your device. The battery life isn’t so important when your laptop is plugged in though, so you can choose to have the screen set to a higher brightness if you prefer it that way.
In Windows 10 the screen brightness can be set through the battery plans. These battery plans can have different values set for use on battery power as well as on mains power. In most cases the distinction between these two is clear. Unfortunately, in some cases, the two can be harder for the computer to tell apart. For example, if the computer is plugged in, but the power cable is not seated properly, then the computer may not receive power consistently enough for it to consider itself on mains power. Additionally, if you happen to live or be visiting a place with a power supply that isn’t particularly stable, you may see your laptop switch from mains to battery power occasionally, or even quite regularly.
In itself, switching from mains to battery power isn’t bad for the laptop, in fact, it’s an ideal situation to have a laptop with a battery, rather than a purely mains-powered desktop computer. If you have configured your power plan to have different brightness settings when on mains and battery power, you may end up in the position where your screen’s brightness changes, potentially dramatically, which can be quite annoying.
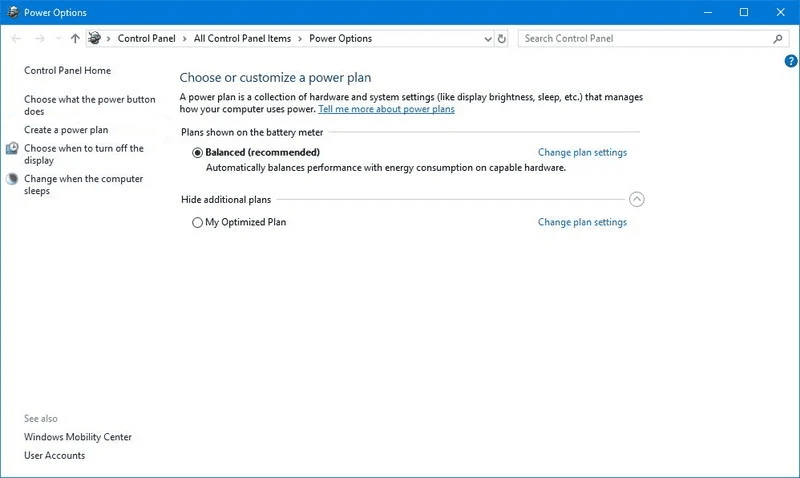
The solution is to configure your power plan to have the same brightness on both battery and mains power. To configure your power plan, you need to press the Windows key, type “Choose power plan” then hit enter. This will open a screen where you can choose which power plan you want to use. Next, you should click “Change plan settings” on the plan that you generally use, even if it is not the one you are currently using.
In the plan settings, you can use the “Adjust plan brightness” sliders to try to configure the brightness settings to match, however, this can be a pain to get exactly right due to the lack of a scale.
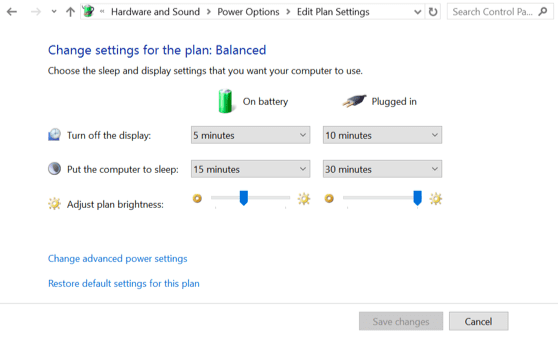
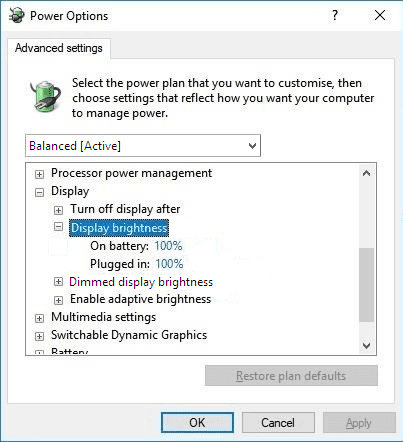
To make sure that your brightness settings are matched, click on “Change advanced power settings” then scroll down the list of settings to “Display”, expand Display, then expand “Display brightness”. Here you have two settings, one for “On battery” and the other for when “Plugged in”. Both settings have their values set with percentages, so it is easy to check if they align properly and if they need changing. Simply match them up, then press “Apply” and “OK”, then “Save changes” to the power plan.


mine brightness sometimes is good somtimes it gets darker idk waht is going on is it my brightnes or something
and i got old 2015 laptop hp windws 10
Unfortunately these options aren’t available to me. It loses maybe half or more of it’s brightness on battery compared to plugged in regardless of being at 100% brightness on both.
thank you for the help! My laptop faced the problem of displaying black screen when plugged in and later did i realize that it was just about brightness.
Okay nice but um. “Display brightness” does not exist when I look for it so.. can’t change it
I do not have this option on my Windows 10 laptop; I am using version 2004. The sliders I used to have to adjust the brightness on whether on battery power vs plugged in are gone. Thoughts?