The Photos app in Windows 10 automatically includes the default Windows picture folders. Including these folders imports their contents into the Photos app. Once imported, Photos can automatically analyse the photos in your album and attempt to order them into albums based on content. If you’ve enabled the setting, Photos can also perform facial recognition on the photos in your included albums. This guide will walk you through the process of importing an album into Photos.
Importing a new album
Tip: Any imported folder also includes all subfolders. This means you only need to include the topmost folder that includes all the photos you want to be imported, you don’t need to import each individual folder.
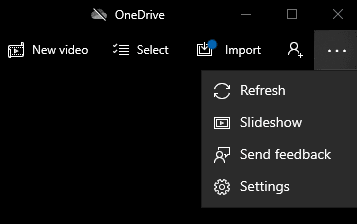
The first step is to open the Photos app. To do so, press the Windows key, type “Photos” and hit enter. Next, you want to open the settings by clicking the ellipsis icon in the top-right corner and selecting “Settings” from the drop-down menu.
Click the “Add a folder” button, it’s the topmost option in the settings. This may open a window that will suggest a few folders as potential albums you might want to import. These suggestions will also include a small sample of thumbnail images from the folder. If you want to import any of those folders, just tick the relevant checkbox.
Tip: You can import multiple suggested folders at once.
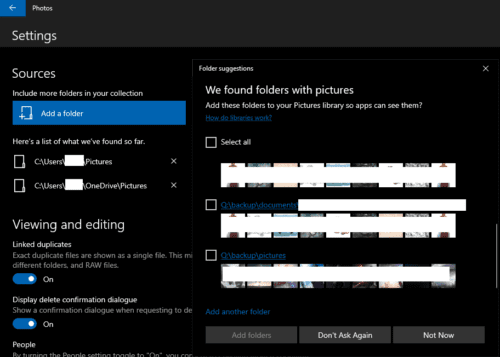
If you want to import a folder that isn’t in the suggested list, you can click “Add another folder” at the bottom of the folder suggestions window. This will open a new window, in which you need to browse to the folder you want to import, then click “Select folder”. This will add it to the list of suggested folders and automatically select it.
Once you’ve added any folders you want to the suggested folders and selected any of the automatic suggestions you want to import, click “Add folders”.
If the suggested folder window doesn’t open for you, you’ll instead have to browse for any folders you want to import manually.
Tip: If you’re manually browsing for folders you can only import one folder at a time.
Once you’ve imported all the folders you want, back out of the settings by clicking the arrow in the top-left corner. Your photos will now appear in the “Collection” and other tabs.
Tip: If you have a large number of photos to import, it may take some time for them to all appear and generate thumbnails.
Creating an album with existing photos
Alternatively, if you’ve already imported all the photos you want and you just want to sort them into a new album, you can do so from the Albums tab. Click on the Albums tab in the top bar, then click “New album”.

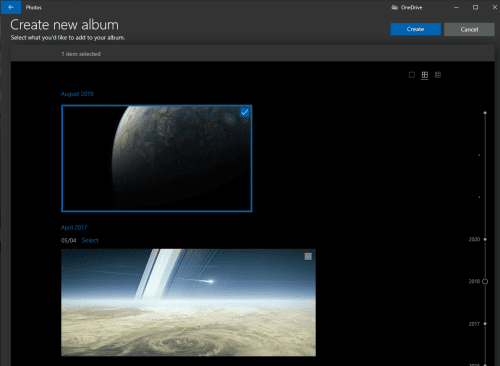
In the Create new album screen, you can select which photos you want to be included in the new album, then click “Create” in the top-right corner.
On the next screen, you can name your new album by clicking the pencil icon next to the default name of “Album”. Just type your new album name then hit enter.
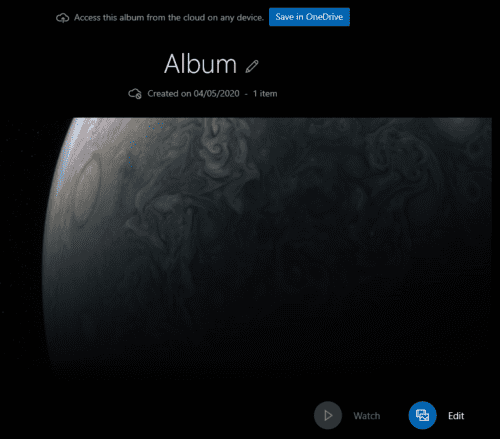
To exit this view and return to the main albums list, click the arrow in the top-left corner. Your new album will now appear in the album list.




In win 10, in the photos app, i want to create albums with the chronological format yyyy.mm
Then after photos are added to such a specific album, i want to see all of the albums in chronological sequence, and be able to add more photos to s specific album.
Would this work?