Microsoft Teams is a powerful platform for collaboration that simplifies communication and teamwork. One of its valuable features is that you can view someone’s calendar, which allows you to schedule and coordinate events efficiently. In this article, we’ll explore how to check someone’s calendar in Teams. Before we delve into the steps, let’s understand why you might want to do this.

Viewing someone’s calendar in Teams can be beneficial for several reasons. One prominent reason is that you can check their availability and schedule meetings at mutually convenient times, avoiding conflicts and having better coordination, especially when working remotely or from home. Before starting with the method, however, there are a few prerequisites.
Things to Know Before Checking Others’ Meeting Schedules
There are some prerequisites that must be met before you can view someone’s calendar in Teams:
- You must have the necessary permissions to view the other person’s calendar. This typically involves their approval or access granted through administrative settings.
- Ensure that Teams and Outlook are integrated, as calendar information often syncs between these two Microsoft 365 applications.

With these prerequisites in mind, let’s proceed with the article to learn how to view someone’s calendar in Teams effectively, enabling seamless scheduling and collaboration.
Also Read: How to set status timeout in Microsoft Teams
How to See Someone’s Calendar in Microsoft Teams
Getting someone’s calendar in Teams is not as straightforward as you might think. However, there are multiple ways for you to check it. Let’s begin with the simplest.
Method 1: Using Teams’ Native Options
In this method, we will use the native option to check other people’s calendars in Teams. Follow the below-mentioned steps.
Note: You can only see the availability of your team members at the set meeting time and see the schedules of people within your organization.
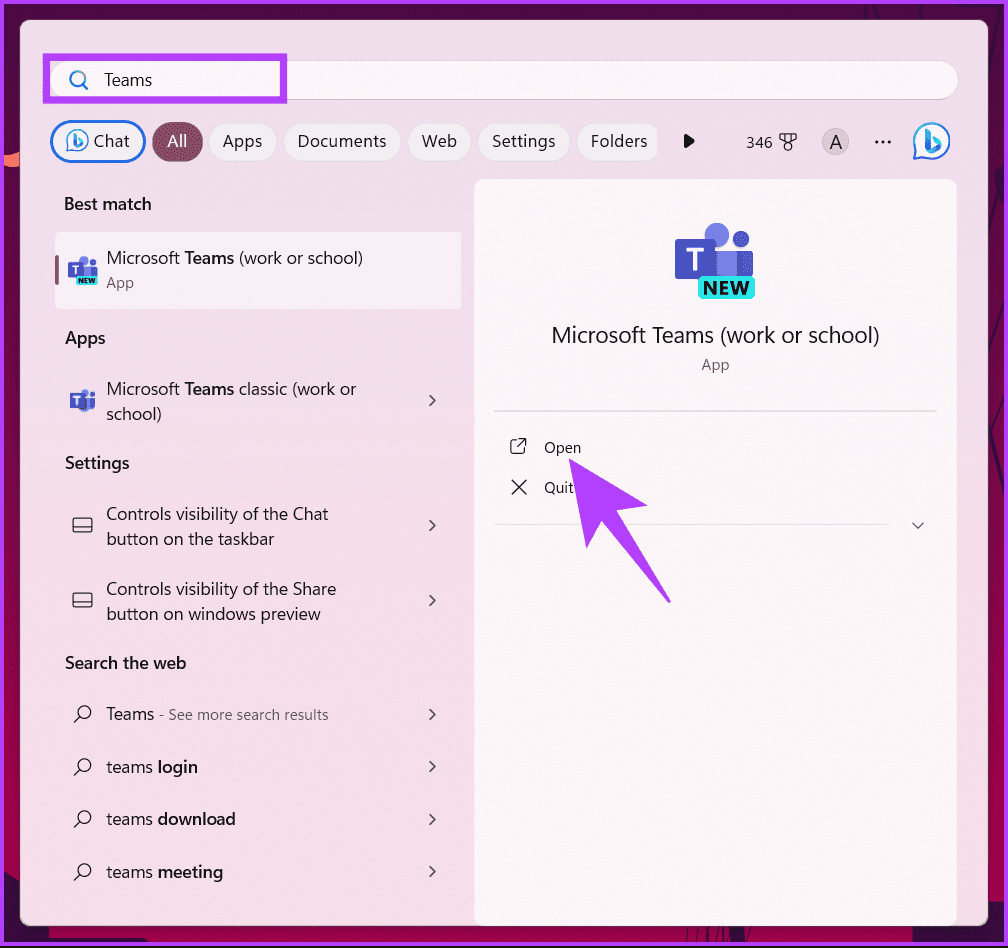
Step 1: Open the Microsoft Teams desktop app or launch it on the web from your preferred browser on Windows or Mac.
Note: For demonstration, we are going with the Teams desktop app (Windows). However, you can follow if you are on the web or Mac app.
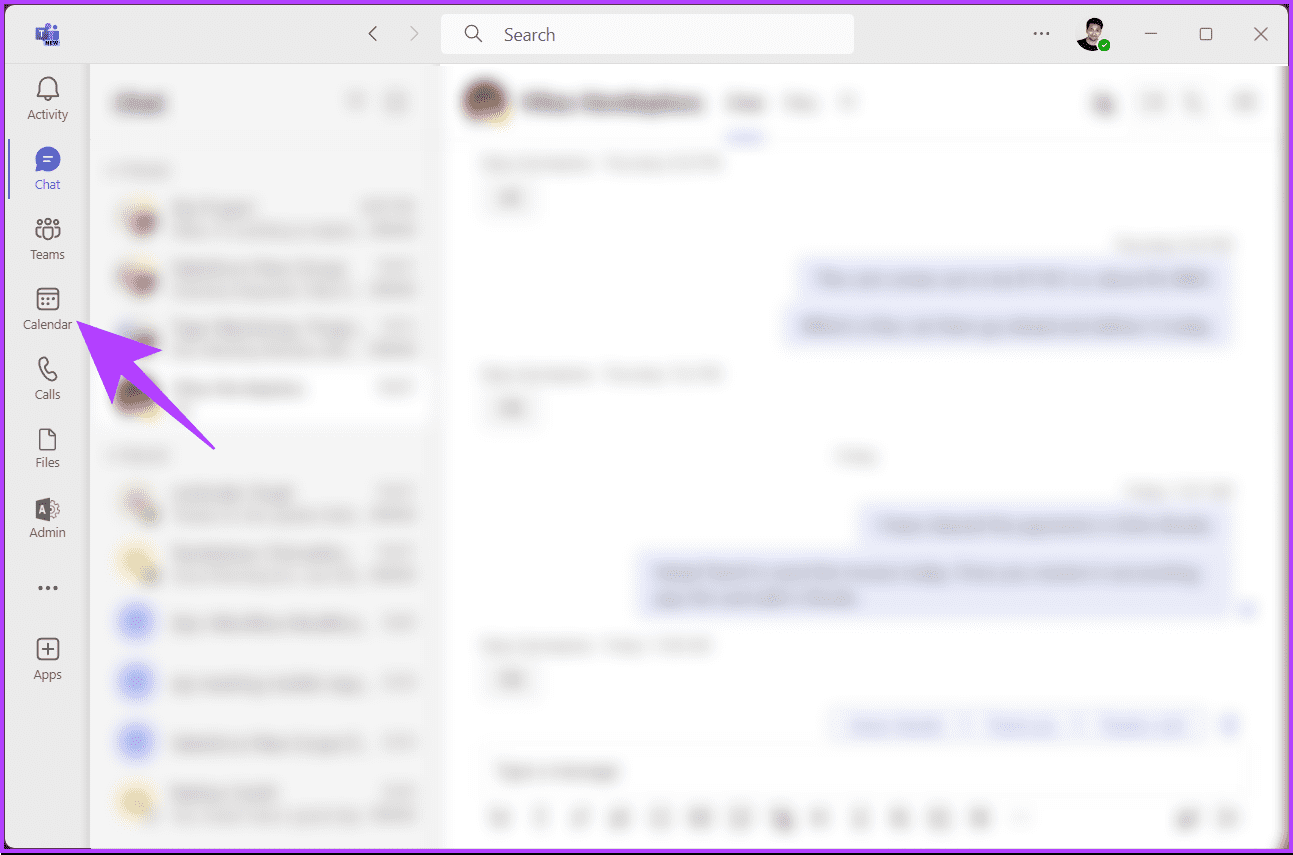
Step 2: Navigate to the Calendar option from the side pane.
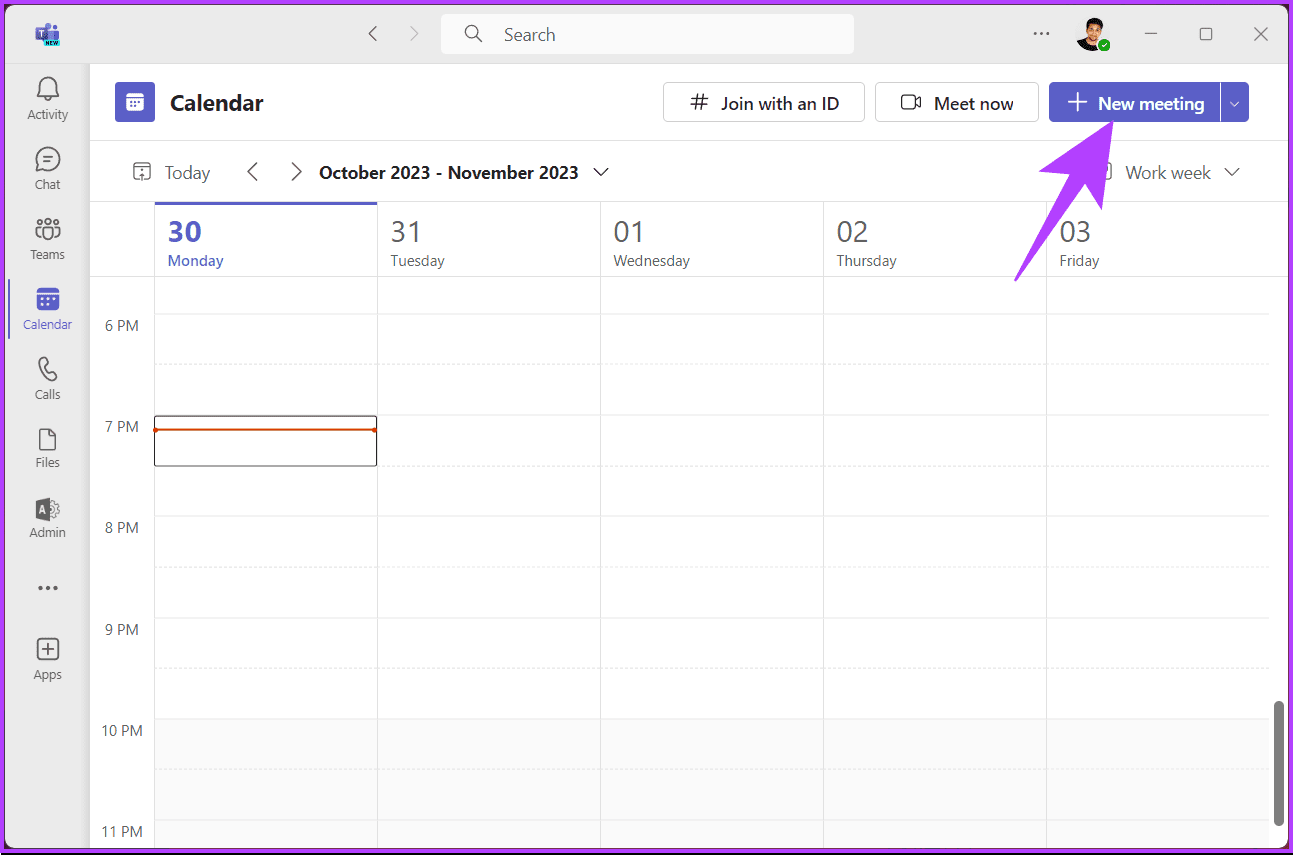
Step 3: Click the New meeting button in the top right corner.
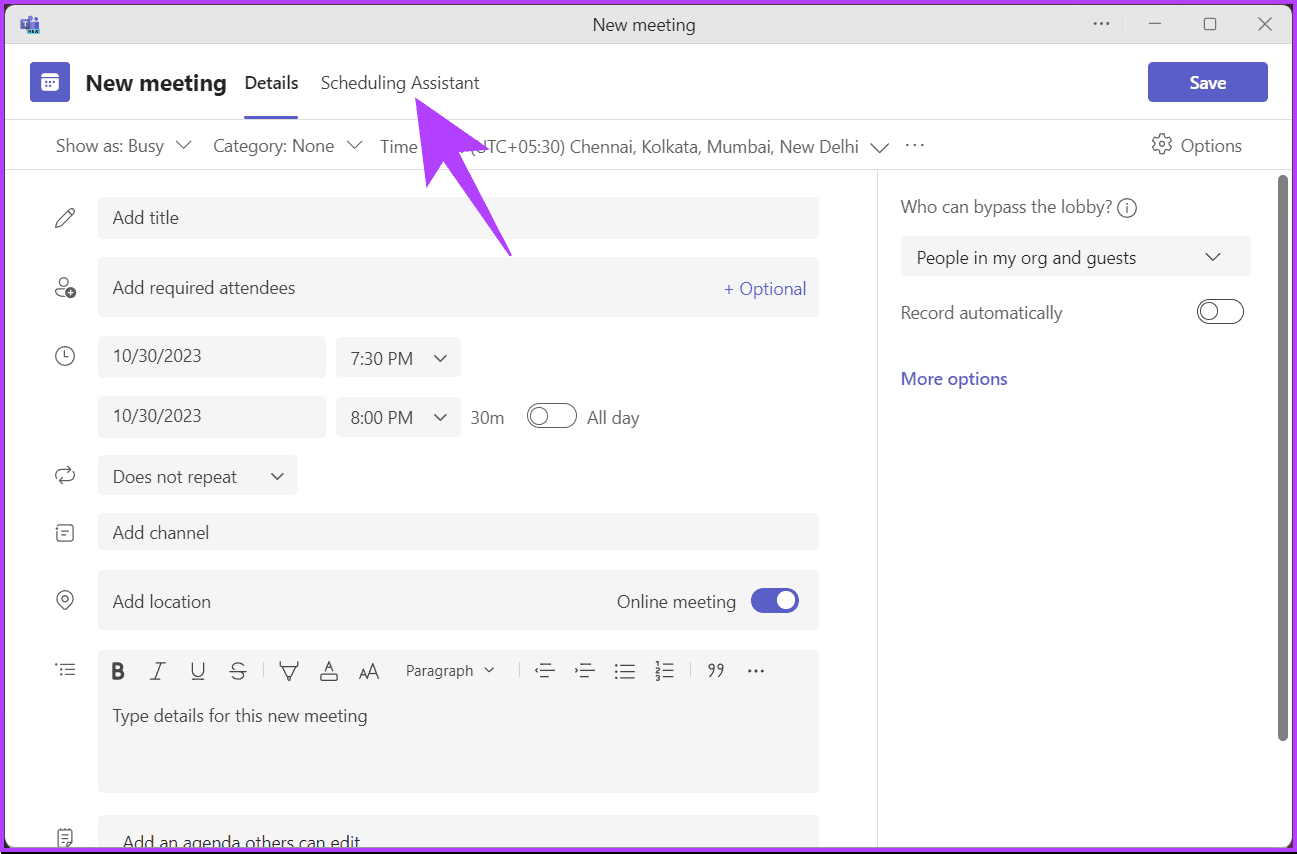
Step 4: In the New meeting window, click on Scheduling Assistant next to the Details tab.
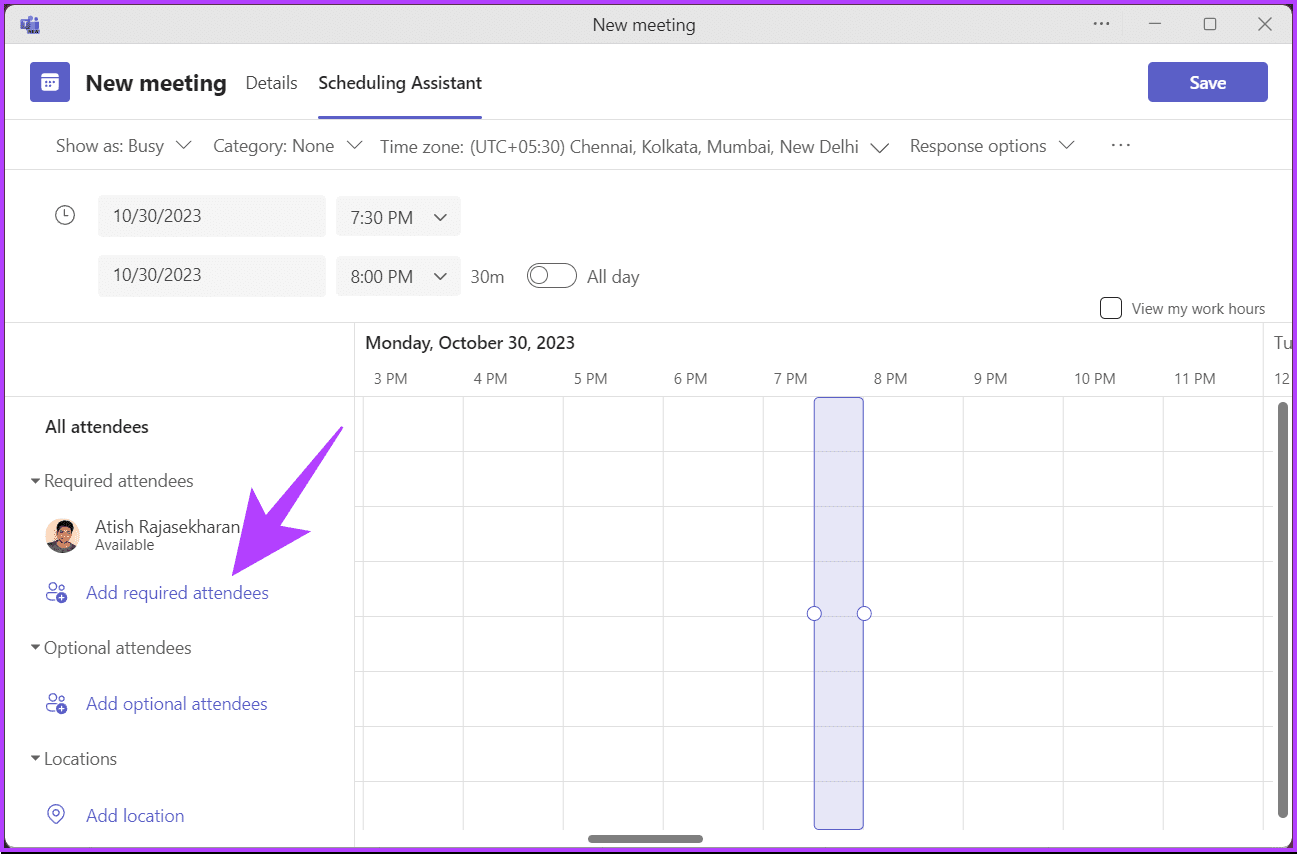
Step 5: Under Scheduling Assistant, check your colleague’s availability by adding them under the required attendees. To do so, click on ‘Add required attendees.’
Step 6: Now, type your colleague’s name into the textbox and select their name from the drop-down suggestions.
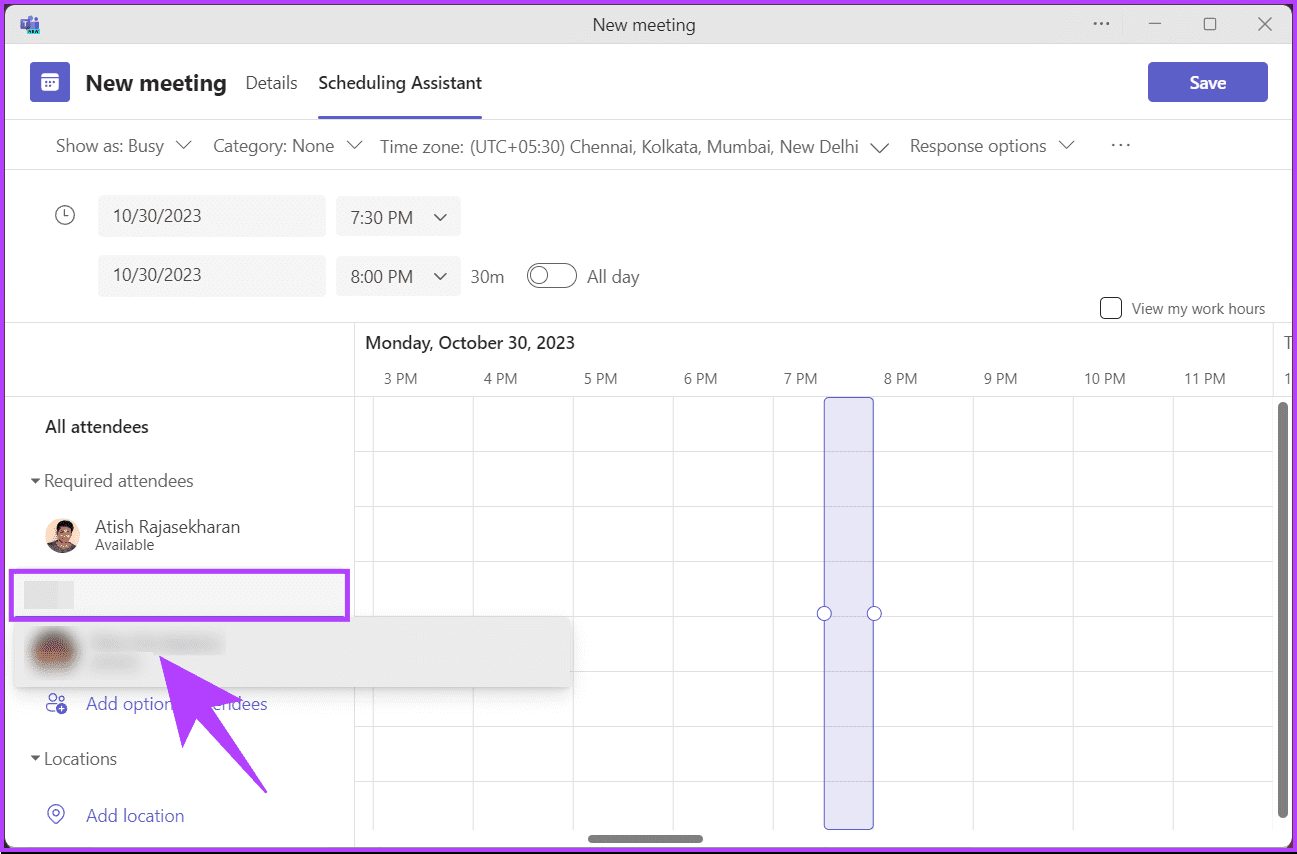
When you add your participants (from your organization), you will see their availability indicated by a green Available tag; if not, you will see an Unavailable tag. Using the purple rectangle box, you can adjust the timing of the meeting according to everyone’s availability.
In this way, you can see if the participants you wish to invite are available for a meeting, regardless of whether they have shared their calendars with you. If you want to know another way, check out the next method.
Method 2: Using Outlook
You can check your colleague’s schedule using the calendar view in Outlook. The steps are relatively simple and easy to follow.
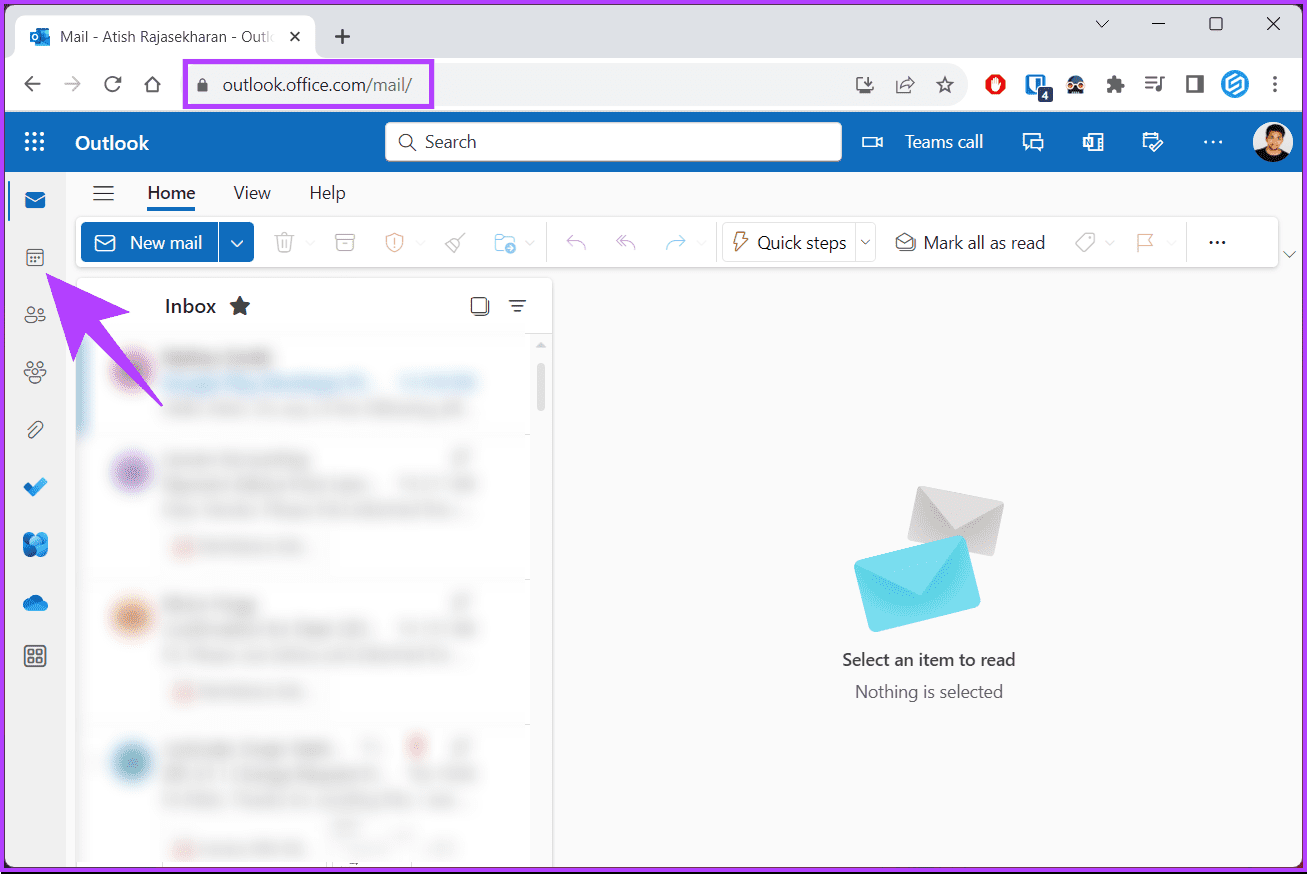
Step 1: Open the Outlook desktop app or launch it on the web from your preferred browser on Windows or Mac.
Note: For the demonstration, we are going with the Teams web app. However, you can follow if you are on the desktop app.
Step 2: Select the Calendar option from the sidebar.
Step 3: Click the New event button in the top left corner.
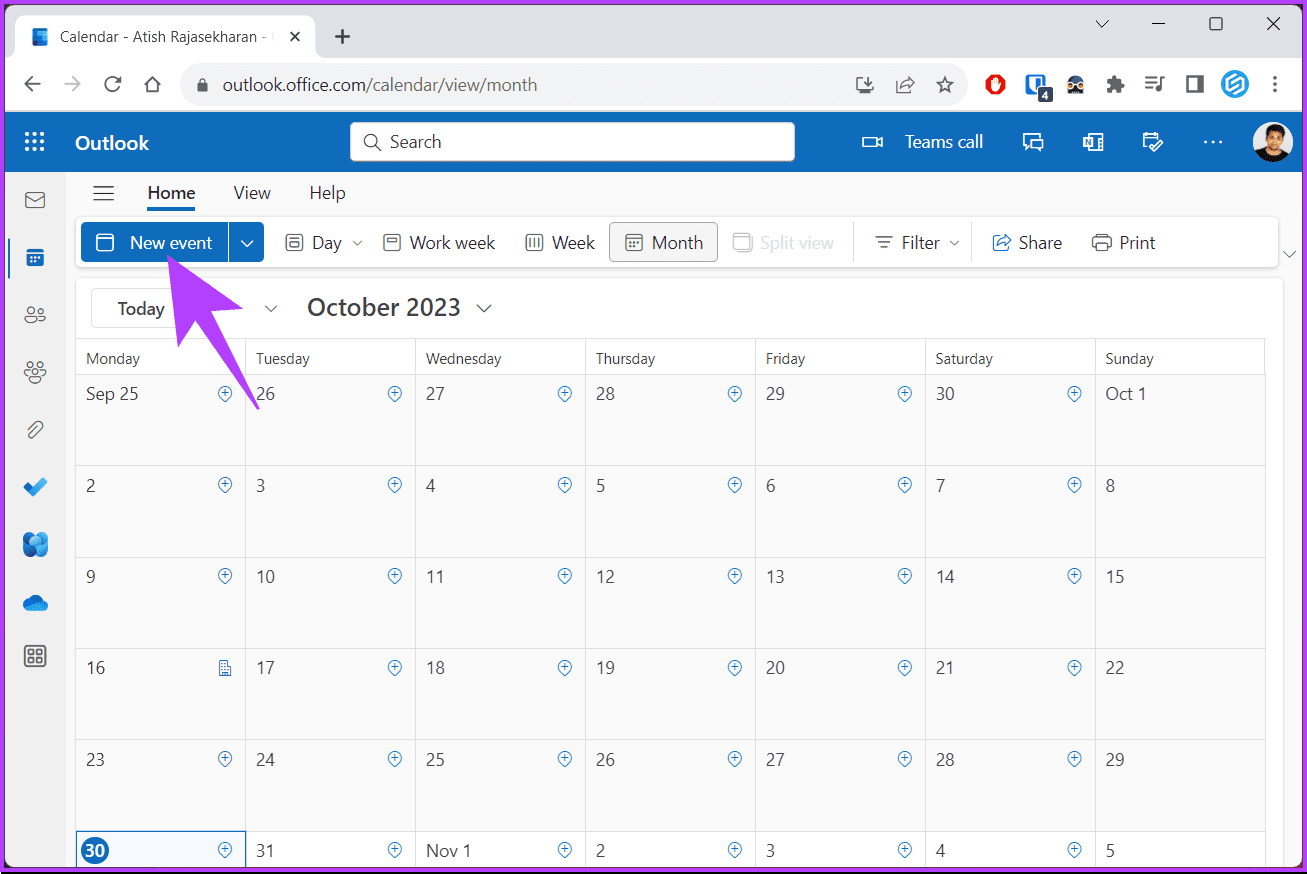
You will see a New event pop up.
Step 4: In the pop-up modal, in the Invite attendees text box, enter the name or email address of your colleagues you want to invite.
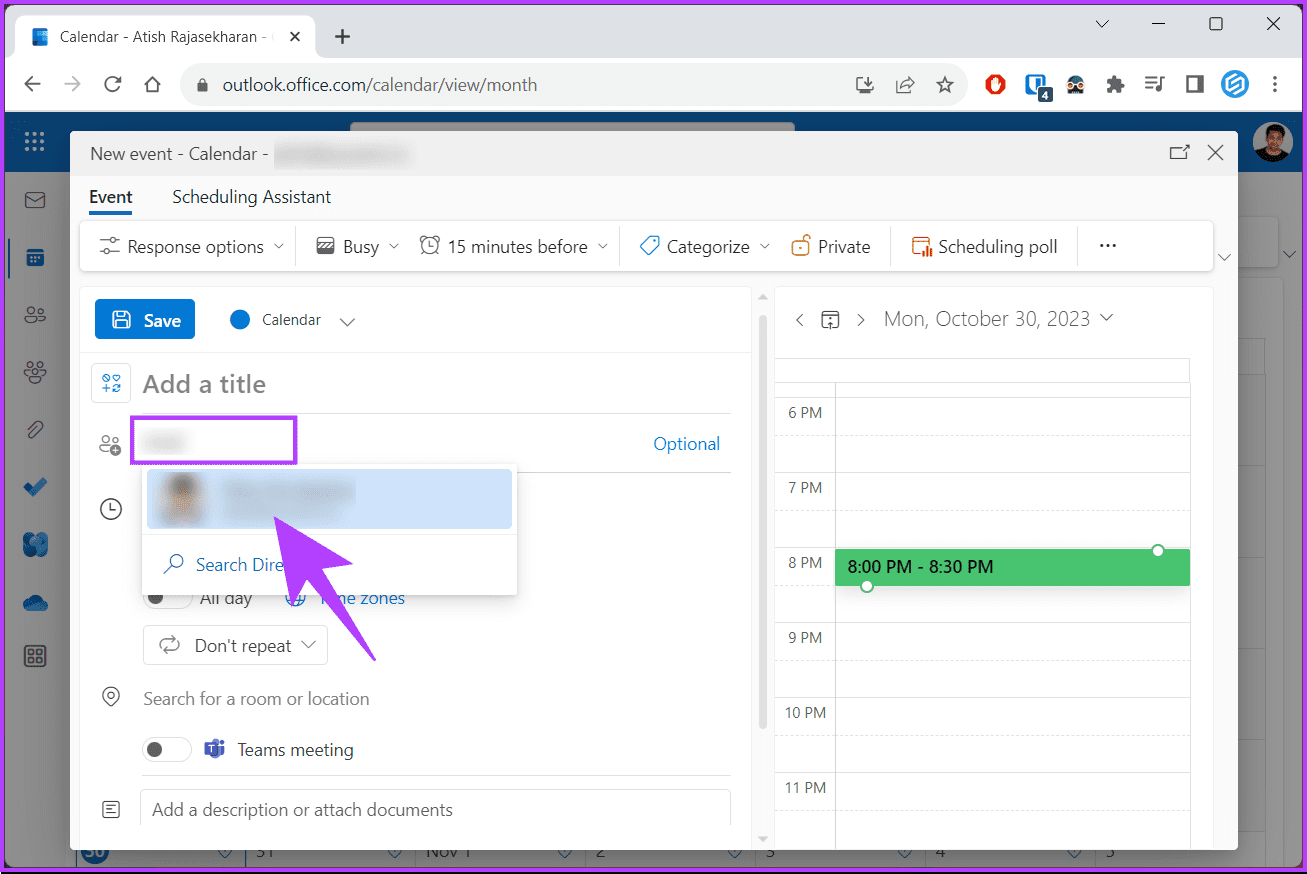
Step 5: Once you have added your colleagues, you will see if they are available in the Calendar view. If they are available, you will see a green Available tag; otherwise, you will see an Unavailable tag.
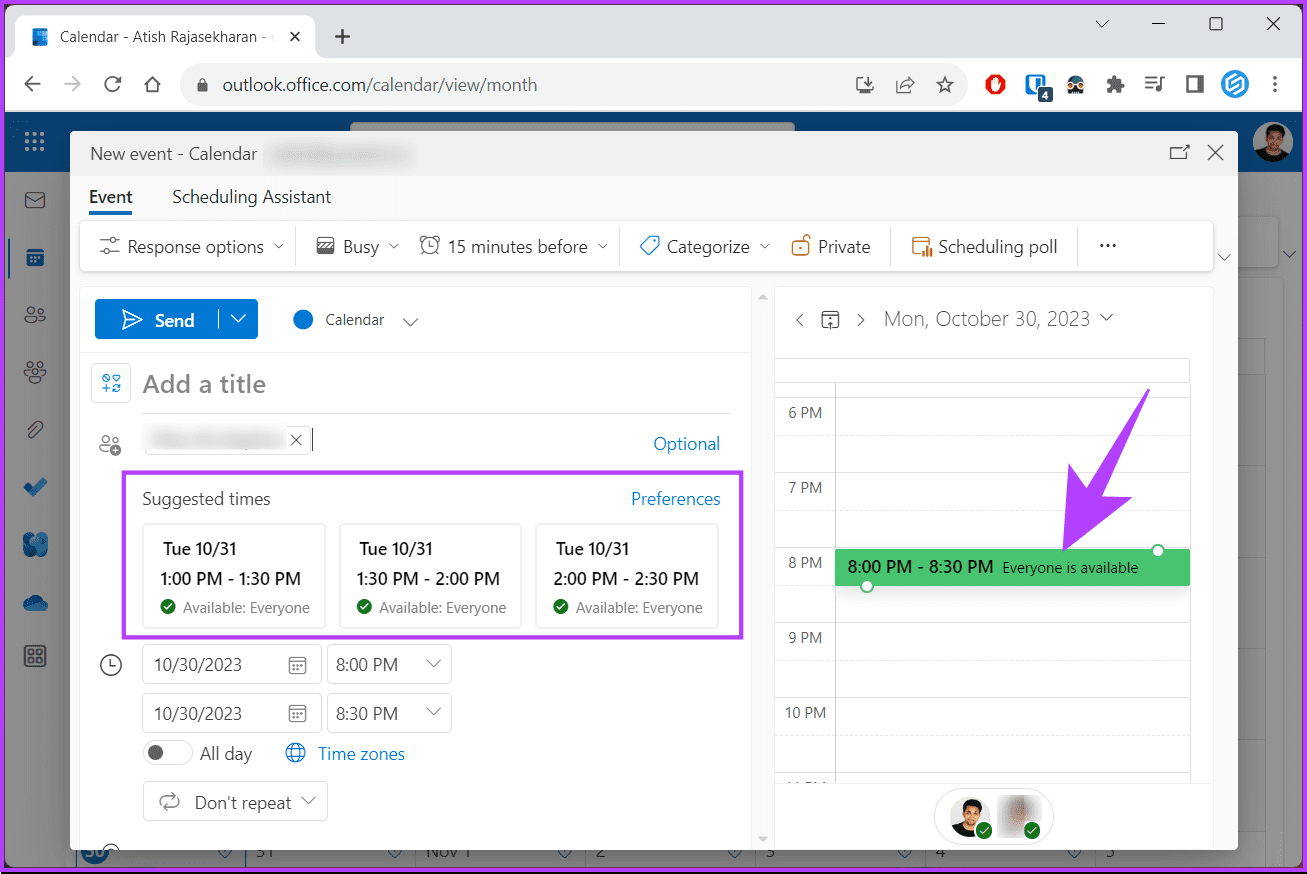
Here, you can discover the best time for your meeting, or you can use the suggested times, which will automatically check the availability of your attendees. If you have set your meeting schedule and want to create a meeting in Teams, continue reading.
Also Read: How to change Microsoft Teams notification sound
How to Create or Edit a Meeting in Microsoft Teams
We assume that you have already checked the availability of the invitees and scheduled a time for the meeting. For demonstration, we are going with the Teams desktop app (Windows). However, you can follow if you are on the web or Mac app.
Step 1: Open the Microsoft Teams desktop app or launch it on the web from your preferred browser on Windows or Mac.
Step 2: Navigate to the Calendar option from the side pane.
Step 3: Click the New meeting button in the top right corner.
Step 4: In the New meeting window, enter the required details, such as the title of the meeting, the required attendees, the date and time of the meeting, and so on.
Step 5: Once you have entered the meeting details, click on Scheduling Assistant next to the Details tab.

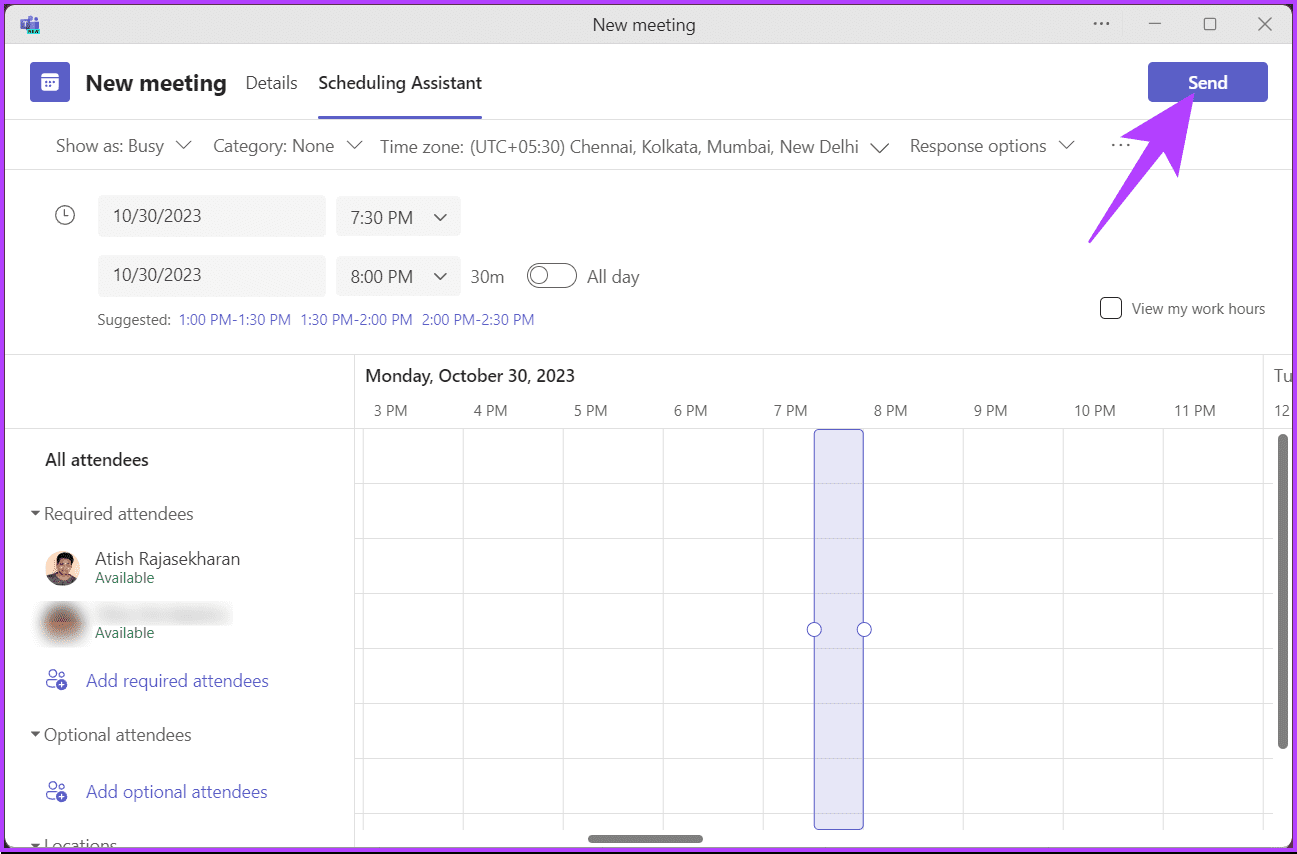
Step 6: Under Scheduling Assistant, check your colleague’s availability per the meeting schedule. If they are available, you will see a green Available tag, and if not, you will see an Unavailable tag under their name.
Note: You can move the timing of the meeting based on everyone’s availability using the purple rectangle box.

Step 7: Once you are all set, click on the Send button in the top-right corner of the window.
There you have it. You have successfully created a meeting on Microsoft Teams. If you want to edit or make changes to the meeting, all you need to do is click on the meeting in the calendar view on Teams and make the required changes.
If you have any queries we missed addressing in the article, check out the FAQ section below.
FAQs on Checking Someone’s Calendar in Teams
No, viewing someone’s calendar in Teams is unavailable on all devices as of writing this article. However, Microsoft seems to be working on a group calendar feature that will allow you to view and share someone’s calendar.
No, there’s no direct way to set privacy options for individual calendar events in Teams. However, there are some workarounds, such as marking your calendar events as private in Outlook. You can also share your calendar with specific people and give them different permission levels.
View and Schedule
Now that you know how to check someone’s calendar in Teams, you can easily schedule meetings, coordinate team projects, avoid conflicts, or facilitate remote work. You may also want to read about ways to export Microsoft Teams chat history.
Was this helpful?
Last updated on 04 November, 2023
Read Next
 How to Connect Outlook Calendar With Google Calendar: 7 Best Ways
If you use Microsoft Outlook and Google Calendar to manage your schedule and appointments, you may want to consider syncing the two platforms.
How to Connect Outlook Calendar With Google Calendar: 7 Best Ways
If you use Microsoft Outlook and Google Calendar to manage your schedule and appointments, you may want to consider syncing the two platforms.
 How to Add Zoom Meetings to Outlook Calendar and Google Calendar
Both Google Calendar and Outlook Calendar are solid apps and are a great addition to both Outlook email app and Gmail, respectively.
How to Add Zoom Meetings to Outlook Calendar and Google Calendar
Both Google Calendar and Outlook Calendar are solid apps and are a great addition to both Outlook email app and Gmail, respectively.
 5 Fixes for Spell Check Not Working in Microsoft Teams for Windows
Fix 1: Disable and Re-Enable the Spell Check Feature This may seem too simple to work, but disabling and re-enabling the spell check feature in Microsoft Teams can help.
5 Fixes for Spell Check Not Working in Microsoft Teams for Windows
Fix 1: Disable and Re-Enable the Spell Check Feature This may seem too simple to work, but disabling and re-enabling the spell check feature in Microsoft Teams can help.
 Top 13 Things to Know About Screen Sharing in Microsoft Teams
Sharing the screen is quite important in video conferencing apps such as Zoom, Microsoft Teams, Google Meet, and others.
Top 13 Things to Know About Screen Sharing in Microsoft Teams
Sharing the screen is quite important in video conferencing apps such as Zoom, Microsoft Teams, Google Meet, and others.
 How to Know Who Removed You From a Meeting in Microsoft Teams
‘Someone just removed you from the meeting’ — Does that message sound familiar?
How to Know Who Removed You From a Meeting in Microsoft Teams
‘Someone just removed you from the meeting’ — Does that message sound familiar?
 Top 9 Ways to Fix Microsoft Teams Web Not Working
If you rely on the Microsoft Teams web app to attend meetings and communicate with your team, it can be frustrating when the service fails to work as expected.
Top 9 Ways to Fix Microsoft Teams Web Not Working
If you rely on the Microsoft Teams web app to attend meetings and communicate with your team, it can be frustrating when the service fails to work as expected.
 Teams: Disable All Chat Notifications During Meetings
Getting countless notifications while attending an important Teams meeting can break your focus.
Teams: Disable All Chat Notifications During Meetings
Getting countless notifications while attending an important Teams meeting can break your focus.
 Can Microsoft Teams Be Used to Spy on You
Do you throw slurs at your boss on your work platforms?
Can Microsoft Teams Be Used to Spy on You
Do you throw slurs at your boss on your work platforms?
The article above may contain affiliate links which help support Guiding Tech. The content remains unbiased and authentic and will never affect our editorial integrity.