Microsoft Word is obviously primarily known as a word processor. Adding images to a Word document is relatively common and can be useful for a wide range of documents. One of the feature sets that Word includes is an image manipulation suite. It’s not going to compare to professional image editing software such as photoshop, but the options it includes are surprisingly powerful.
One of the features offered is called “Soft Edges”. This feature applies a transparency pattern to the outside of an image. At low levels, the effect results in a subtle blurring around the edge of an image. The effect can also be made a lot more noticeable, turning a fair amount of the image completely transparent while giving the centre area a misty appearance.
How to use Soft Edges on images
To configure Soft Edges for an image, you first need to copy an image into Word.
Tip: An image that has a coloured background is ideal as a white background will not show up well on the white background of the page, making the effect hard to see.
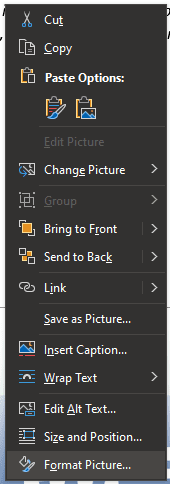
You can find the Soft Edges settings, in the format picture options. To access those, simply right-click on the image, you want to configure, then click on the bottom option “Format Picture”.
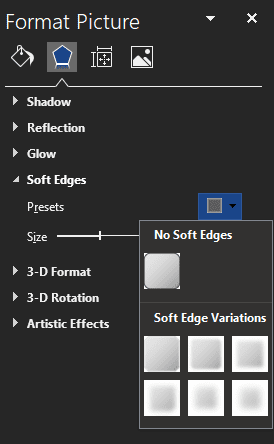
Once you’ve done this, the “Format Picture” toolbar will appear on the right-hand side of the page. Next, click on the pentagon symbol labelled, “Effects” at the top of the toolbar, then click “Soft Edges”, the fourth option from the top.

In Soft Edges there are seven presets that you can choose from. Each one simply sets a value on the “Size” slider, for more fine-grained control you can adjust the slider yourself. Lower values have a more subtle effect while higher values are much more obvious.
Tip: Depending on the word wrap option chosen for the image, words may be able to wrap into the main outline of the image if large portions are turned transparent. If you don’t like this effect try using a different word-wrap setting.