Fix 1: Configure Outlook to Compose Messages in HTML Format
Are you using images in your Outlook signature? If so, you must ensure that Outlook is set to compose messages in HTML rather than plain text.
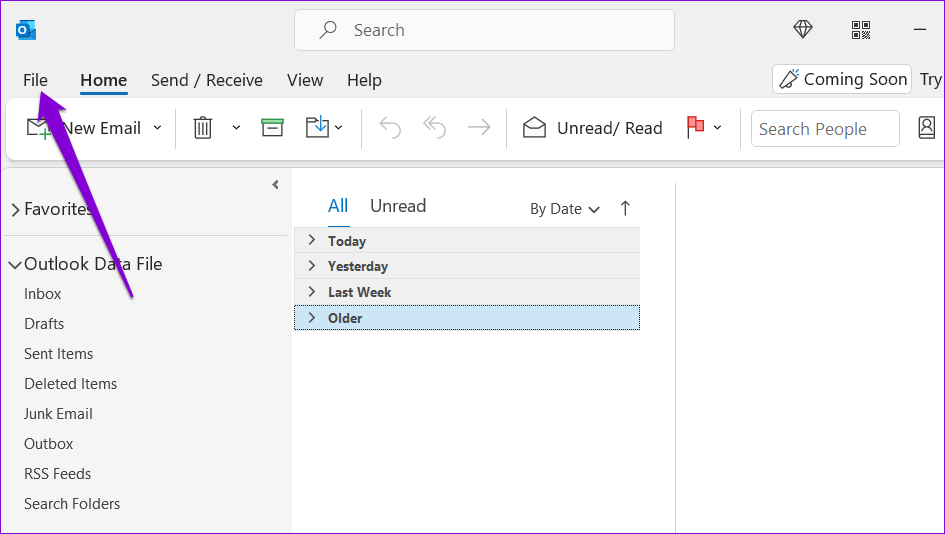
Step 1: Open the Outlook app on your PC and click the File menu at the top-left corner.
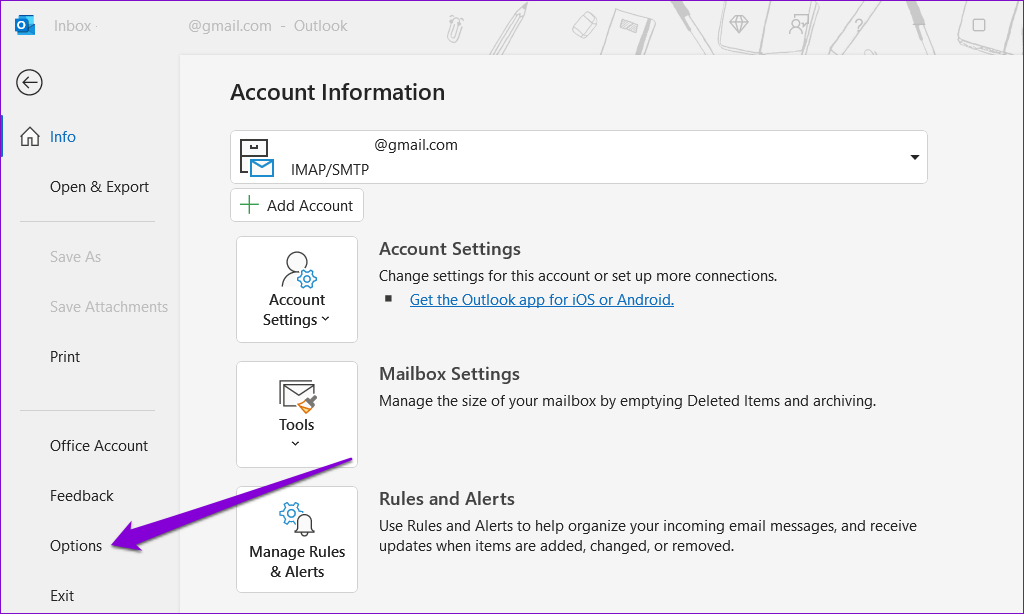
Step 2: Select Options from the left sidebar.
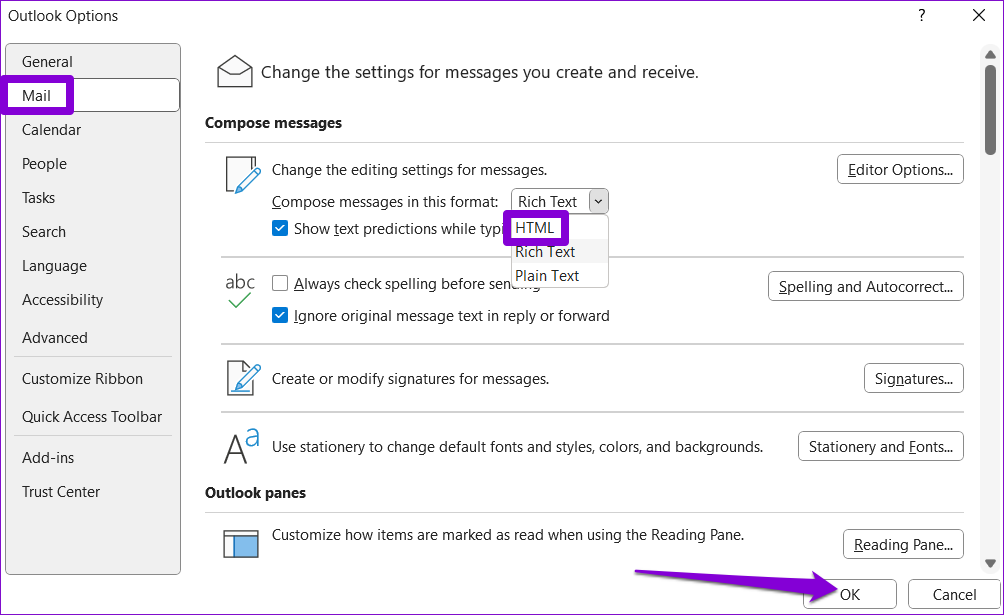
Step 3: In the Outlook Options window, switch to the Mail tab. Click the drop-down menu next to Compose messages in this format and select HTML. Then, click OK.
After completing the above steps, check if Outlook shows the signature image when composing new messages and replying to them.
Fix 2: Create Another Signature
If changing the message format does not help, create another signature in the Outlook app. Here’s how to go about it.
Step 1: Open the Outlook app on your PC and go to File > Options.
Step 2: Switch to the Mail tab and click on Signatures.

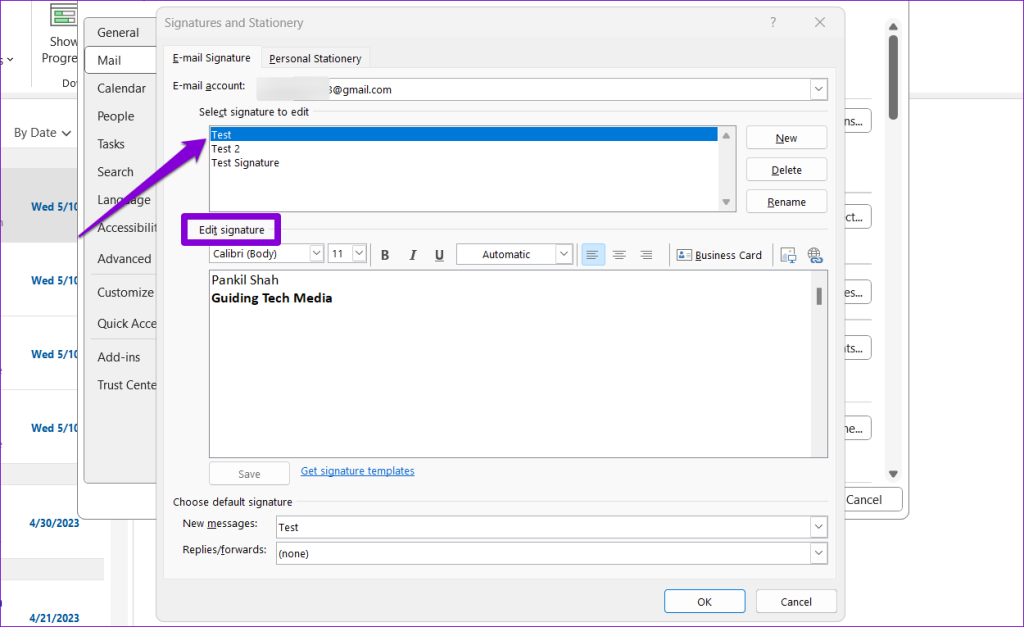
Step 3: Click the New button, name the signature, and hit OK.
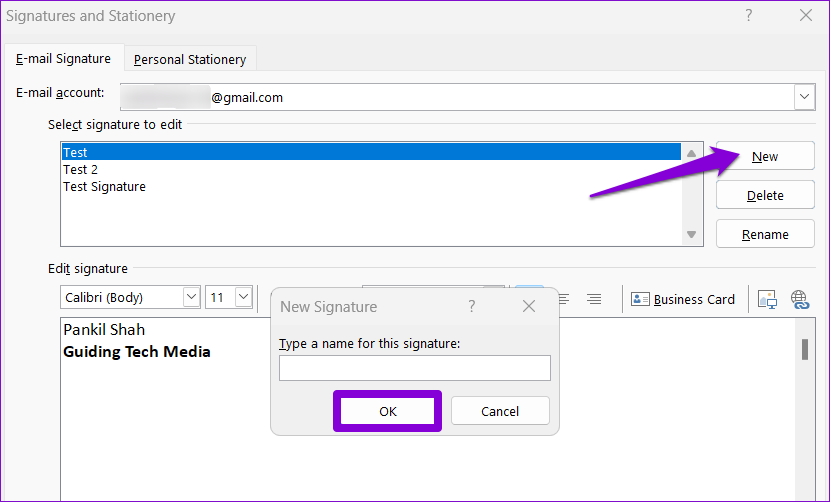
Step 4: Select your newly added signature and edit it.
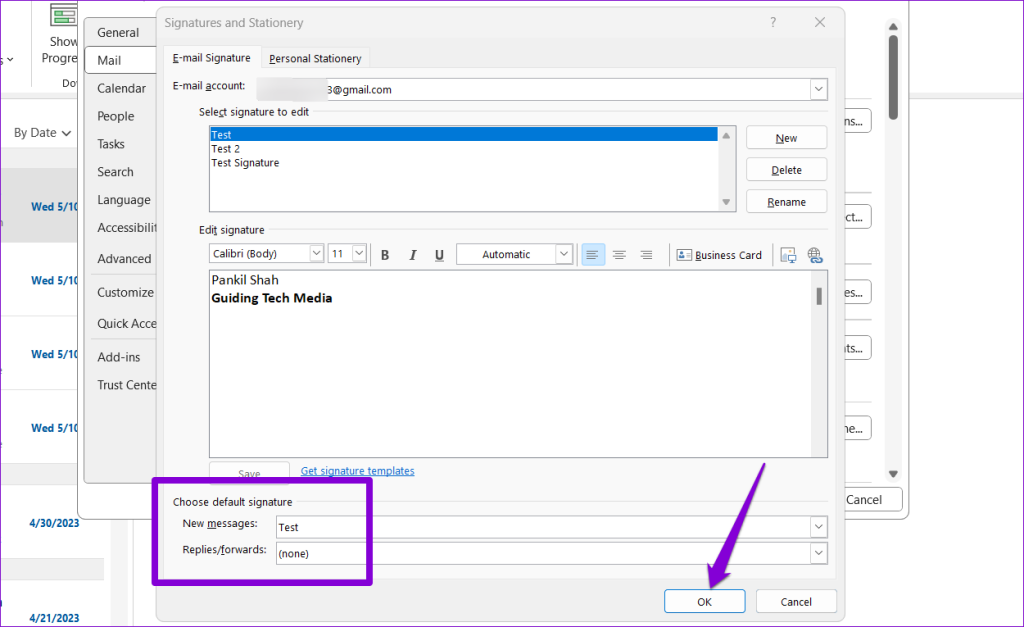
Step 5: Click the drop-down menus next to New messages and Replies/forwards to select your new signature as default. Then, click OK.
Fix 3: Open Outlook in Safe Mode
Conflicting third-party add-ins are another reason your Outlook signature may not work properly. To check for this possibility, open Outlook in safe mode. Hold down the CTRL key and double-click the Outlook shortcut. Select Yes when the confirmation prompt appears.
After Outlook opens in safe mode, check if your signature is working properly. If it is, one of the third-party add-ins is to blame. To identify the culprit, disable all Outlook add-ins and re-enable them one at a time.
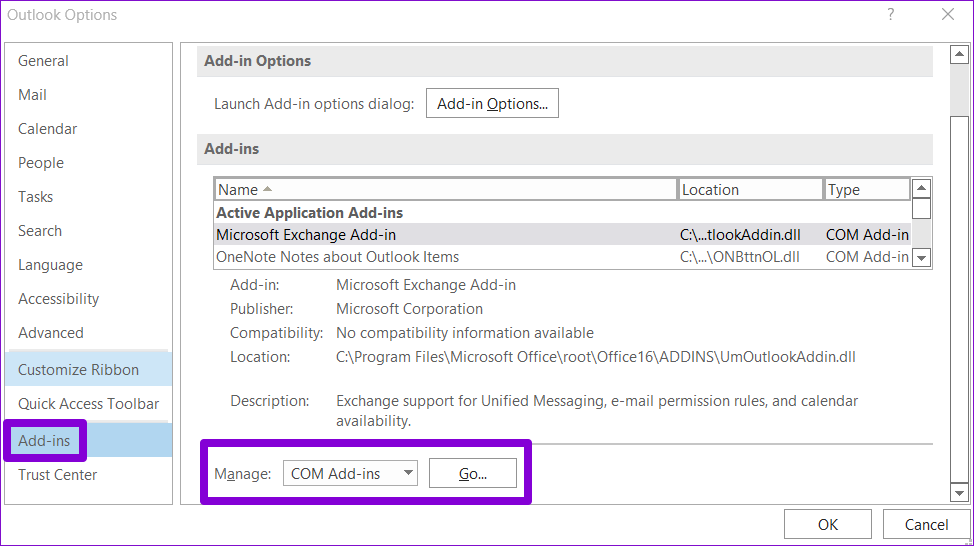
Step 1: In the Outlook app, go to File > Options.
Step 2: In the Add-ins tab, use the drop-down menu next to Manage to select COM Add-ins. Then, click on Go next to it.
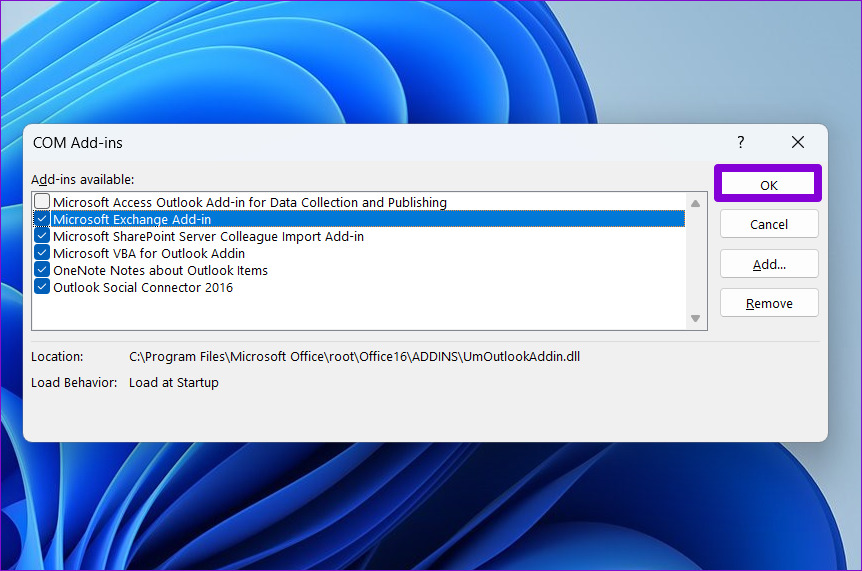
Step 3: Clear all the boxes to disable add-ins and click OK.
Enable all your add-ins one at a time until the issue occurs again. After you find the problematic add-in, consider removing it to resolve it for good.
Fix 4: Remove Office Setup Registry Keys
If your email signature is still not showing in Outlook, there might be an issue with the Office setup registry files. To fix this, use the Registry Editor to remove the problematic registry entries associated with the Office client.
Since registry files carry important configurations for Windows, it’s a good idea to back up all the registry files or create a restore point before proceeding.
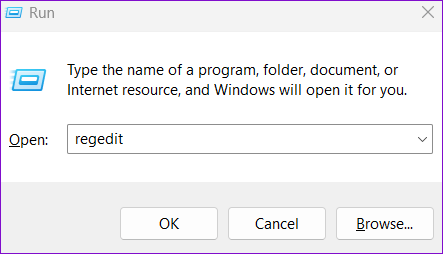
Step 1: Press the Windows key + R keys to open the Run dialog box. Type regedit in the box and press Enter.
Step 2: Select Yes when the User Account Control (UAC) prompt appears.
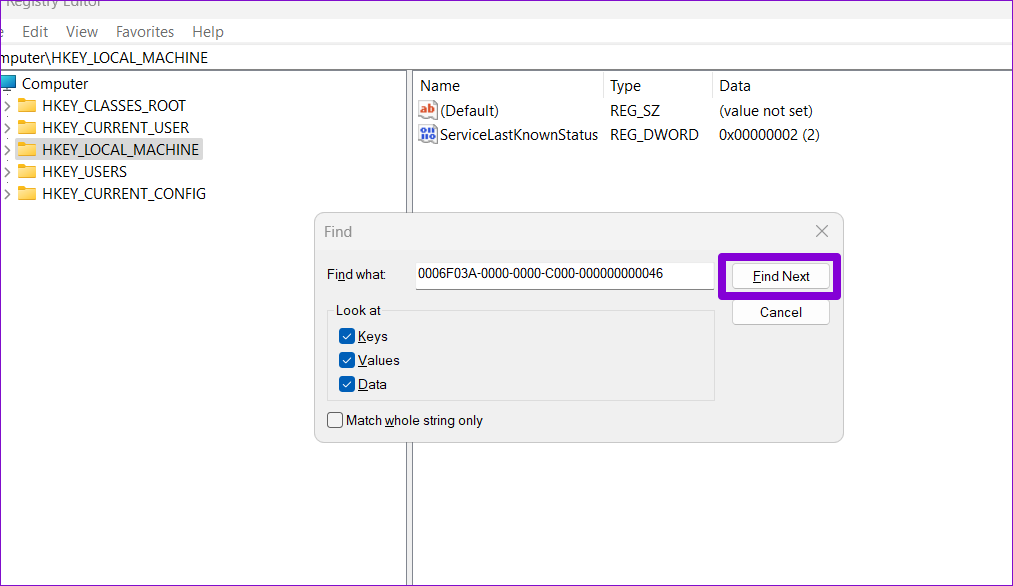
Step 3: Press Ctrl + F to open the Find dialog box. Type 0006F03A-0000-0000-C000-000000000046 in the text box and click the Find Next button.
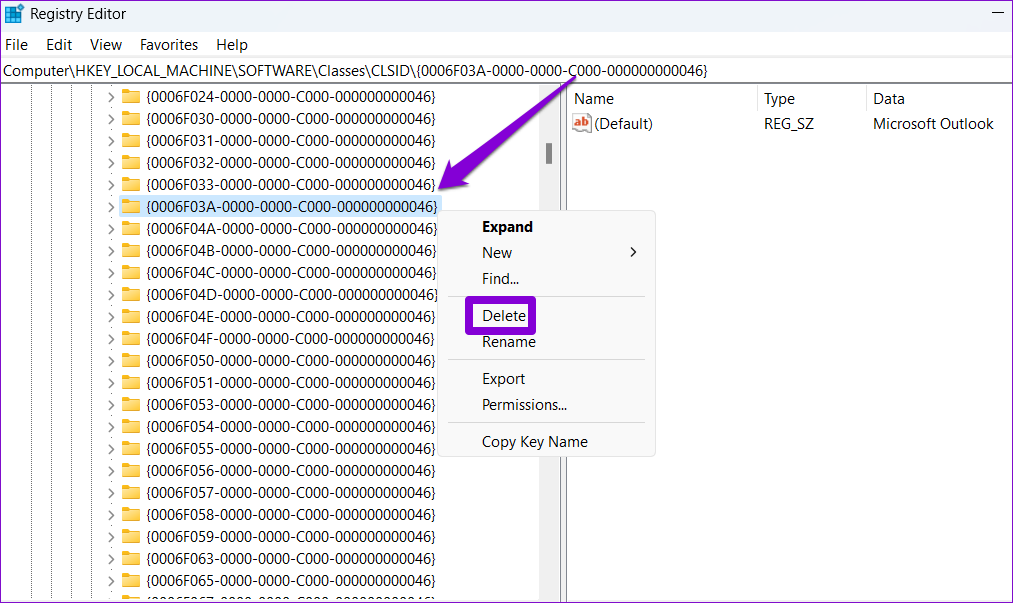
Step 4: Right-click on the located key and select Delete. Then, select Yes to confirm.
Restart your PC after this, and check if the issue persists.
Fix 5: Run the Office Repair Tool
Microsoft includes a repair tool for detecting and fixing common issues with Office apps. So, if the above fixes prove ineffective, run the Office repair tool to fix the Outlook signature not showing.
Step 1: Right-click on the Start icon and select Installed apps from the list.

Step 2: Scroll down to locate the Microsoft Office product on the list. Click the three-dot menu icon next to it and select Modify.

Step 3: Select Quick Repair and click on Repair.
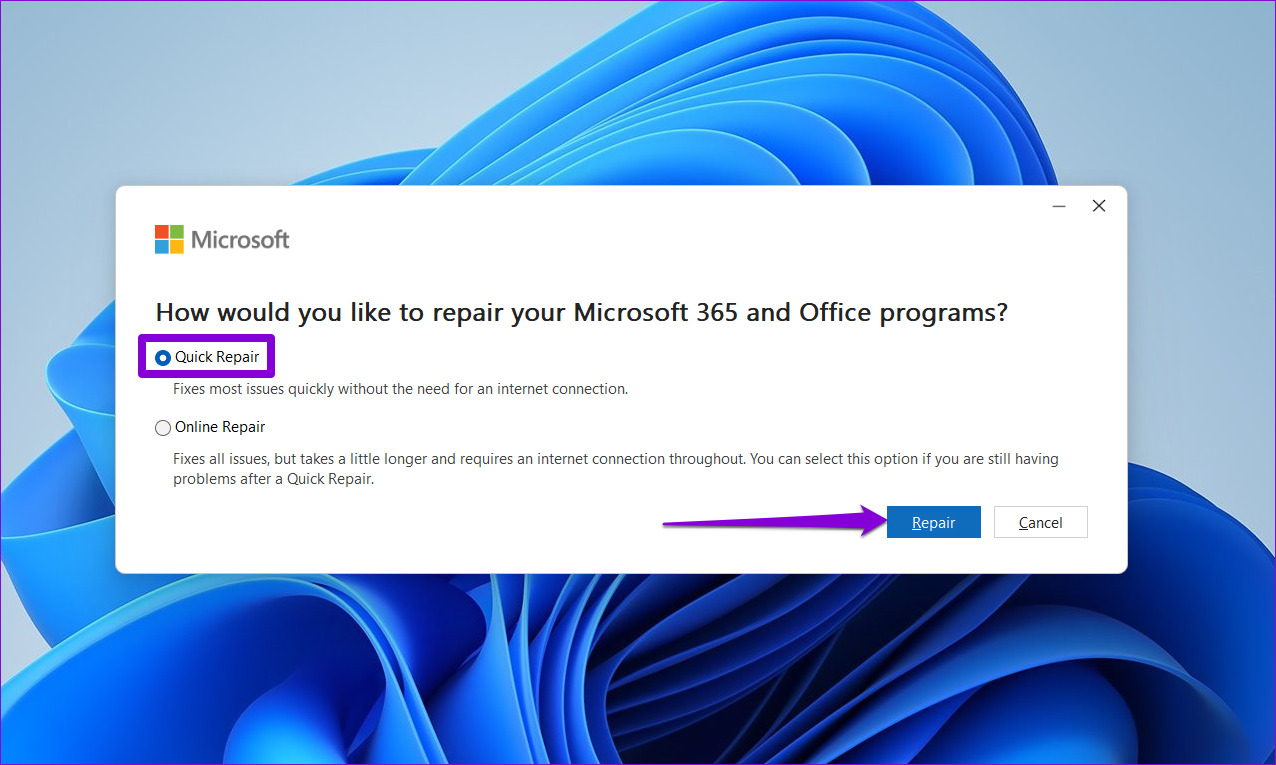
If the issue persists, repeat the above steps and select Online Repair. This process may take a while but will most likely fix the underlying issue.
Was this helpful?
Last updated on 08 April, 2024
Read Next
 Top 8 Fixes for Gmail Signature Image Not Showing on Mobile and PC
Simple text signatures are often overlooked after they follow the email body text.
Top 8 Fixes for Gmail Signature Image Not Showing on Mobile and PC
Simple text signatures are often overlooked after they follow the email body text.
 7 Ways to Fix Outlook Contact List Not Showing Up on Windows
Microsoft Outlook is a versatile email client that also serves as a contact manager.
7 Ways to Fix Outlook Contact List Not Showing Up on Windows
Microsoft Outlook is a versatile email client that also serves as a contact manager.
 Top 7 Ways to Fix Microsoft Outlook Not Showing Email Content on Windows
Are you having trouble viewing the email content in Microsoft Outlook for Windows?
Top 7 Ways to Fix Microsoft Outlook Not Showing Email Content on Windows
Are you having trouble viewing the email content in Microsoft Outlook for Windows?
 Top 4 Ways to Change New Outlook Back to Old (Classic View) Outlook on Windows and Mac
The new Outlook app for desktop boasts a modern and simplified design, aligning it more closely with the web version of Microsoft Outlook.
Top 4 Ways to Change New Outlook Back to Old (Classic View) Outlook on Windows and Mac
The new Outlook app for desktop boasts a modern and simplified design, aligning it more closely with the web version of Microsoft Outlook.
 How to Create and Insert a Signature in Microsoft Word
Microsoft Word is so versatile that you can use it for official documentation and creating invoices.
How to Create and Insert a Signature in Microsoft Word
Microsoft Word is so versatile that you can use it for official documentation and creating invoices.
 8 Best Fixes for Profile Picture Not Showing in Outlook on Windows 11
Microsoft Outlook lets you add your contacts in Windows 11 and send them emails.
8 Best Fixes for Profile Picture Not Showing in Outlook on Windows 11
Microsoft Outlook lets you add your contacts in Windows 11 and send them emails.
 6 Best Fixes for Events Not Showing in Outlook Calendar on Windows 11
The Outlook app on your Windows 11 PC gives you access to the Calendar for planning your routine.
6 Best Fixes for Events Not Showing in Outlook Calendar on Windows 11
The Outlook app on your Windows 11 PC gives you access to the Calendar for planning your routine.
 Top 6 Fixes for Sent Items Not Showing in Microsoft Outlook for Windows
Microsoft Outlook’s Sent Items folder records outgoing emails for reference to let you to verify the successfully sent ones.
Top 6 Fixes for Sent Items Not Showing in Microsoft Outlook for Windows
Microsoft Outlook’s Sent Items folder records outgoing emails for reference to let you to verify the successfully sent ones.
The article above may contain affiliate links which help support Guiding Tech. The content remains unbiased and authentic and will never affect our editorial integrity.