When you shut down your Windows computer, you expect it to turn off completely. However, this may not always be the case. Sometimes, your Windows PC or laptop may not be turning off after a shutdown, causing the fans and motherboard to keep running. This not only leads to increased power consumption but also unnecessary wear and tear on your computer components.
There can be several reasons why this might happen. If you don’t know what’s causing the problem, work your way through the following tips to resolve the issue for good.
1. Force Your PC to Shut Down
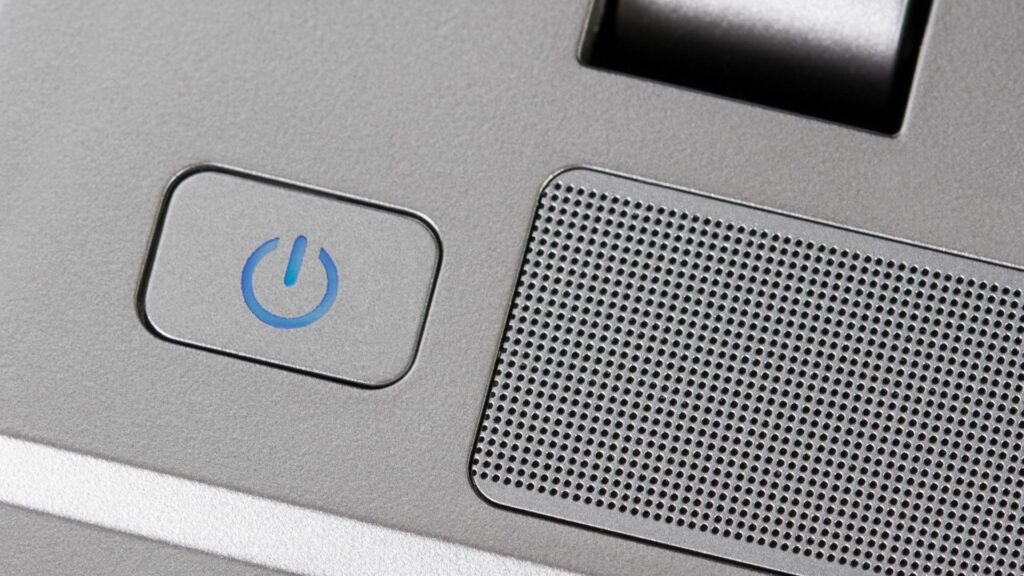
You can start by forcefully shutting down your PC and see if it works. Press and hold the physical power button for 5-10 seconds, and then check if you notice any changes. If that does not help, you can try unplugging the power cord. If you are using a laptop, remove the battery and then wait for a minute or two before reinserting it.
Of course, these are only temporary fixes. If you are looking to fix the underlying issue for good, continue with the fixes below.
2. Disable Fast Startup
Fast Startup is a useful feature that puts your computer into a hibernation state rather than a full shutdown. This allows your computer to boot up quickly the next time you turn it on. However, it can sometimes prevent Windows from shutting down completely, causing problems. You can try disabling Fast Startup temporarily to see if that fixes the issue.
Step 1: Press the Windows key + R to open the Run dialog. Type control in the box and press Enter.

Step 2: Use the drop-down menu in the top right corner to change the view type to Large icons. Then, select Power Options.

Step 3: Click the ‘Choose what the power buttons do’ option in the left sidebar.

Step 4: Click on ‘Change settings that are currently unavailable.’ Select Yes if the User Account Control (UAC) prompt appears.

Step 5: Uncheck the box that reads ‘Turn on fast startup (recommended),’ and click the Save changes button at the bottom.

Restart your PC after this, and then try shutting it down.
3. Run the Power Troubleshooter
Your Windows PC has a built-in Power troubleshooter that can help you fix common problems with your power and sleep settings. You can try running it to see if that solves the problem.
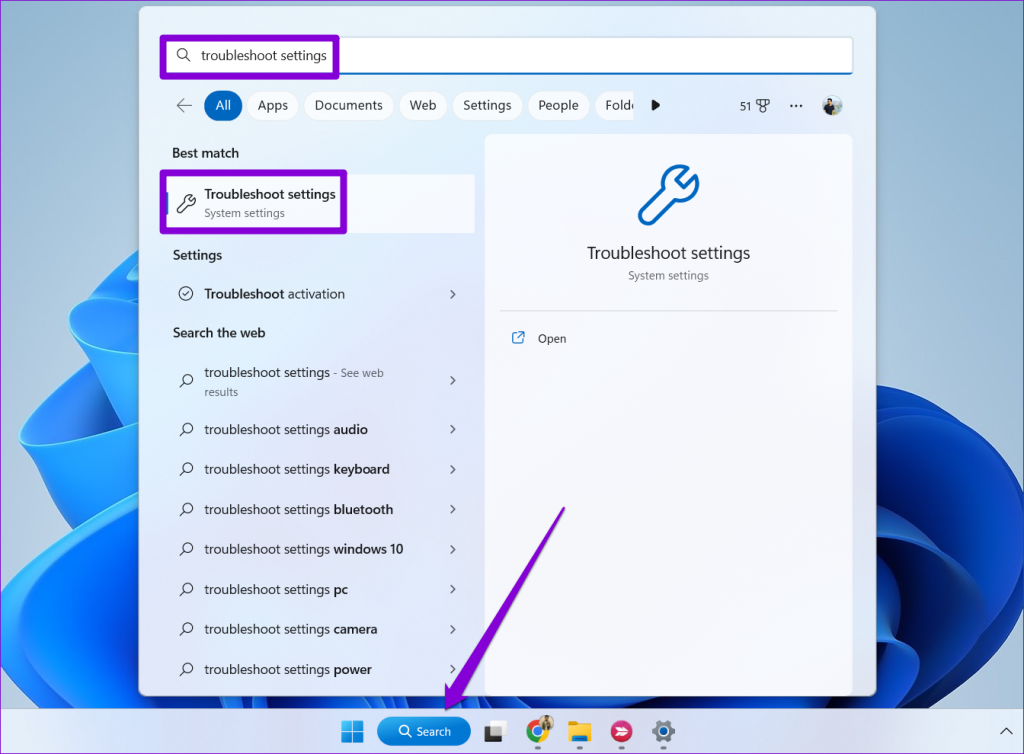
Step 1: Click the search icon on the taskbar or press the Windows key + S to access the search menu. Type in troubleshooter settings and press Enter.
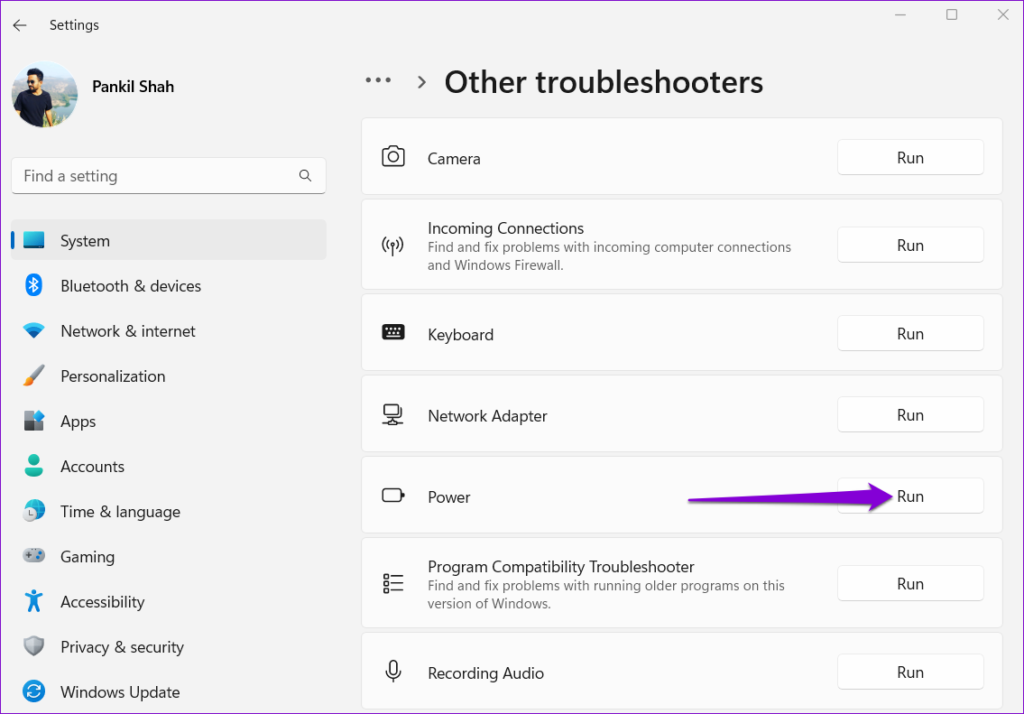
Step 2: Select Other troubleshooters.

Step 3: Click the Run button next to Power.
Wait for the tool to run and resolve any issues. Following this, check if the issue is still there.
4. Configure Power Management Settings for USB Devices
Another reason why your Windows laptop or PC may not be shutting down fully is due to the connected USB devices. To avoid this, you need to change the power management settings for all of your USB devices. Here are the steps for the same.
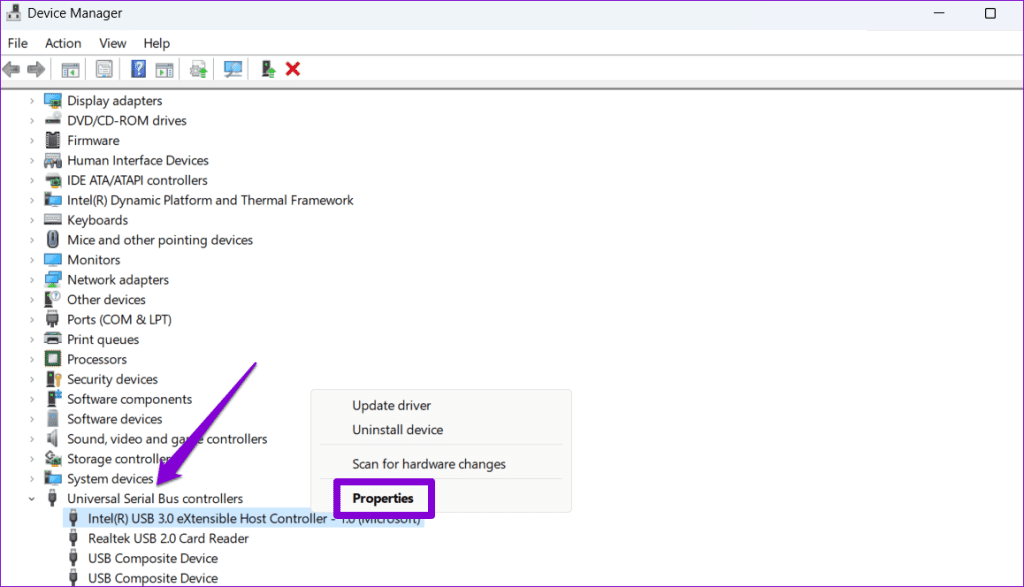
Step 1: Right-click on the Start icon and select Device Manager from the list.

Step 2: Expand Universal Serial Bus controllers. Right-click on the first entry and select Properties.
Step 3: Switch to the Power Management tab and untick the checkbox that reads ‘Allow the computer to turn off this device to save power.’ Then, click OK.
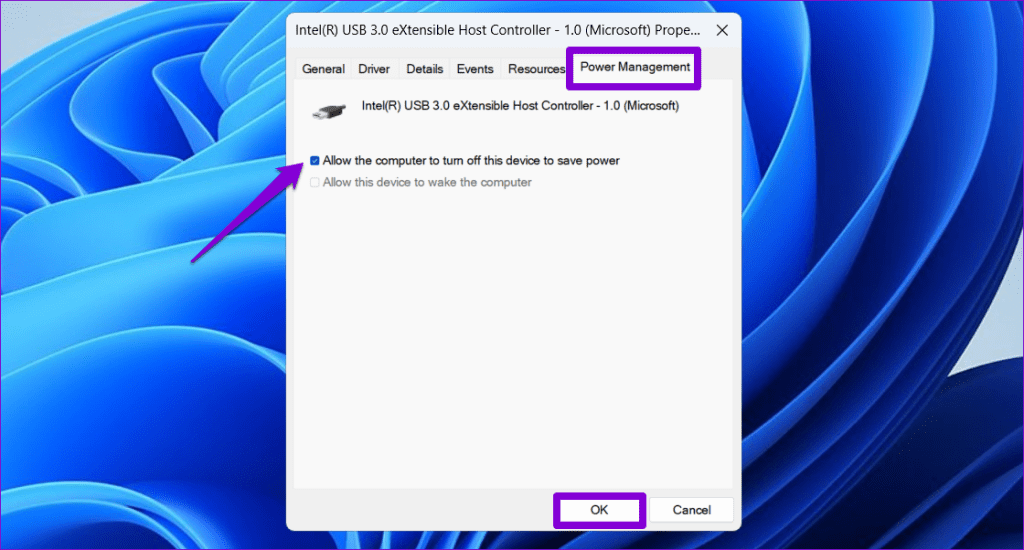
Repeat these steps for all of your USB devices. Following that, your Windows PC or laptop should not stay on after a shutdown.
5. Reinstall Graphics Drivers
Outdated or corrupted graphics drivers can also cause your Windows PC to stay on after a shutdown. If that’s the case, uninstalling the graphics driver and reinstalling it should restore normalcy.
Step 1: Right-click on the Start icon and select Device Manager from the list.
Step 2: Expand Display adapters, right-click on your graphics driver and select Uninstall device.

Note: If there is an exclamation point next to any entries in Device Manager, it means that those drivers are not working properly. In this case, you will need to update those drivers to fix the problem.
Restart your PC after removing the graphics driver. Windows will automatically reinstall the missing driver during startup.
6. Update BIOS/UEFI
If all else fails, you can try updating your BIOS to the latest version to resolve the issue. To do this, you will need to download the most recent BIOS or UEFI version for your device and copy it to a USB flash drive.
Since the steps for updating BIOS can differ depending on your PC’s make and model, it is best to refer to your computer manufacturer’s support page for detailed instructions.
Don’t Let Your Computer Hang Around
In most cases, your Windows PC or laptop should start turning off after a shutdown once you disable fast startup. If not, you may need to configure Power Management options for all USB devices or update your BIOS. Make sure to let us know in the comments which solution worked for you.
Was this helpful?
Last updated on 10 October, 2023
1 Comment
Leave a Reply
Read Next
 Top 6 Ways to Schedule Auto Shutdown in Windows 11
The sleep or hibernation feature allows us to keep computers switched on often.
Top 6 Ways to Schedule Auto Shutdown in Windows 11
The sleep or hibernation feature allows us to keep computers switched on often.
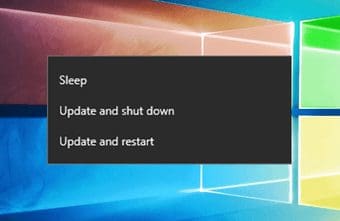 How to Fix Windows 10 Asking to Update and Shutdown Every Time Issue
If bandwidth isn't a factor, then Windows 10 offers a super-convenient way to stay updated with minimal involvement on your part.
How to Fix Windows 10 Asking to Update and Shutdown Every Time Issue
If bandwidth isn't a factor, then Windows 10 offers a super-convenient way to stay updated with minimal involvement on your part.
 Top 6 Ways to Fix Bluetooth Keeps Turning Off on Windows 11
Bluetooth is a wireless technology that we don’t pay much attention to until it stops working.
Top 6 Ways to Fix Bluetooth Keeps Turning Off on Windows 11
Bluetooth is a wireless technology that we don’t pay much attention to until it stops working.
 Top 5 Ways to Fix Do Not Disturb Turning on Itself on Windows 11
Windows 11 has a handy Do Not Disturb mode to prevent interruptions during work hours.
Top 5 Ways to Fix Do Not Disturb Turning on Itself on Windows 11
Windows 11 has a handy Do Not Disturb mode to prevent interruptions during work hours.
 Top 4 Fixes for Windows 10 PC Automatically Restarting After Shutdown
Power-related failures on Windows PC come in different forms.
Top 4 Fixes for Windows 10 PC Automatically Restarting After Shutdown
Power-related failures on Windows PC come in different forms.
 3 Ways to Schedule Shutdown Timer on Mac
If you often forget to shut down your Mac at night or want to ensure it shuts down automatically at a specific time, this article is for you.
3 Ways to Schedule Shutdown Timer on Mac
If you often forget to shut down your Mac at night or want to ensure it shuts down automatically at a specific time, this article is for you.
 Top 6 Ways to Fix Do Not Disturb Turning on Automatically on iPhone
You may miss important messages, emails, and calls, when Do Not Disturb, keeps turning on automatically on your iPhone.
Top 6 Ways to Fix Do Not Disturb Turning on Automatically on iPhone
You may miss important messages, emails, and calls, when Do Not Disturb, keeps turning on automatically on your iPhone.
The article above may contain affiliate links which help support Guiding Tech. The content remains unbiased and authentic and will never affect our editorial integrity.


Thanks to you..my problem is solved..